On this page
...
This Pipeline utilizes an expression library called helpers. You can download and import this expression library and the above Pipeline from the Downloads section below into your SnapLogic org using your own dataset.
This Pipeline performs the following tasks:
...
Task 2: Creating the Item Fulfillment
Item fulfillment in any business case system is a manual process. A sales order is deemed fulfilled only after the merchandise/product/service has been is shipped for delivery. In our use case, we simulate that process by marking the sales orders as fulfilled or "_shipped". This part process is carried out executed by the Snaps labelled Root Mapper, Item Mapper, and Create Item Fulfillment. All these Snaps work together to provide the Internal ID.
...
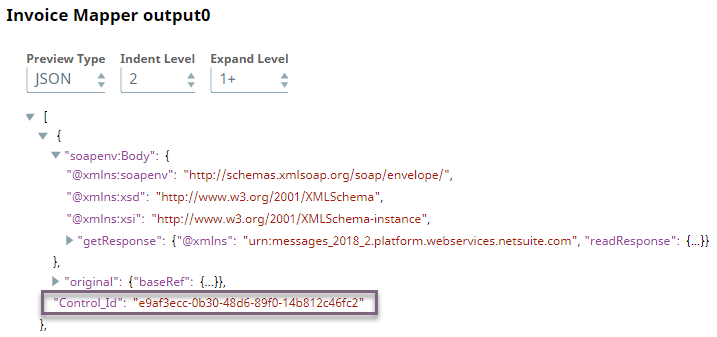
We do this since the base reference and Internal ID are all we need to helps retrieve the invoice's details from NetSuite using the NetSuite Get Snap labelled Get Invoice. This Snap retrieves the invoice's details. From these details we retrieve the Control ID using the Mapper Snap labelled Invoice Mapper.
At this juncture, Now we have all the required information we need from NetSuite to communicate to the EDI gateway that the sales order sent from it has been is fulfilled. To do so, we perform two operations:
...
- Sending the invoice to the EDI gateway.
...
- Creating a local record of the invoice.
Sending the invoice to the EDI gateway
The invoice data is formatted as a JSON file and written into to the EDI gateway's Out sub-directory using a File Writer Snap. This establishes a communication between the ERP system and the EDI gateway.
...
The invoice data is formatted as a JSON file and written into the SLDB. You can write a SnapLogic expression to use the invoice ID and Control ID in the filename to keep it unique and identifiable.
...
- Download the Solution Pipeline and Expression Library.
- Login to Log into SnapLogic and click the
 button in the Import a Pipeline icon
 in SnapLogic Designer.
 - Select the Pipeline from your local Drive.
- Edit the Pipeline's details such as Label and click Save.
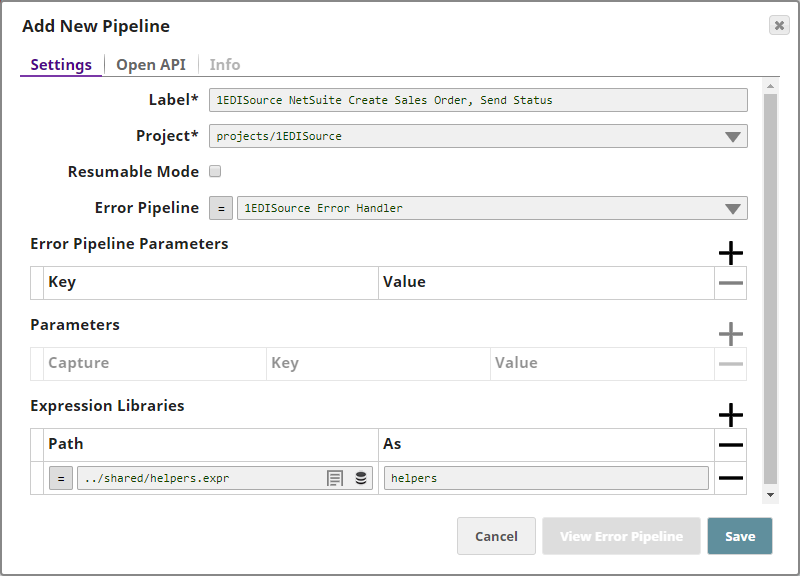
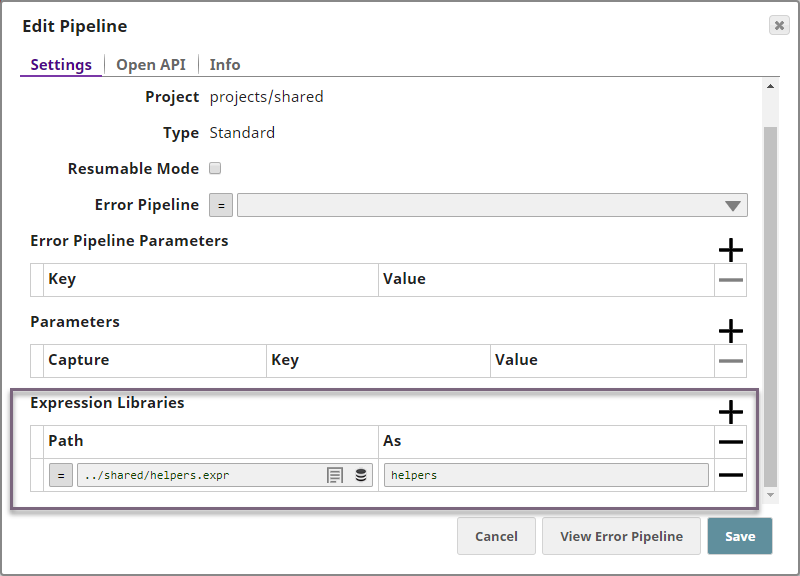
Import the expression library in the Expression Libraries section.
- Click Save.
- Configure the accounts in the Snaps as appropriate.
- Validate and
 and execute the
  the Pipeline.
Downloads
| Attachments | ||
|---|---|---|
|