| Info |
|---|
This page is no longer maintained (). For the most current information, go to https://docs.snaplogic.com/cicd/git-integration/git-integration-about.html . |
After you check out a GitHub or GHES repository into a Project, the Assets table banner displays repository information, and the GitHub Status column shows the current status of each Asset:
...
Tracked: The Asset has been committed and updates are being tracked.
Untracked: The repository is not tracking updates for this the Asset.
Added: The Asset has been staged, but not committed.
Removed: The removal has been staged, but not committed.
Unsupported: This type of Asset cannot be tracked in the repository.
You can perform GitHub operations using APIs or from the following menus in SnapLogic Manager:
...
When a project is checked out, the menu also contains the GitHub Add Tag option.
Project Space Options Menu
You can create a Project in the SnapLogic®️ Manager from a Git repository checkout. In Manager:
In the navigation tree, click the Project Space where you want to create the Project. The Project Space Options menu opens:
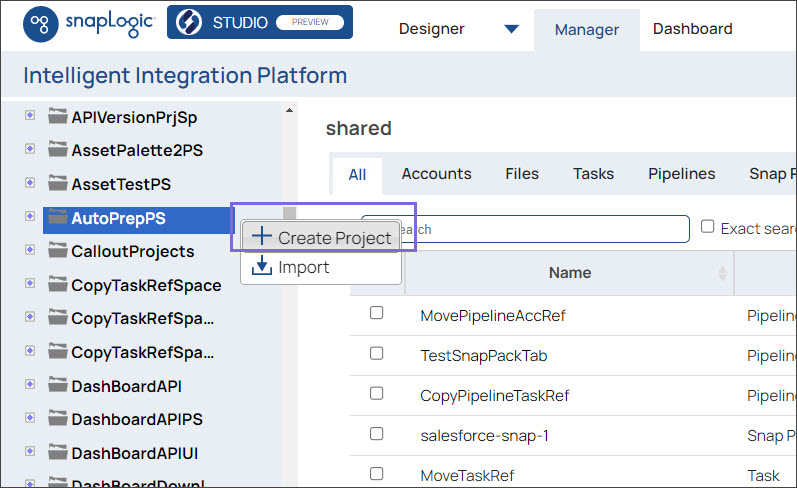
Click Create Project.
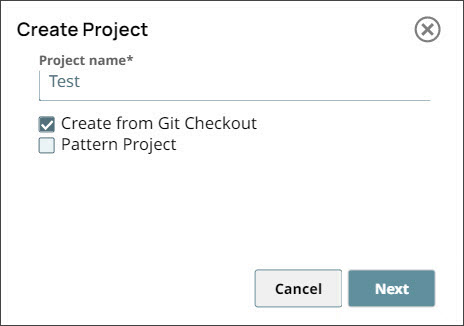
Enter a name in the Project name field.
Select the Create from Git Checkout checkbox to create a project.
Click Next.
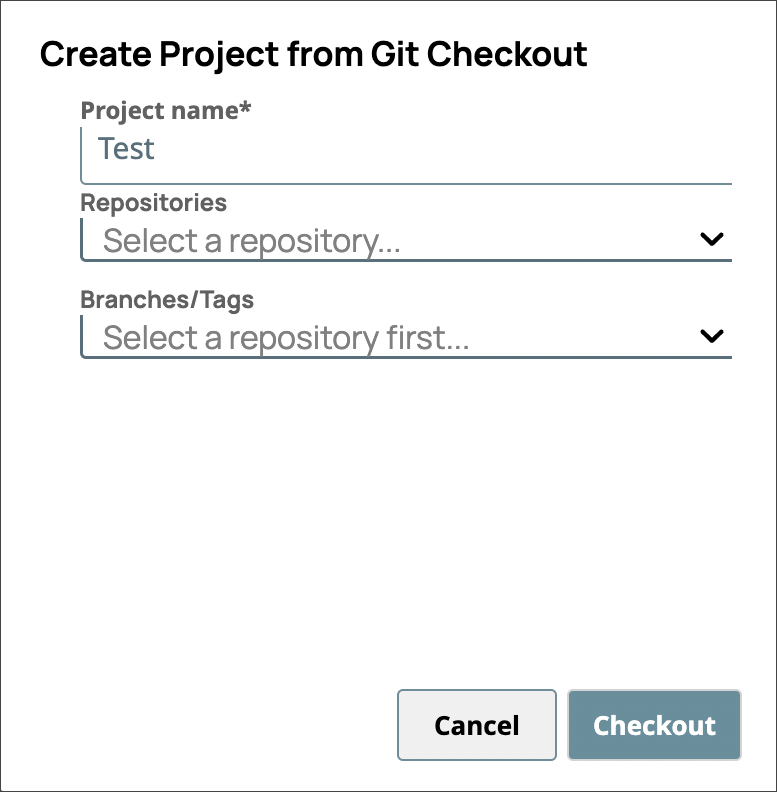
From the Repositories dropdown, select the repository to create the project from.
From the Branches/Tags dropdown, select the branch or tag to use.
Click Checkout to create the new Project.