On this Page
To integrate GitHub with SnapLogic:
- Authorize your GitHub account.
- Checkout repository to project.
Repository Checkout
- In the SnapLogic Manager, navigate to your project and click the arrow to open the Project Options menu. If GitHub integration is enabled, the Checkout GitHub Repository option is added as to the list of available options as shown below:
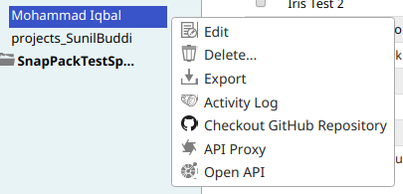
- Click Checkout GitHub Repository to open the Checkout GitHub Repository dialog box.
The Checkout GitHub Repository dialog box contains two drop-down menus: Repositories, and Branches/Tags. The Repositories drop-down menu contains a list of the repositories in your GitHub org to which you have access and that have the SnapLogic app installed. Select the repository and branch to which you want to link your project using the Repositories and Branches/Tags drop-down menus.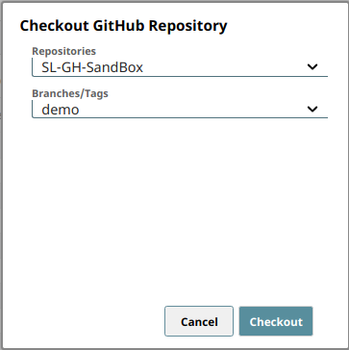
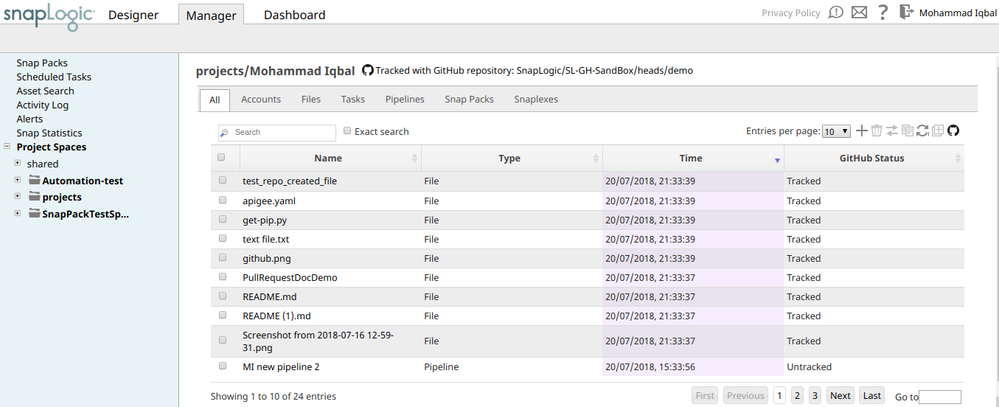
- Click Checkout. The files and assets in the repository are displayed in the Asset table of your project. The Asset window changes to include the GitHub menu. See Configuring GitHub Options in the SnapLogic UI for details.