...
| Table of Contents | ||||||
|---|---|---|---|---|---|---|
|
Introduction
This tutorial article explains leveraging SnapLogic Ultra Task or Triggered Task to build real-time web applications by demonstrating using Tweets to measure, analyze, and visualize sentiment of users sending Tweets.
...
SnapLogic Ultra Task provides high reliability and scalability. Ultra Task runs on a Snaplex comprising a cluster of nodes, which can be on-premise or in the cloud; however, we recommend a hybrid approach with 50% of nodes each in the cloud and on-premise. You can specify a number of Pipeline instances to run concurrently. So, unless all nodes go down at the same time, your API will be alive. You can scale the Snaplex horizontally by adding nodes or vertically by using nodes with higher specifications.
Prerequisites
Frontend Development Environment
You can download the HTML file of Twitter Sentiment Analysis from GitHub or here. You need a text editor to edit the HTML file.
Ultra Task
An Ultra Task in SnapLogic is required to provide an API to your web/mobile application. If you do not already have an Ultra Task, perform the following steps to create an Ultra Task:
- Download the Twitter Sentiment Analysis.zip file. This file is an export of a project containing the required Pipelines, tasks, and files.
- Import the project. In SnapLogic Manager, select the project space > Import. For more information, see How to Import and Export Projects.
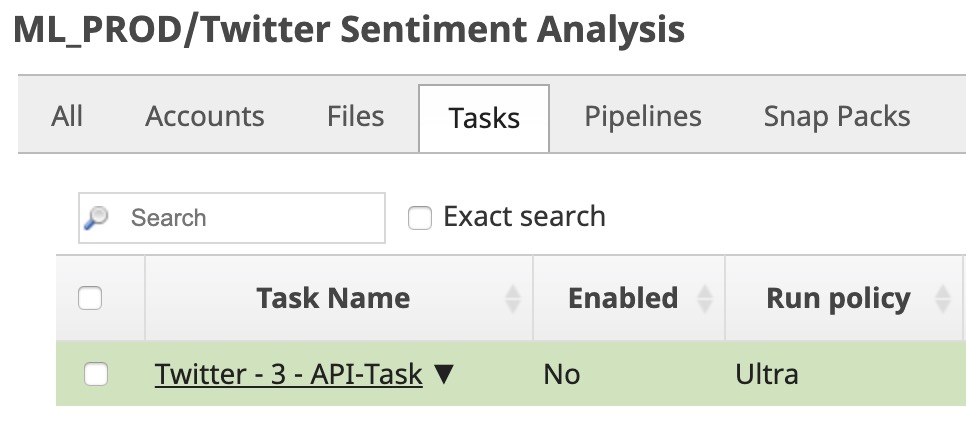
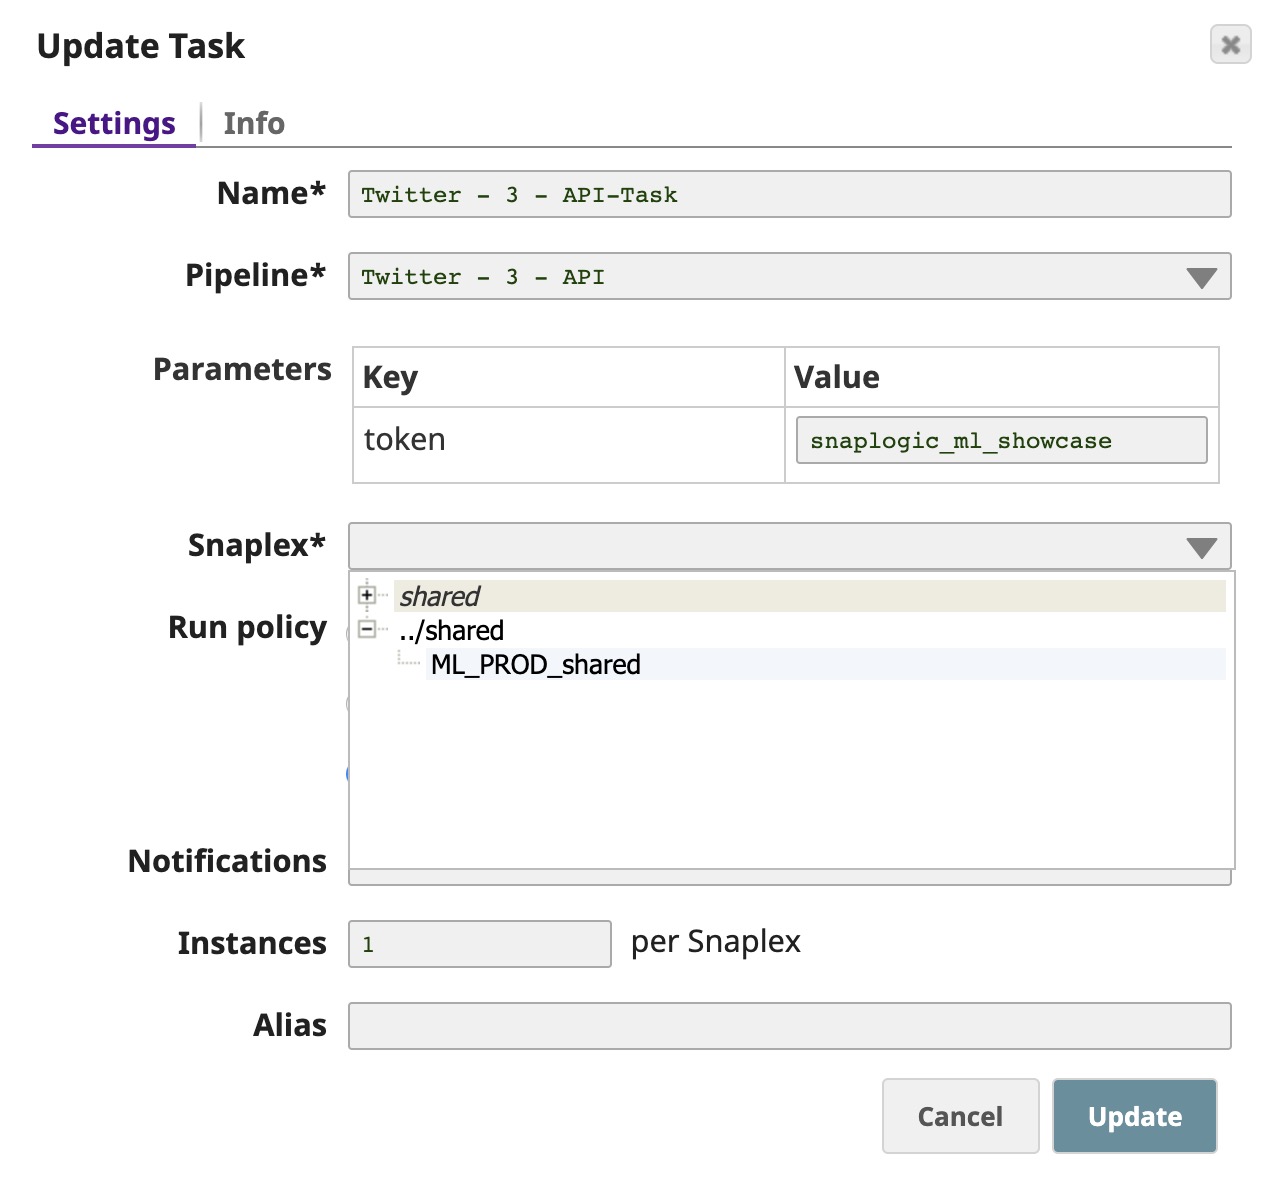
- Go to your project > Tasks and click the task entity to open the Update Task dialog.
- Select the Snaplex from the given dropdown list to deploy this Ultra Task on. Click Update.
- Select the task check box and click Enable on top right.

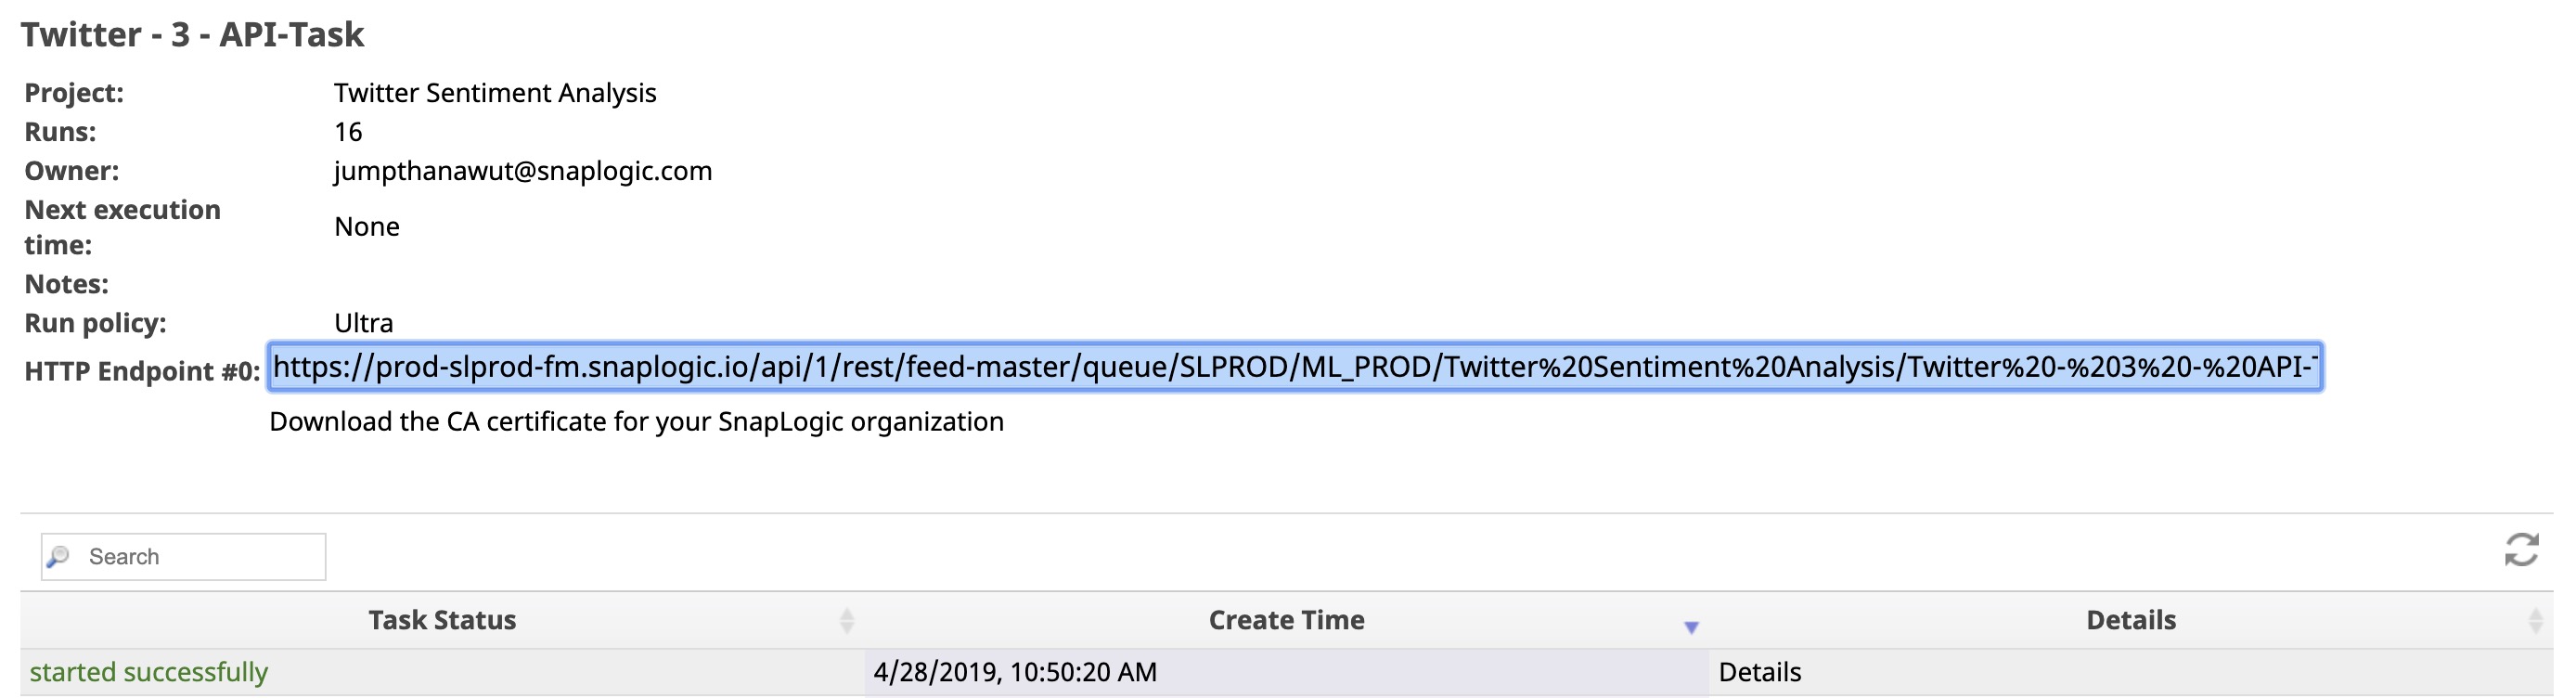
- Click the small triangle next to the task name and click Details to open the Task details pane.
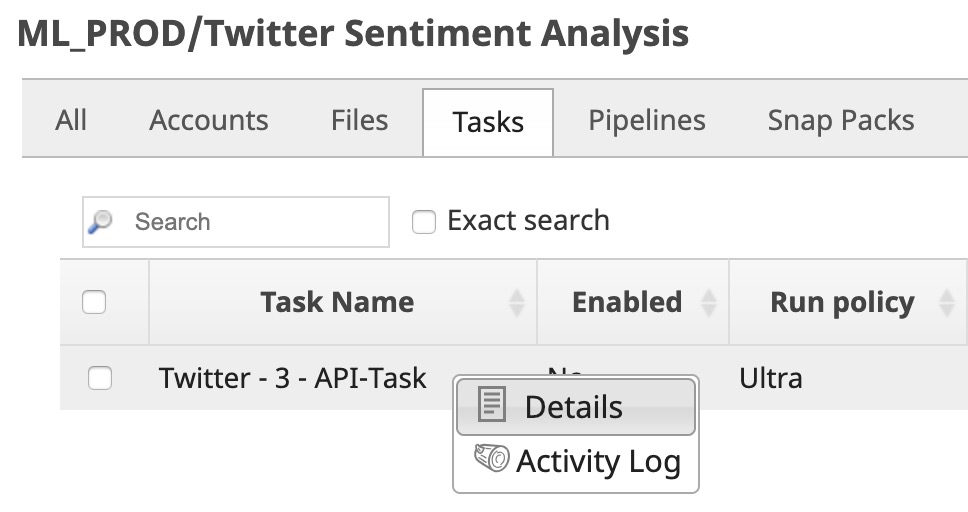
- Copy the HTTP Endpoint and save it on your local machine to add it later on to your HTML file. Ultra Task can take up to 5 minutes to start. You can click Details to view the task status.
Build Application
Follow the steps below to build your application. You should have the Twitter Sentiment Analysis HTML file and the Ultra Task endpoint before performing these steps.
- Test the API (Ultra Task) to ensure the it is working as expected.
- Modify the HTML file to use your Ultra Task and test it locally.
- Deploy your web application.
Step 1. Test the API (Ultra Task)
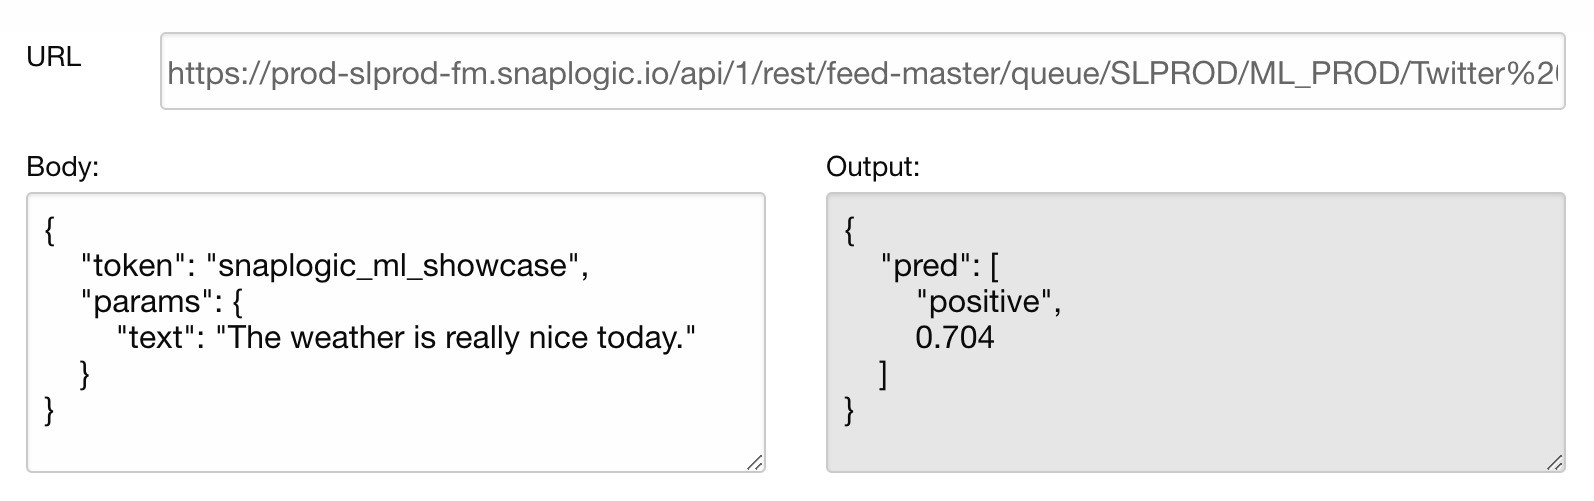
Open the SnapLogic ML API Tester, add your URL and the Body (or use the URL and Body below), click SUBMIT.
...
The sentiment (response from the Ultra Task) displays in a JSON format in the Output section. Thus, the sentiment analysis model gives a positive sentiment of 0.704 (70.4% positive) for "The weather is really nice today" Tweet.
Step 2. Modify the HTML file and test it locally
After verifying that the API is working as expected, you can modify the URL in the HTML file (optionally, download it). If you open the HTML file without modification, you are using the default Ultra URL provided by SnapLogic.
...
Open the HTML file using a browser and validate that the web application is working as expected.
Step 3. Deploy your Web Application
Since the application is an HTML file, you can host the application using your own web server or a static web hosting service. In this tutorial, we are using GitHub Pages. For more information, see Hosting a Static Website on Amazon S3.
Deploying your Web Application using GitHub Pages
You can either follow this tutorial video to understand the process or go through the following steps:
- In your GitHub Pages account navigate to Repositories and click New to open the Create a new repository screen.
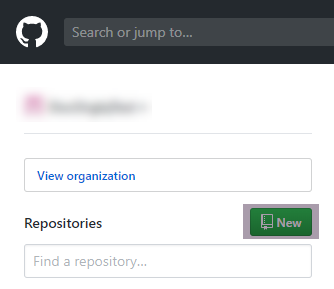
- Provide a name for the new repository and click Create repository. A new repository with the specified name is created.
.jpg?version=2&modificationDate=1557472554680&cacheVersion=1&api=v2&width=500)
- Go to this repository and click Create new file.
.jpg?version=2&modificationDate=1557472555768&cacheVersion=1&api=v2&width=500)
- Set the file name to index.html and copy your HTML content into the text editor.
.jpg?version=2&modificationDate=1557472556868&cacheVersion=1&api=v2&width=500)
- Add a commit message and click Commit new file.
.jpg?version=2&modificationDate=1557472553605&cacheVersion=1&api=v2&width=500)
- Go to the repository setting and browse to GitHub Pages. In Source, select the master branch.
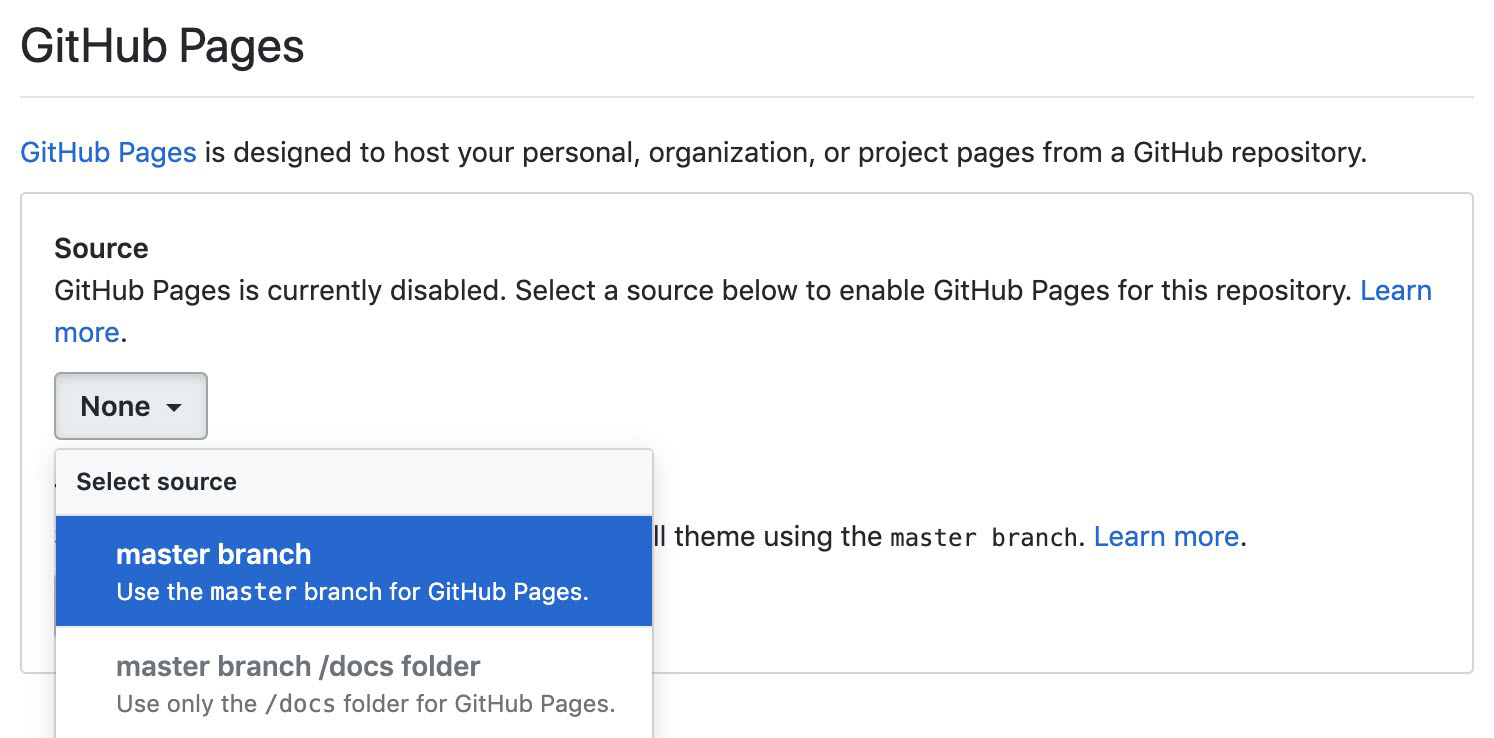
- Now, your GitHub Pages section will display as given.

- Click the URL in GitHub Pages to access your web application. In this tutorial, it is https://jumpthanawut.github.io/TwitterSentimentAnalysis/.
...