In this article
| Table of Contents |
|---|
Overview
The Snaps in the Azure Active Directory Snap Pack require an OAuth2 account to access the resources in Azure. For the OAuth2 account to authorize successfully, create, and configure an application corresponding to the account as shown in the workflow.
...
| Info |
|---|
Steps one to three are done in the Azure Portal and the remaining steps are done in the Snap account (SnapLogic Platform). |
Prerequisites
An Azure account with a free subscription to create the application.
Key Steps in the Workflow
Create an Application in the Azure Portal
Log in to the Microsoft Azure Portal.
Navigate to Azure services > Azure Active Directory.
Navigate to Add > App registration.
On the Register an application page, specify the name for registering the application and click Register. Learn more about creating an application at https://learn.microsoft.com/en-us/azure/active-directory/develop/quickstart-register-app.
| Info |
|---|
To use an existing application, navigate to Portal Home > Azure Active Directory >App registrations > All applications. In the search box, specify the application name you want to use. Details on the application display in the search list. |
Define Permissions
On the left navigation panel, navigate to Manage,select API permissions > Add a permission.

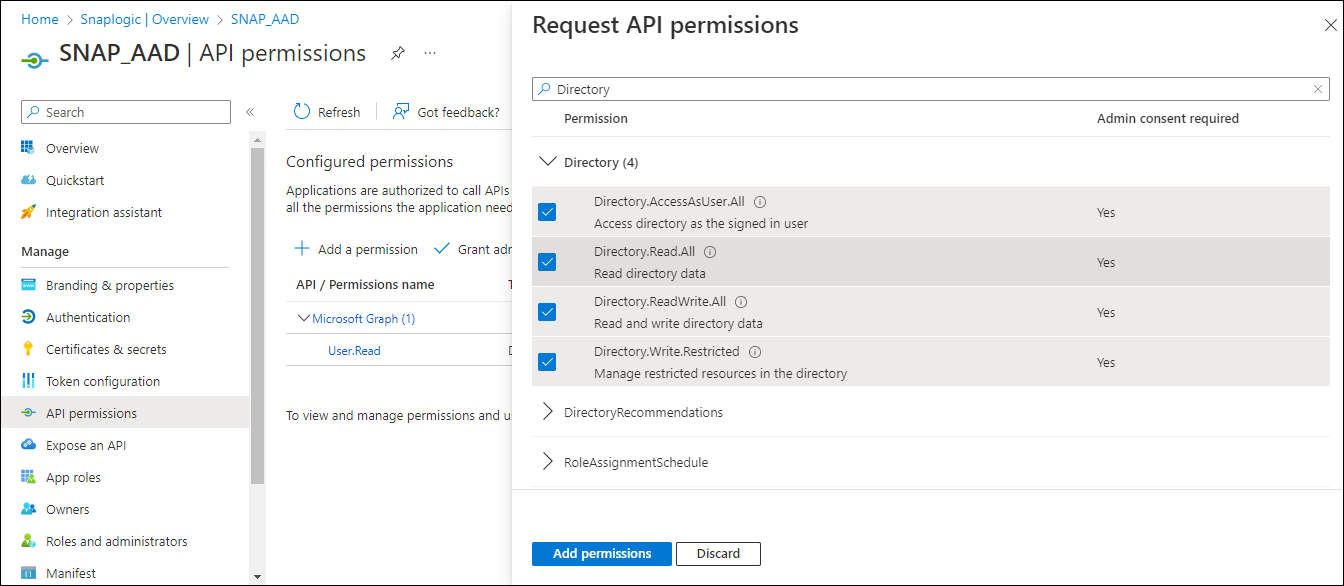
On the Request API permissions window, select Microsoft Graph > Delegated permissions for the OAuth2 User account and Application permissions for the OAuth2 Application Account.

Select the permissions from Files, Users, and Teams. Choose the minimum API permissions listed under Scopes and Permissions Required for Azure Active Directory.
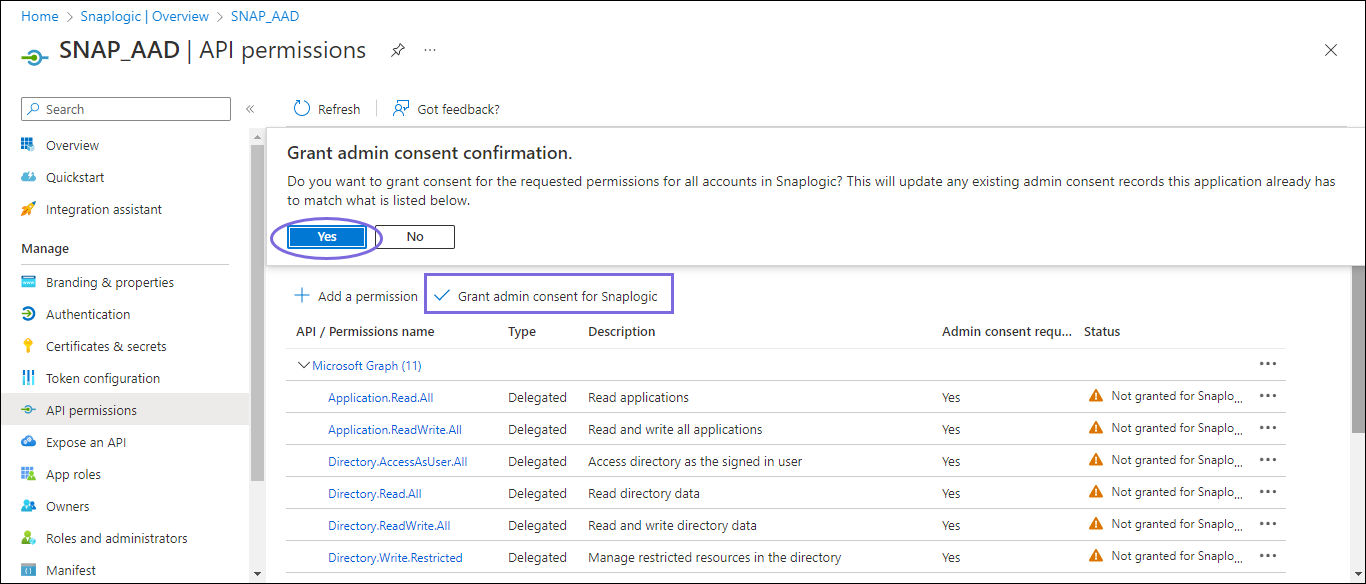
Click Add Permissions. View all the permissions added under Configured permissions.
Click Grant admin consent confirmation and select Yes.
Click Overview and select Add a Redirect URI. You will be redirected to the Platform configurations page.

Under Platform configurations, click Add a platform.
Select Web and specify a valid Redirect URI https://elastic.snaplogic.com/api/1/rest/admin/oauth2callback/azureactivedirectory and click Configure. A popup message displays indicating that the application is successfully updated.

On the Platform configurations page, click Save.

Locate the Application Credentials in the Azure Portal
To authorize your account in SnapLogic, you must have the following application credentials:
...
You can copy the Client secret value only after it is generated.
Scopes and Permissions Required for Azure Active Directory
Application permissions | |||
|---|---|---|---|
Permission | Display String | Description | Admin Consent Required? |
Directory.Read.All | Directory.Read.All | Allows the app to read and write data in your organization's directory, such as users, and groups, without a signed-in user. Does not allow user or group deletion. | Yes |
Directory.ReadWrite.All | Directory.ReadWrite.All | Allows the app to read and write data in your organization's directory, such as users, and groups, without a signed-in user. Does not allow user or group deletion. | Yes |
Specify the Credentials And Validate the Snap account
Navigate to the Snap of your choice and configure the OAuth2 account with the details located from the registered application in the Azure portal. Refer to Azure Active Directory OAuth2 account
Select the Auto-refresh token checkbox in the account settings and click Apply.
Click Authorize. The Access and Refresh tokens are generated. You will be redirected to the sign-in page of the Azure Portal.
Sign in to Azure Portal with valid credentials to redirect to the Snap Edit account settings dialog. The Access and Refresh tokens are autopopulated but encrypted in the Account settings.
Validate the Snap Account.
If you select the Auto-refresh token checkbox, then you must provide offline_access as the Scope in the Token end point configuration.
Troubleshooting
Common Errors | Reason | Response |
|---|---|---|
Error 401 | Token is invalid | Provide a valid token and reauthorize the account. |
The redirect URI specified does not match the reply URI configured for the application. | Incorrect redirect URI specified by user. | Add the following redirect_uri: |
URL error when invoking the operation | Ensure the tenant domain name is correct. | Ensure that Directory (tenant) ID noted from the application is in the correct format. Example: 2060aafa-89d9-423d-9514-eac46338ec05 |
Frequently Asked Questions
| Expand | ||
|---|---|---|
| ||
Yes, you can register a new application or use an existing application in the Azure portal to create an OAuth account. Refer to the configuration documentation key flow Create an Application in Azure Portal. For more information, refer tohttps://learn.microsoft.com/en-us/azure/healthcare-apis/register-application |
...
| Expand | ||
|---|---|---|
| ||
The Scopes and Permissions Required for Azure Active Directory specify the Delegated and Application permissions details. For any other permissions that are needed for the application, refer to https://learn.microsoft.com/en-us/graph/permissions-reference |
...