In this article
...
In the API Manager, go to the APIs & Proxies tab.
Navigate to the Details page of the item you want to publish.
For API versions,
Click the API’s name in the list.
Go to the Versions tab.
Click the version number.
For Proxies, click the proxy’s name in the list.
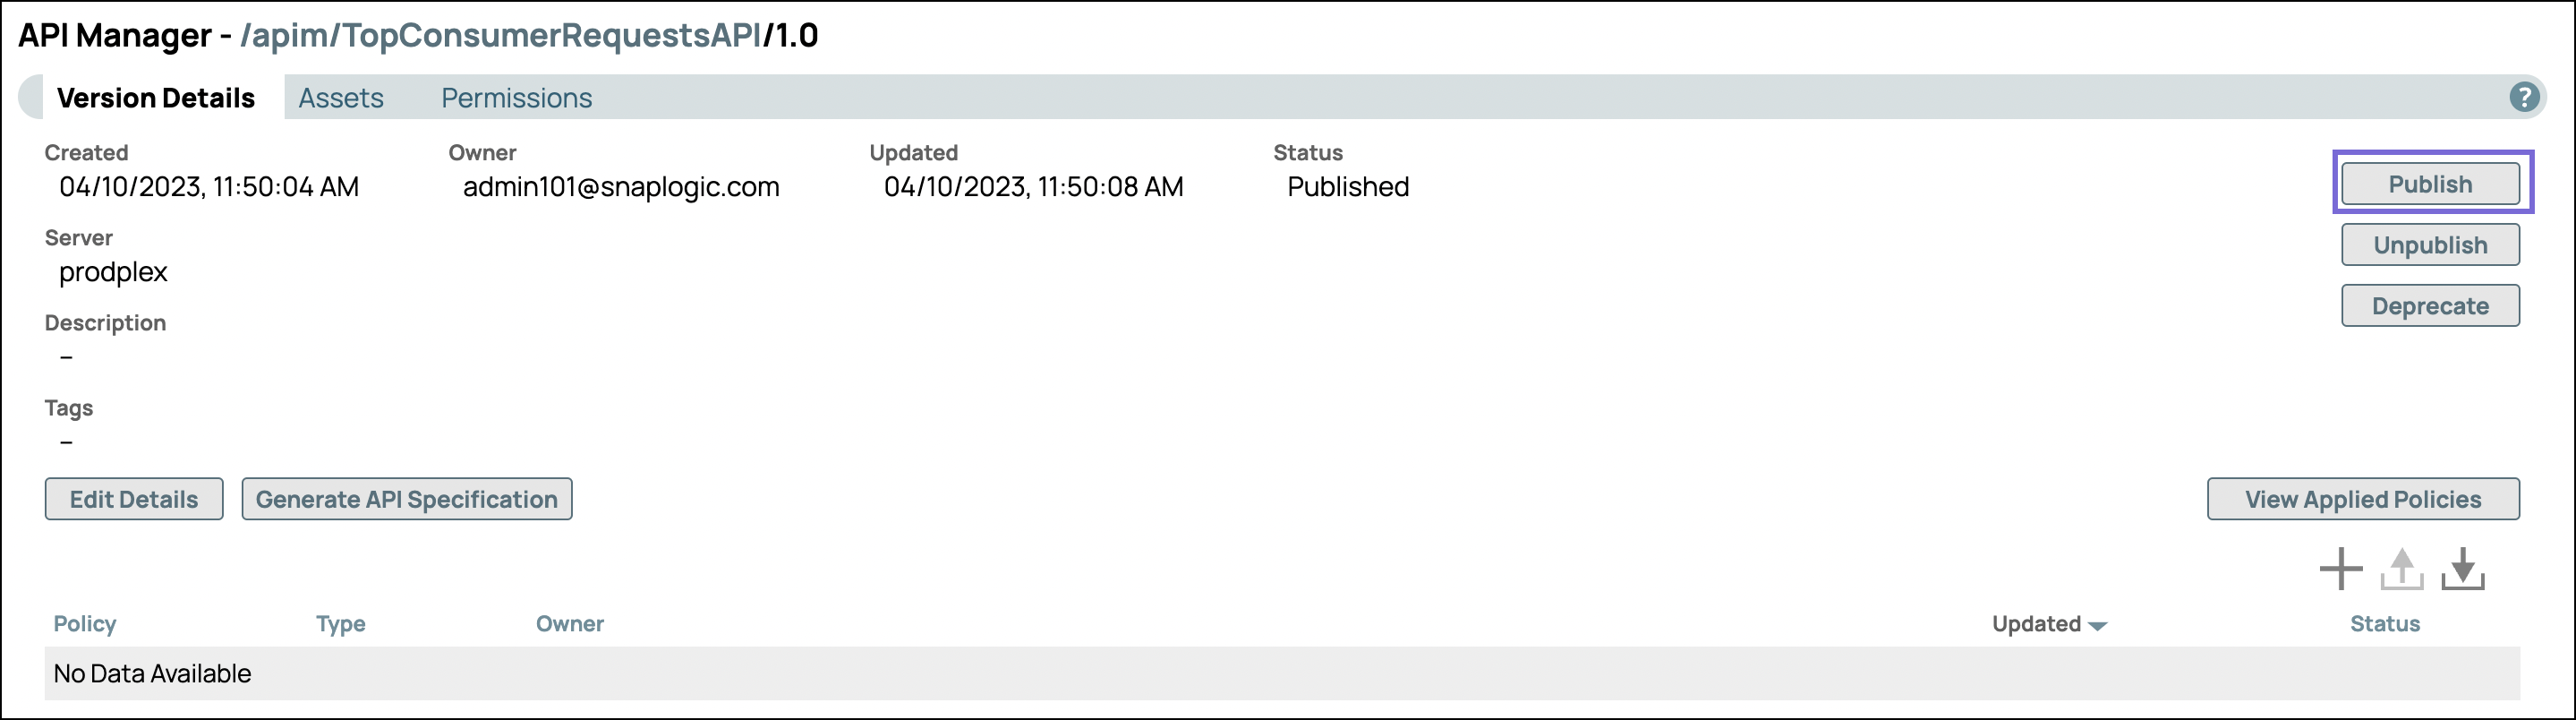
In the Version Details tab or Proxy Details tab, click Publish.
In the first Publish API dialog, configure the following settings:
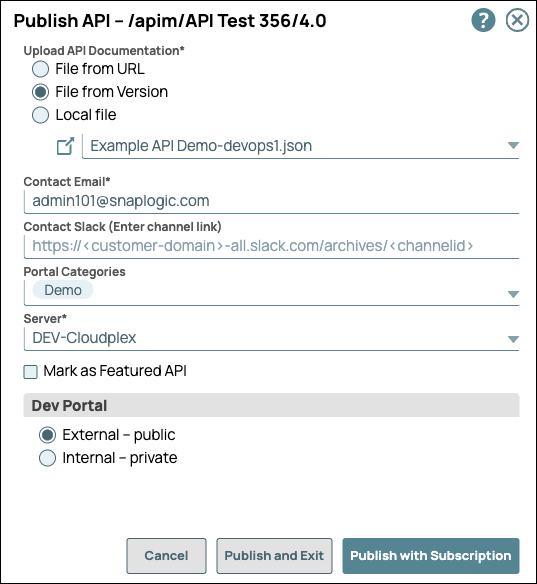
Upload API Documentation: Both JSON and YAML file specifications are supported.
Choose one of the following options:File from URL. References a file in the specified URL.
File from Version. Selects a file asset included in the API Version.
Local File. Uploads a file from your local machine.
 . Choose the specification file from the dropdown list.
Contact Email: The email address that an API consumer can contact about the API Version or Proxy. This field automatically displays the SnapLogic username of the user publishing the API, which you can change to any valid email address.
Contact Slack: Slack channels and recipients (with the appropriate Slack URL) that an API consumer can contact about the API Version or Proxy.
Portal Categories: Select from the list of categories that are preconfigured for your Developer Portal.
Server: Select the Snaplex to host the API. API Proxies do not support this option.
Mark as Featured API: Showcase this API Version or Proxy in the Featured section of the Developer Portal.
Dev Portal: select one of the following two options.
External - Public: (default option) Makes the API visible to all Developer Portal users.
Internal - Private: Makes the API visible only to APIM users.
In the second Publish API dialog, configure the following settings:
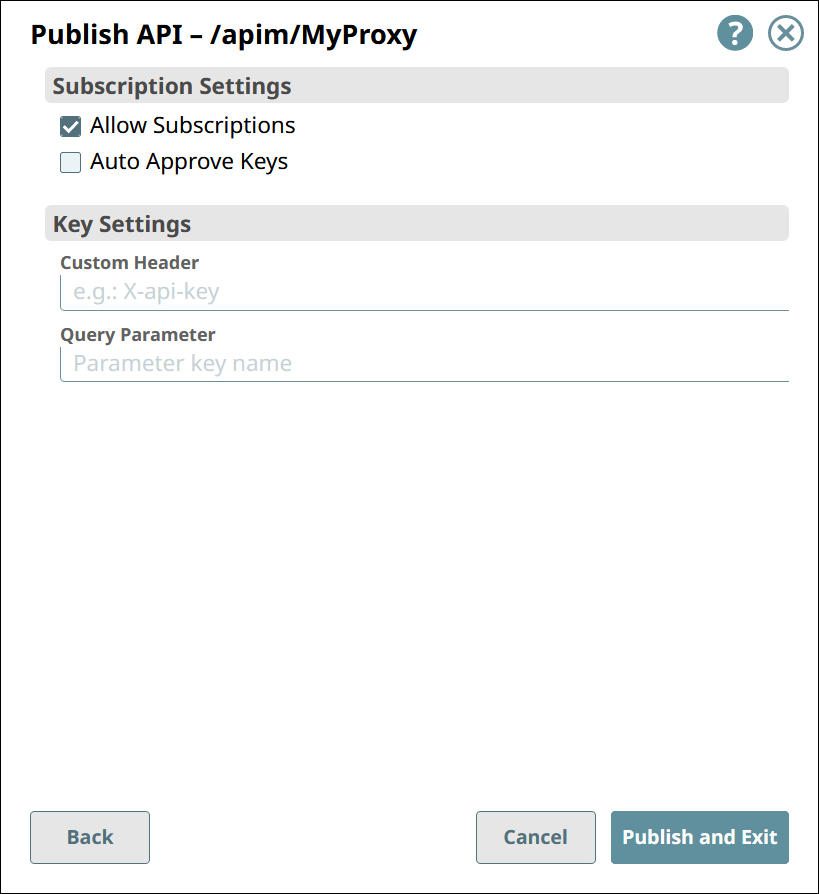
Under Subscription Settings:
Allow Subscriptions: If selected, API consumers can subscribe to this API Version or Proxy.
Auto Approve Keys: If selected, subscriptions are automatically approved.
Under Key Settings:
Custom Header: Specify the name of the custom header that will hold the subscribed application’s client key, when sending a request to call the API.
Query Parameter: Specify the name of the query parameter that will hold the subscribed application’s client key, when sending a request to call the API.
IMPORTANT: If you modify these settings for an already published API, the subscriber receives an automatically generated email notification.
NOTE: If neither field value is specified:If API is published with OAS 3.0 the API consumer must pass the secret key in the header as an Authorization key only.
If API is published with OAS 2.0 the API consumer must pass the secret key in the header as an Authorization key with the prefix Bearer.
Click Publish and Exit.
...
In the API Management console, complete one of the following actions:
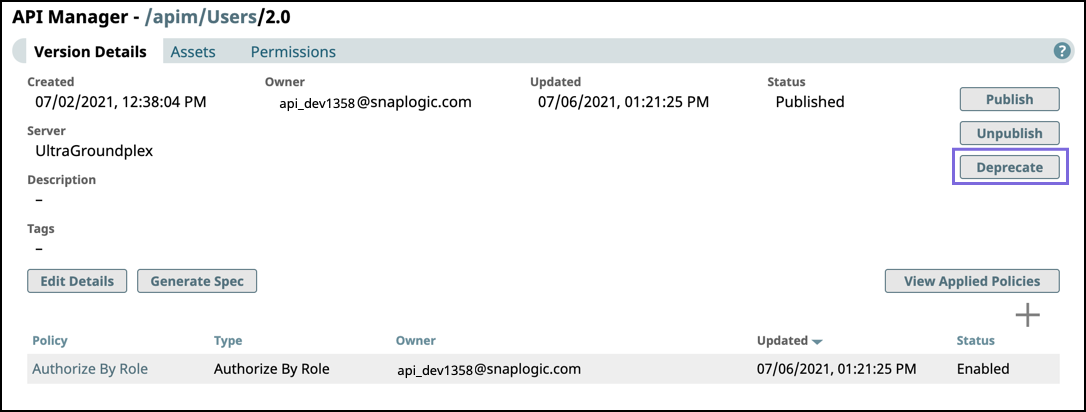
In API Manager, navigate to the target API version, then click Deprecate.
Click Portal Manager, scroll to the target API, and in the Actions column, click Deprecate.
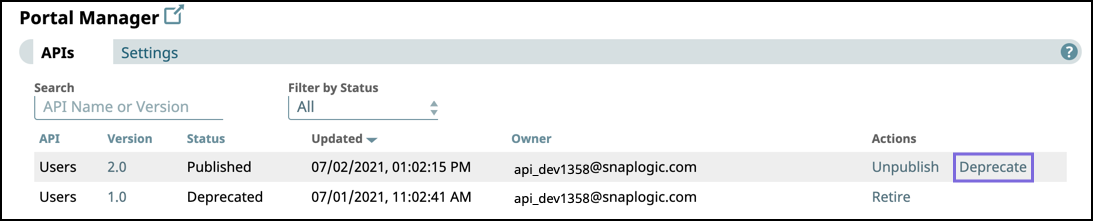
Enter a message for the consumers of this API version, and click Deprecate.

To verify that the API version is deprecated check the status in the Portal Manager or Version Details of the API version.
When you deprecate an API, an email is sent to all subscribed users of the API that it is deprecated.
...
Retiring an API Version
When you retire an API version, API consumers can no longer view it in the Developer Portal. You can no longer modify or republish a retired API version. You must deprecate the API version before retiring it.
...