
On this Page
| Table of Contents | ||||||
|---|---|---|---|---|---|---|
|
Creating a Workday Prism Analytics Account allows SnapLogic to access your Workday Prism Analytics data and process the same using the Snaps in this Snap Pack. Workday Prism Analytics Account supports OAuth 2.0 authentication.
Prerequisites
- Know the user credentials of a valid Workday Prism Analytics account. Specifically, client ID, client secret, and refresh token.
- Create an API Client for Integration and generate a refresh token in Workday Prism Analytics through Prism > Register API Client For Integration. Refer to the following key screenshots from the Workday Prism Analytics application:


- Be familiar with SnapLogic Platform, specifically, how to create an account and build a pipeline.
Creating Workday Prism Analytics Account
You can create a Workday Prism Analytics Account in SnapLogic either via Manager or while using a Workday Prism Analytics Snap in Designer.
Via SnapLogic Manager
Log into SnapLogic, go to Manager and select your Org (top right).
In the left panel, select a Project name, followed by Accounts in the right window.
Select + on the top right, scroll to Workday Prism Analytics and select Workday Prism Analytics Account to launch the Create Account dialog.

Enter the given details and click Validate to verify the Workday Prism Analytics account credentials or Apply to complete configuring the account details. In the case of Apply, the account can be validated while building/executing a Pipeline.
| Note |
|---|
We recommend that you generate a non-expiring Refresh token in Workday Prism Analytics. Otherwise, you will need to re-enter a new token after its expiry period. |
This completes configuring the Workday Prism Analytics Account in SnapLogic. You can now start using the Workday Prism Analytics Bulk Load Snap in your pipelines.
Via a Workday Prism Analytics Snap in SnapLogic Designer
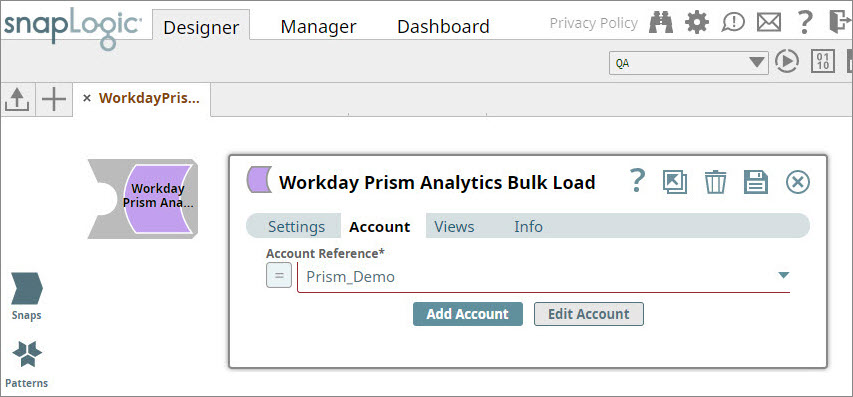
In Designer, drag the Workday Prism Analytics Snap from the Snap Catalog.Double-click the Snap to open the following dialog:

Select an existing account to use and click Save or click Create new account/Choose Account later.
Pages in this section
| Panel | ||
|---|---|---|
| ||
|
Overview
You must configure Workday Prism Analytics accounts to enable Workday Prism Analytics Snaps to connect to Workday Prism Analytics datasets and tables.
See Accounts to learn more about SnapLogic Accounts.
Creating Workday Prism Analytics Accounts
You can configure your Workday Prism Analytics account in the SnapLogic UI using either the Designer or Manager.
Using SnapLogic Designer
- Drag the Workday Prism Analytics Snap to the canvas.
- Click the Snap to open the Snap's settings.
- Click the Account tab.
- Select the account that you want to use from the Account Reference drop-down list, or click Add Account to create a new account.
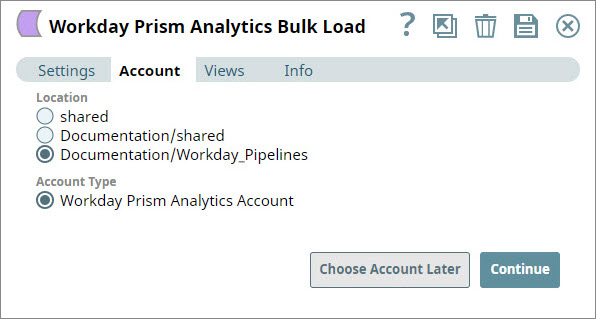
Select the location in which you want to create the account, select the account type, and click OK to view details associated with the account that you want to create.
Enter the required account details. For detailed guidance on how to provide information associated with each account type, use the following links:
Child pages (Children Display) Optionally, enter additional information on this account in the Notes field of the Info tab.
- Click Validate to verify the account information.
- Click Apply to complete configuring the Workday Prism Analytics account.
Using SnapLogic Manager
- Navigate to the project and click Create > Account > Workday Prism Analytics, followed by the appropriate account type.
Navigate to the project with which you want to associate the new account and click Account > Workday Prism Analytics > Workday Prism Analytics Account.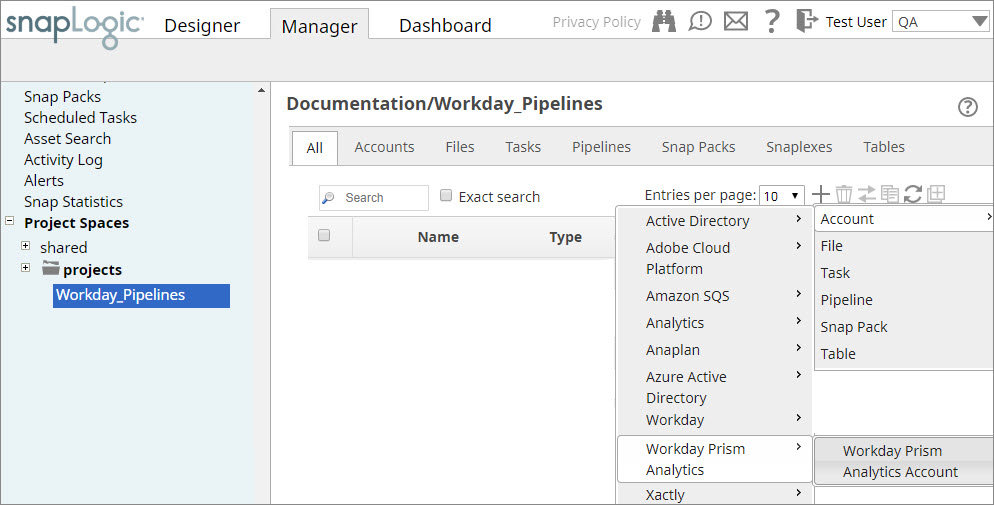
The settings popup associated with the selected account type appears. - In Settings, enter the required Workday Prism Analytics account details.
- Optionally, enter additional information on this account in the Notes field of the Info tab.
- Click Validate to verify the account information.
- Click Apply to complete configuring the Workday Prism Analytics account.
| Warning |
|---|
You should avoid updating the account credentials while Pipelines using that account are executing. This may lead to unexpected results, including locking your Workday Prism Analytics account. |
See Also
| Insert excerpt | ||||||
|---|---|---|---|---|---|---|
|