In this article
| Table of Contents | ||||
|---|---|---|---|---|
|
Prerequisites
- Familiarity with the SnapLogic and AWS platforms.
- AWS Account with S3 buckets.
Key Steps
Creating a Cross Account IAM Role and Policy in AWS Account
Cross Account IAM Role enables a client from an AWS account to access the resources of another AWS account temporarily using the Binary Snaps that support reading from/writing into S3 buckets. This helps organizations or different teams in an organization to access each other's AWS account without compromising security by sharing AWS credentials.
You can briefly allow access to your AWS account and specify the access duration. You must create a role and policy in your AWS account. The policy created by the host is attached to the access seeker's account. This cross account IAM role enables SnapLogic to trigger the necessary APIs.
Steps
- Log in to the AWS Management Console and go to IAM > Roles.

- Click Create role > Another AWS Account. This is where you specify the account ID for the other account, that will access your account.
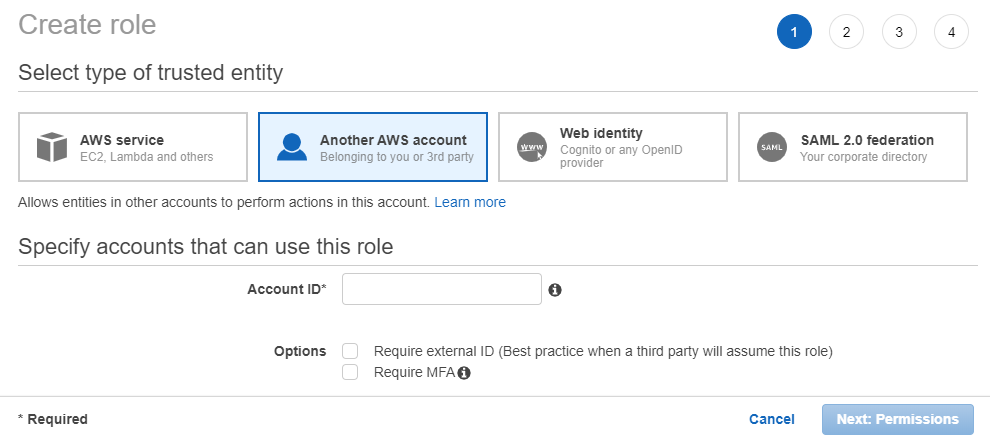
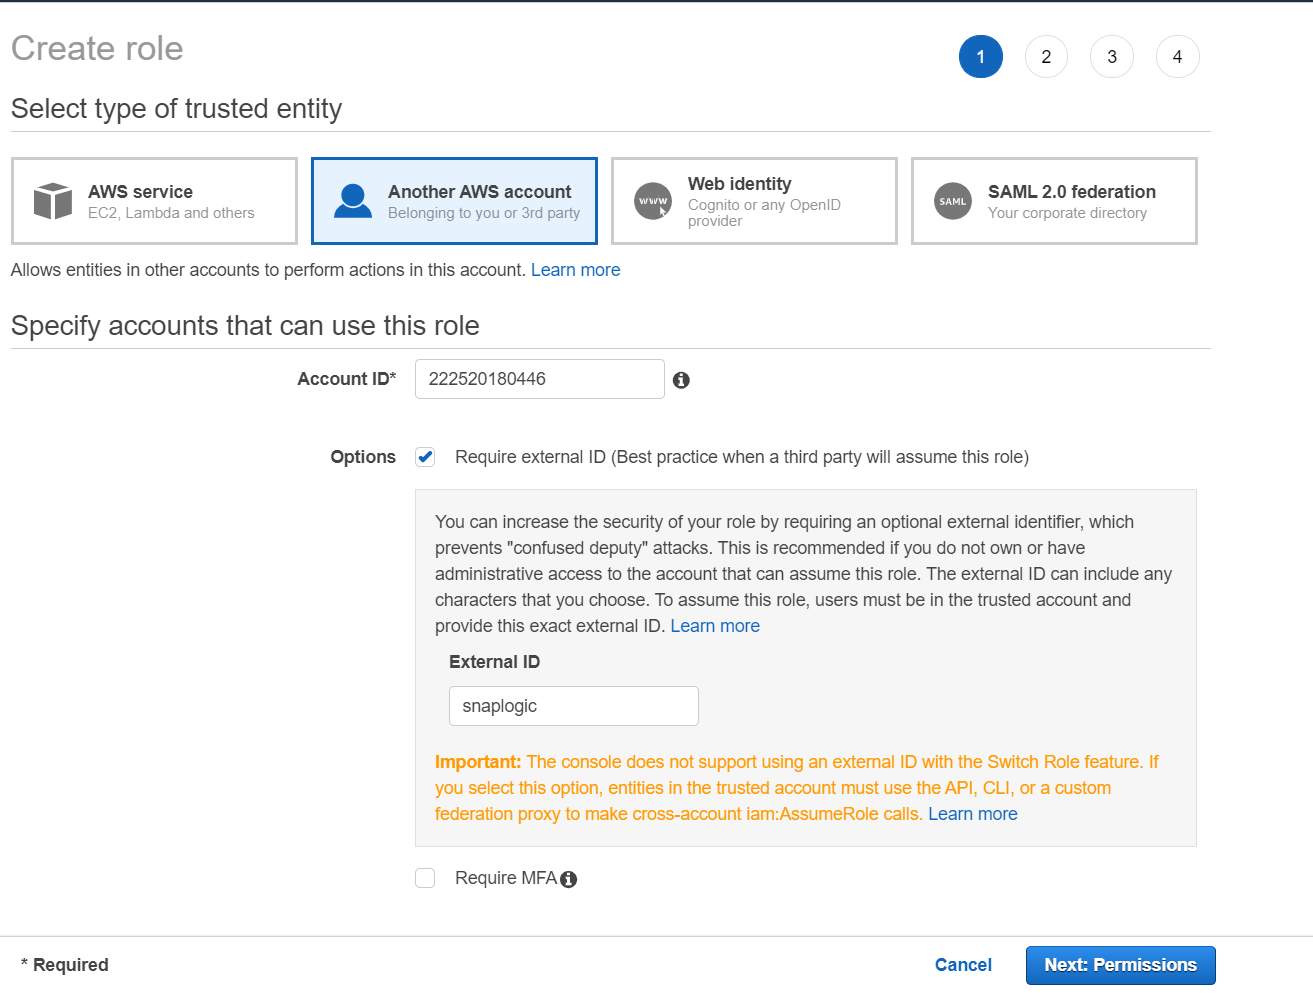
- Enter the account number of the access seeker in the Account ID field, which is available in the Support Center. Optional. Add an additional security layer to authenticate for each login by checking Options check box, next to Require external ID... this role).
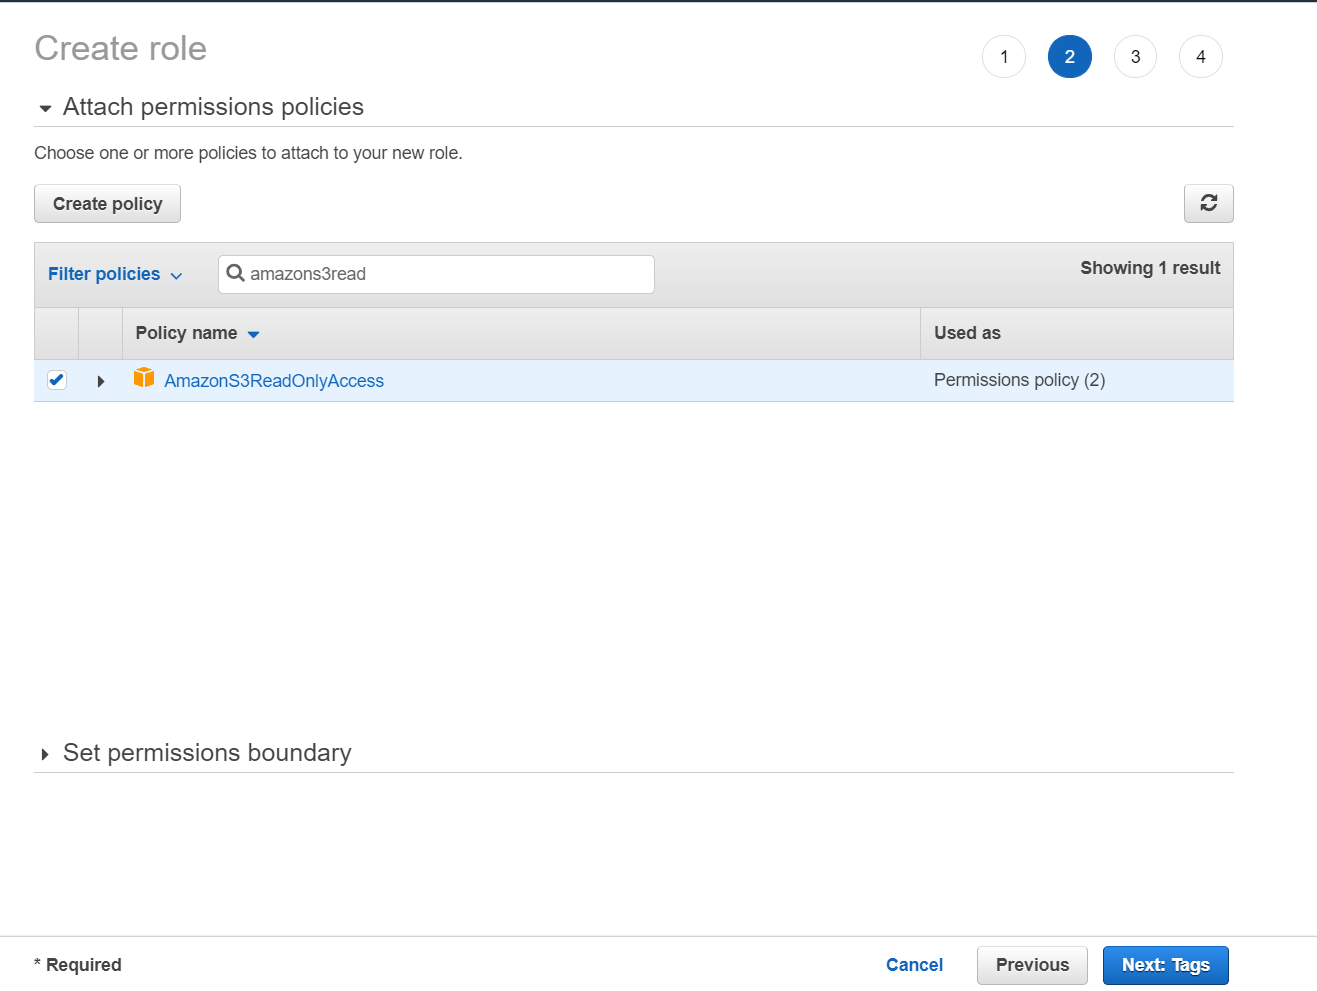
- Click Next: Permissions. The Attach permission policies screen displays, where you can set the permissions. Select the check box next to the applicable policy for this role.
- Click Next: Tags. Optional. Add tags as appropriate. This is an optional step.
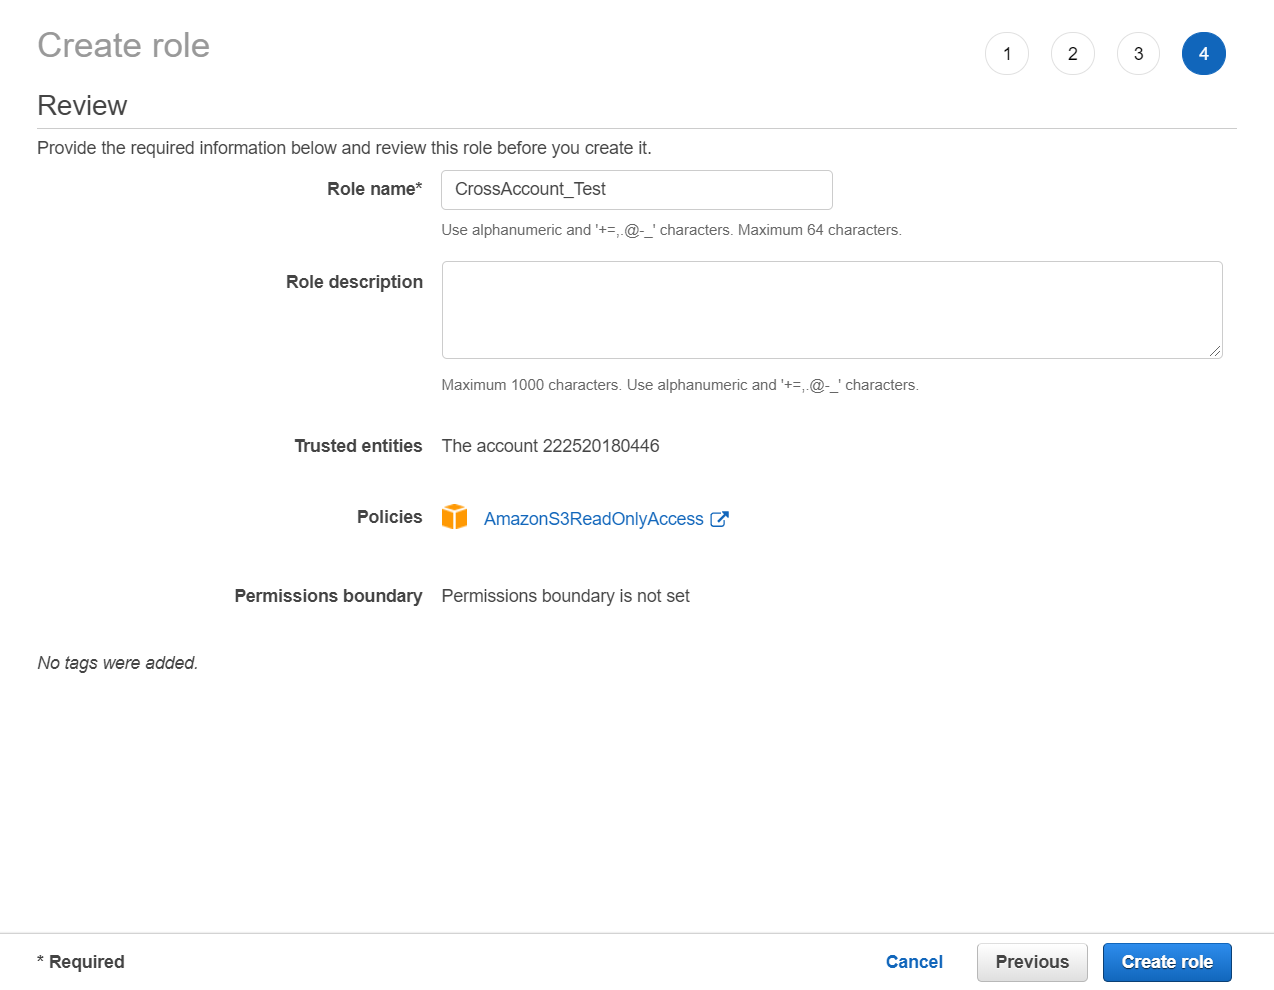
- Click Next: Review to skip to the next screen.
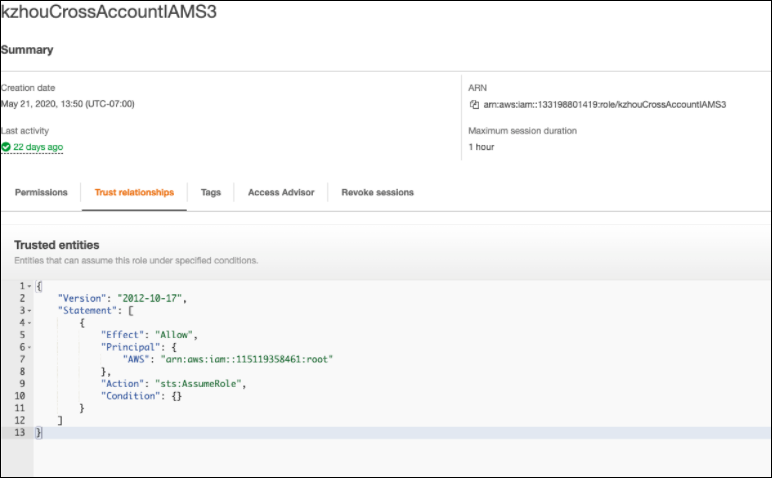
- Review the information displayed and add a name for the role. Click Create role.
The Summary page displays the Amazon Resource Name number. Make a note of this ARN, as you will need it when completing the AWS IAM Role account settings.
Associating the IAM Policy with the Created Role
Steps
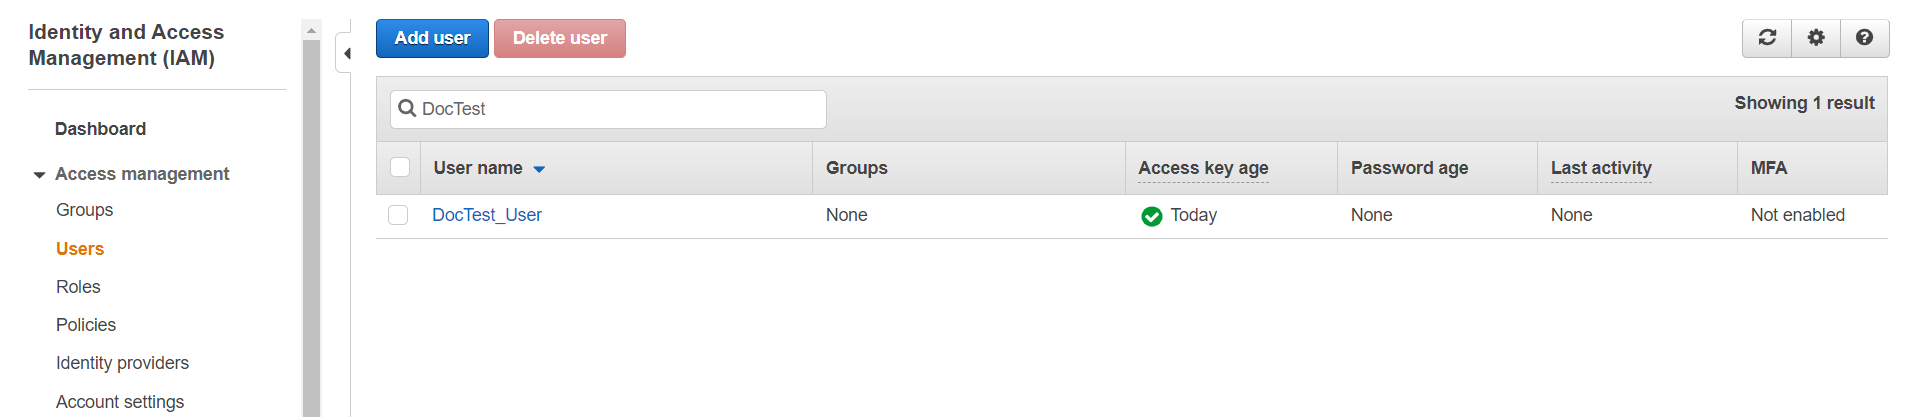
- In your AWS console, click Users and select the user name which is listed in the table.
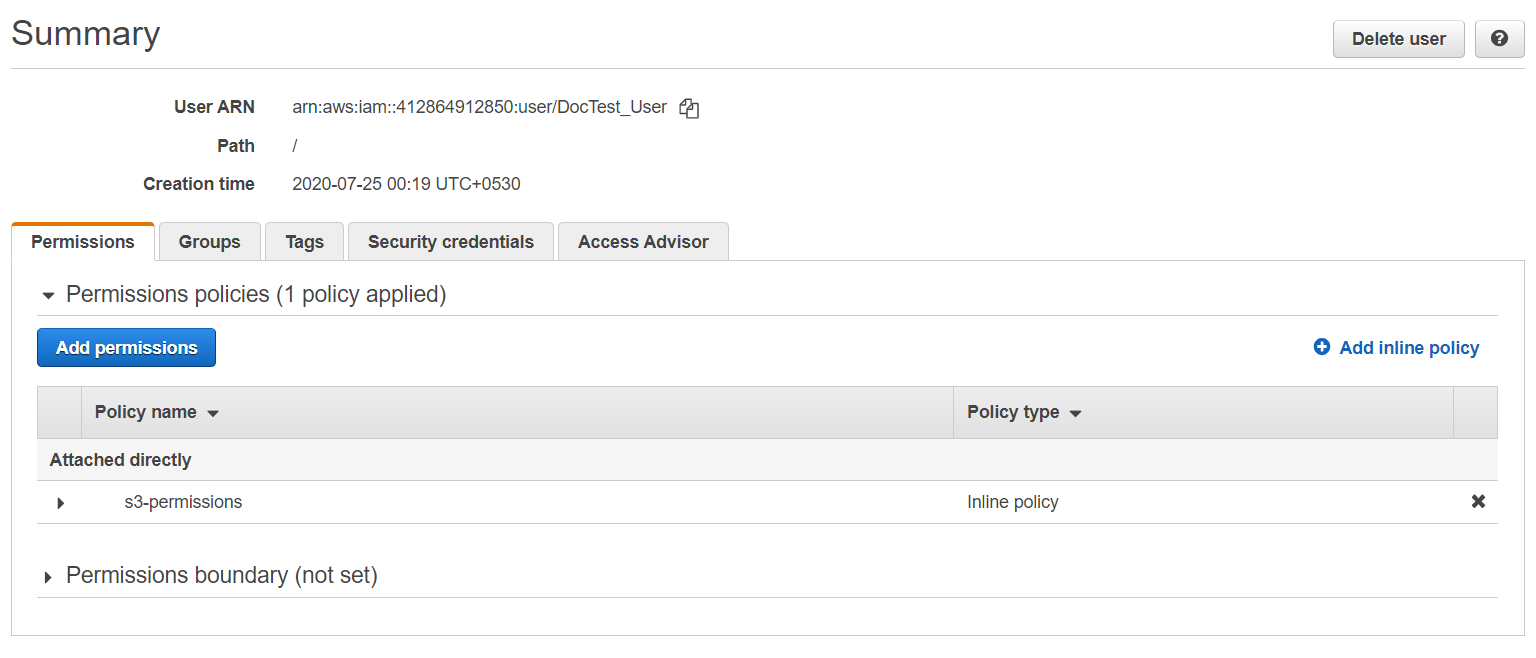
- In the Summary screen, select the user and click Add inline policy to attach the policy.
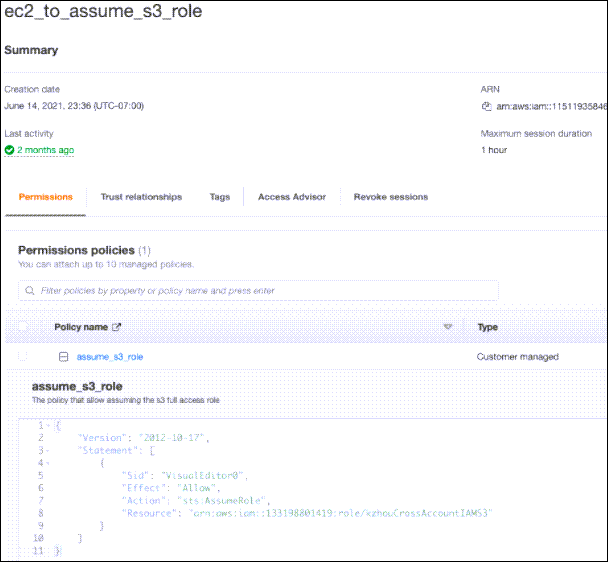
Click the JSON tab and enter the following policy in the editor then Click Review Policy.
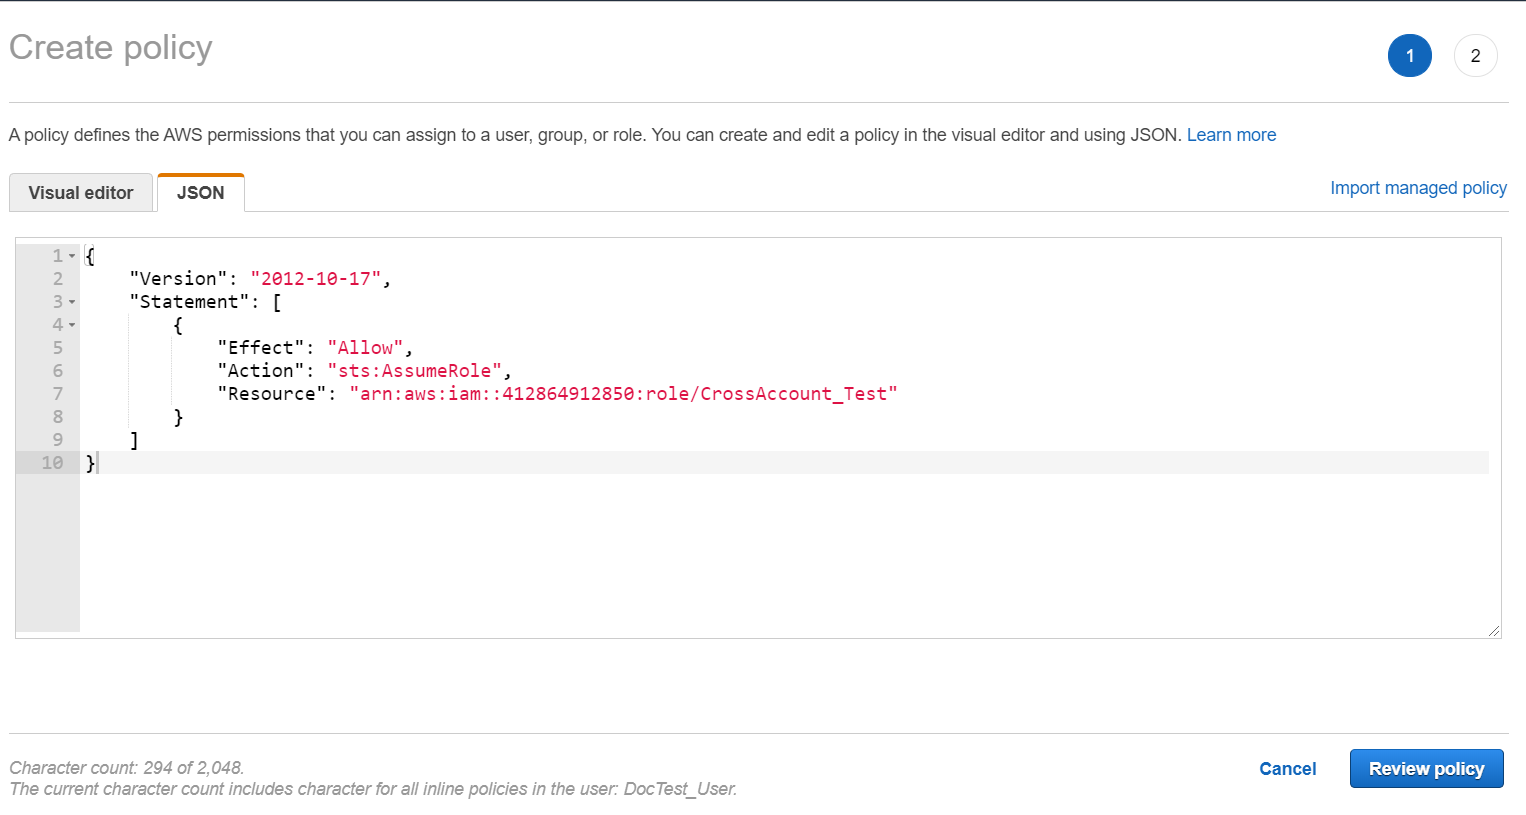
Code Block { "Version": "2012-10-17", "Statement": [ { "Effect": "Allow", "Action": "sts:AssumeRole", "Resource": "<Role ARN>" } ] }
4. Review the policy summary. Add a name and optionally, a description for this policy, and click Create policy. 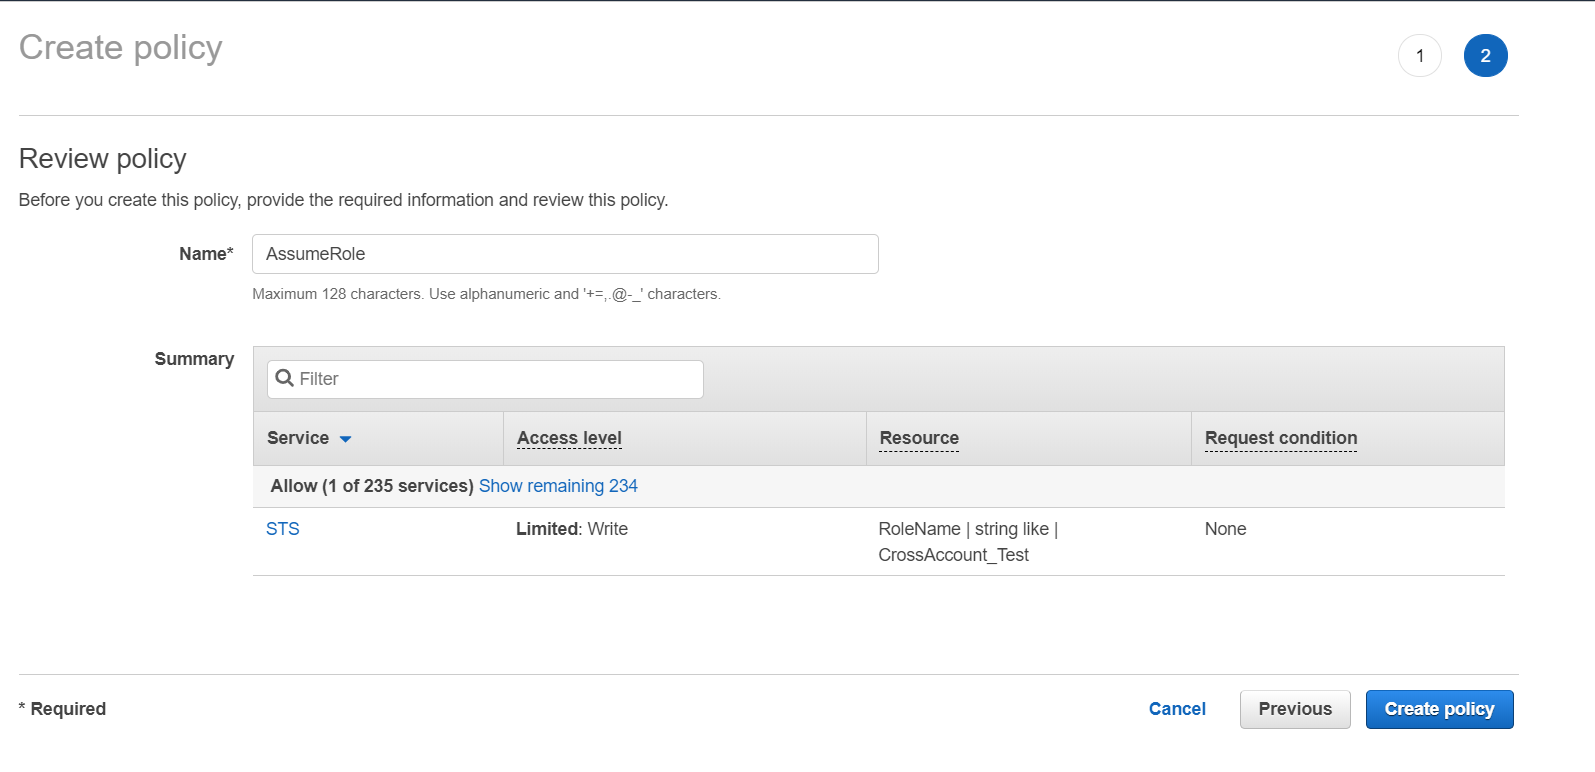
The policy is created and can be assigned to the cross-account IAM role.
Account Settings for Access Through SnapLogic
You can configure the cross account IAM Role inside the S3 Account or S3 Dynamics Account. Enter the credentials provided of the IAM role. Enter Role ARN and External ID (if setup by the host) provided from the host S3 account.
Steps
- Enter the Access-key ID, Secret key of the host S3 account. The credentials should belong to the IAM user we attached policy in the last section.
OR
For an account used in EC2 groundplex with IAM role configured, select the IAM role check box.
2. Enter the Role ARN and External ID provided by the S3 host account.