You can import Pipelines to the canvas in SnapLogic Designer.
- On the top left, click
 to import a Pipeline to display your file viewer, navigate to and select the target Pipeline.
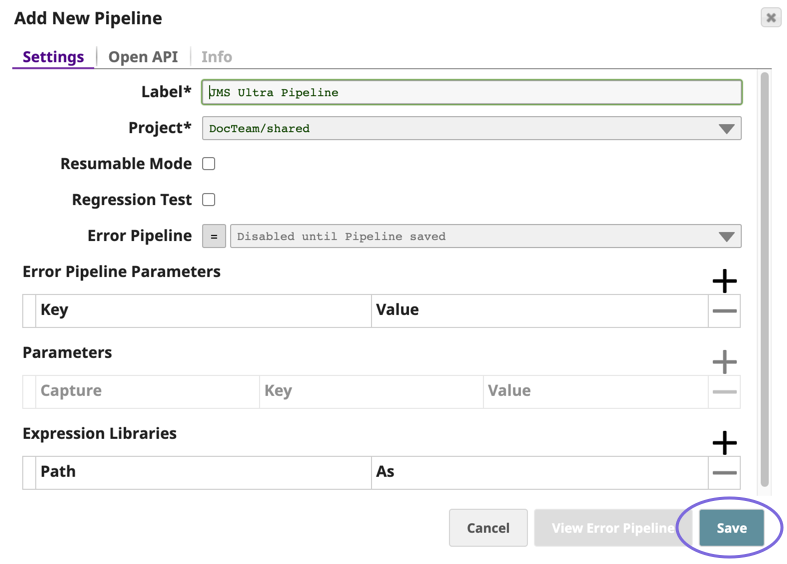
 - The Pipeline Wizard appears. Fill out the required fields and click Save.
Guidelines for References
Because the imported Pipeline might have references to accounts or other assets, you should consider the following guidelines for repurposing Pipelines.
- If the reference is to an asset in the Shared folder, then leave the reference as is.
- If the reference is to an asset in another project from the target project, then consider the following conditions:
...
You can import a Pipeline that was previously exported to a .slp file. Importing a Pipeline does not automatically bring in the SnapLogic Assets referenced by the Pipeline. Follow these best practices for referenced Assets:
- If a Pipeline has one or more child Pipelines, import the child Pipeline before importing the parent Pipeline.
- If a Pipeline contains references to other Pipelines, Files, Accounts, or Tasks (which can be called from a Snap), handle them as follows:
- Leave references to Assets in the global shared folder as is.
- For Assets in a Project other than the destination project:
- If the reference to a File is an absolute path, do not change it.
- If the Asset is available in the destination Project, change the reference to point to the destination project after importing the Pipeline.
- If the destination Project does not have an Asset with the same label, but one exists in its shared folder or the global shared folder, change the reference to the appropriate location after importing the Pipeline.
- If the Asset has a different label in the destination Project, change the reference before importing the Pipeline.
To import a Pipeline in SnapLogic Designer.
- From the left palette tab, click the import button:

- Choose the
.slpfile from the file system. The dialog opens. - Fill out the required fields and click Save.