...
| Note |
|---|
If the Snaplex is already installed on the machine, the old installation needs to be stopped before the installation can be done at a new location. To stop the old installation, run |
Preq
To install Snaplex on-premises on Windows:
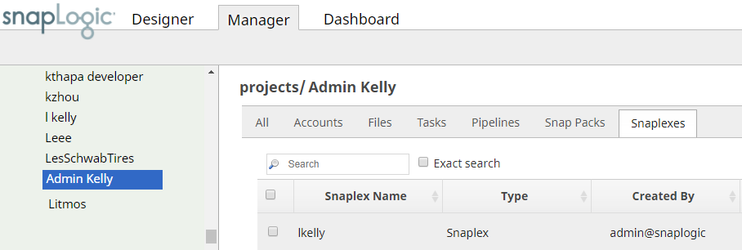
- As an Org admin, log into SnapLogic Manager.
- Under Project Spaces on the left, locate the project where you want to create your Groundplex (or the global shared project), then select the Snaplexes tab on the right.
- Click the Create + button and complete the Create dialog (later known as the Update Snaplex dialog).
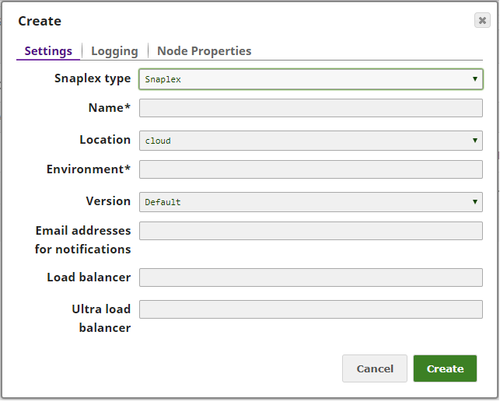
- Once completed, the dialog reopens to the Downloads panel.
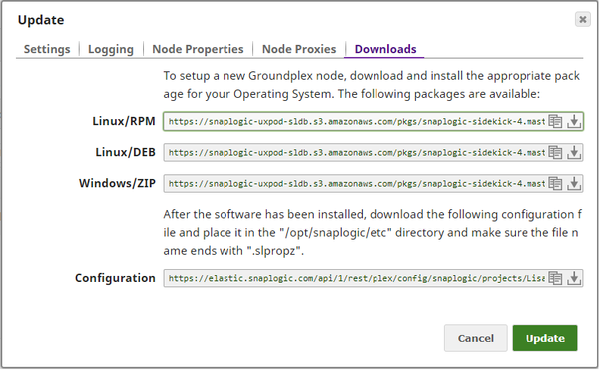
- Download the Windows ZIP file and the configuration file onto the Windows machine where you want the Groundplex installed.
- Create the directory
\opton your server in the root of the C: drive. - Unzip the zip file to
c:\opt. This will create a directoryc:\opt\snaplogicand a directory structure as follows: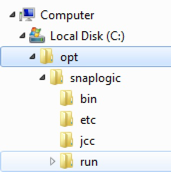
Check your Windows environment to see if you have a version 11 of Java.
Note title Version of Java Make sure the version of Java that you are installing matches the type (32-bit or 64-bit) of Windows machine.
Do this by executing the commandjava -versionin a command window.
- If the version of Java is less than JDK 11, download the Windows JDK and install the JDK at
c:\opt\java. - If JRE 11 is already available on the machine, the existing installation can be used. Use Notepad to edit the file
c:\opt\Snaplogic\bin\jcc.batand change the entry for the JAVA_HOME environment variable to the location of the existing installation, putting double quotes around the value.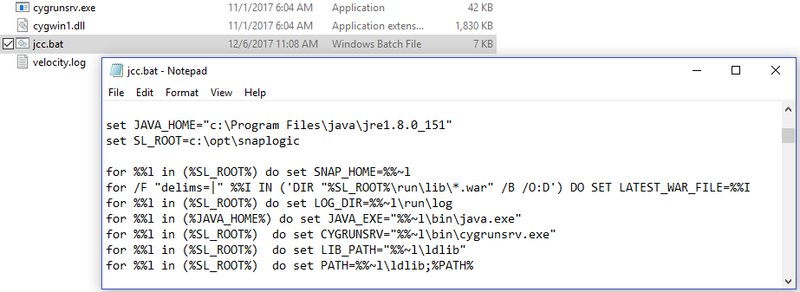
- If the host machine is configured for JDK auto-update, then each time a JDK update occurs, the older JRE installation is deleted by default. As a result, the Snaplex fails to start after the JDK update. To avoid this issue, use the static installation feature of the JDK installer.
To do a static install:- Add the
STATIC=1option when running the JDK installer from the command line or from the Run dialog. - When the JRE auto-update occurs, uncheck the uninstall option for older JDK installations. This prevents the older installation from being removed.
- Add the
- If the version of Java is less than JDK 11, download the Windows JDK and install the JDK at
- After the software has been installed, place the downloaded configuration file in the \
opt\snaplogic\etcdirectory and make sure the file name ends with.slpropz. - From the command prompt, change to the
\opt\snaplogic\bindirectory. You may start the node by running the command:jcc.bat start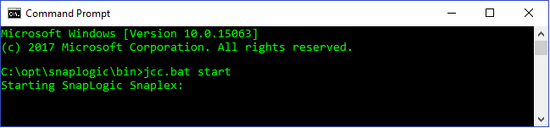
Alternatively, to install the Snaplex as a Windows service, run the following command as an administrator:jcc.bat install_service
Then, go to the Windows Control Panel services, to view the entry for the SnapLogic Snaplex, and start the service from Tools in the Services window. To establish if the process started, run the command:
jcc.bat status. The state should beRunning.To verify the Snaplex has started, visit https://elastic.snaplogic.com/sl/dashboard.html#Health
The newly installed node should show up in the list of nodes for the Snaplex.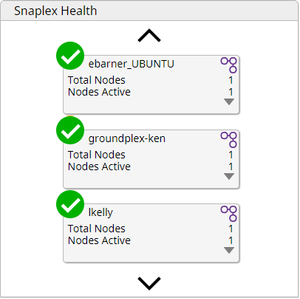
Upgrading on Windows
By default the JCC will automatically update itself. To disable this, apply the following setting in c:\opt\snaplogic\etc\global.properties:
| Code Block |
|---|
jcc.enable_auto_download = False |
...
Updating Cygwin Binaries
When running the Windows-based Snaplex as a service,
...
performing a service restart causes the Monitor process to start with the old binaries files.
| Note |
|---|
When upgrading your Snaplex to the 4.29 release (May 2022), you need to reinstall the Snaplex using the 4.29 installer zip file for Windows. Upgrading through Manager will upgrade only the war file, but not the binaries, |
To update the service to use the latest binaries,
...
you can choose from one of the two following options:
Option 1: Perform a Complete Reinstallation
Stop the Windows-based Snaplex service.
Remove using
bin\jcc.bat remove_service.Back up the configuration files from \
etcfolder.Remove
C:\opt\snaplogic.Reinstall the Windows-based Snaplex using the 4.29 zip file.
Option 2: Install the Latest Cygwin Binaries Only
- Unzip the 4.29 zip into a different location.
- Copy
bin\cygwin1.dllandbin\cygrunsrv.exefrom the new zip to the existing installation location. - Update and restart the service using
bin\jcc.bat update_service.
Disabling Automatic Update
By default the JCC node will automatically update itself. To disable this, apply the following setting in c:\opt\snaplogic\etc\global.properties:
| Code Block |
|---|
jcc.enable_auto_download = False |
Troubleshooting Installation
...