...
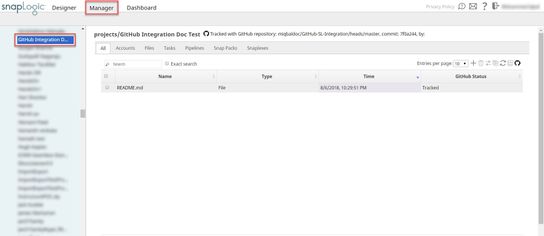
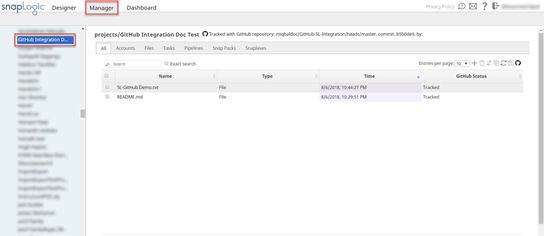
Navigate to the project in SnapLogic Manager.

Click
 and upload the file.
The file displays in the Asset table with the GitHub Status Untracked.

Open the File options menu by clicking the arrow to the right of the file name:

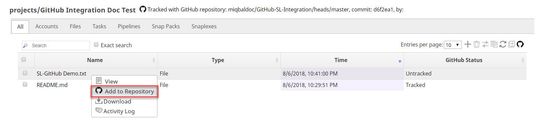
Click Add to Repository. The GitHub status changes to Added.


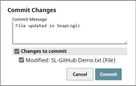
With the file selected, open the GitHub menu and click Commit to GitHub Repository. The Commit changes dialog box opens. The file is shown under Changes to Commit in the dialog box.
Add a Commit Message.
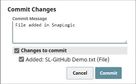
Click Commit. The file is added to the Asset table and the GitHub Status reads Tracked.


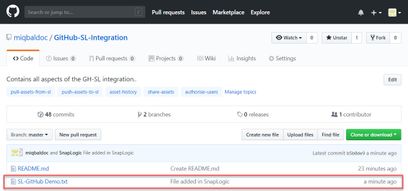
Refresh the GitHub page. The new file is displayed in the repository along with the commit message.
...
Navigate to the project in SnapLogic Manager.

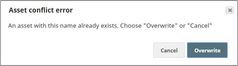
Upload a file from local storage (by clicking the + symbol, and uploading it). Since the file already exists, an Asset conflict error dialog box displays. Click Overwrite to confirm.
Go to the GitHub menu and click Commit to GitHub. The Commit Changes dialog box opens. It automatically detects if there is a newer version of a file and lists it out in the dialog box under the Changes to Commit list.
Add a Commit Message, if required.
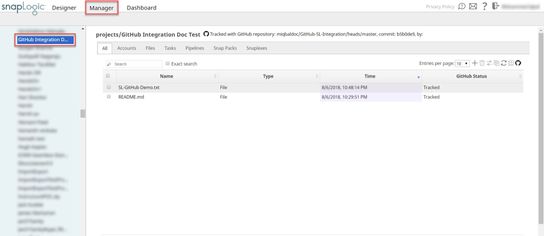
Click Commit. The Asset table is updated.


Refresh the GitHub repository page to confirm the update.


| Anchor | ||||
|---|---|---|---|---|
|
...
Navigate to the project in SnapLogic Manager.

Open the File options menu by clicking the arrow adjacent to the right of the file name.
Click Remove from Repository. The GitHub Status changes to Removed:
Commit the deletion from the GitHub menu by clicking Commit to GitHub Repository.
Add a Commit Message, if required:
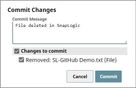
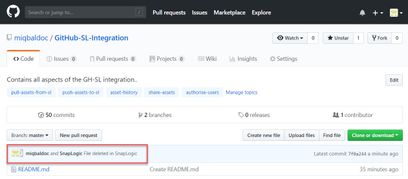
Click Commit. The GitHub Status changes to Untracked and the file is deleted from the GitHub repository.


Refresh the GitHub repository page to confirm deletion.
...
The GitHub Pull Messages dialog lists the Assets that were fetched from GitHub:
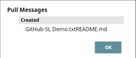
If you click OK the new Asset displays in the Asset table:


Pulling Updates with Conflicts
...