Table of Contents
...
- You are an advanced user of SnapLogic and Apigee Edge
- Your org is using SnapLogic JCC (4.13)
- You have Apigee account user credentials
- You have defined Ultra Tasks or Triggered Tasks in your SnapLogic pipelines
| Warning |
|---|
|
Using Pipeline Tasks to Generate APIs via Apigee
...
- In the SnapLogic Manager tab, browse to the project folder that has the pipelines you want to use for the Apigee API integration.
In the Accounts tab, launch the Create Account screen by clicking
 and selecting REST > REST Basic Auth Account.
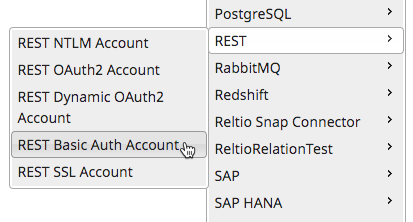
Tip The REST Basic Auth Account is shareable and reusable across the shared projects per org.
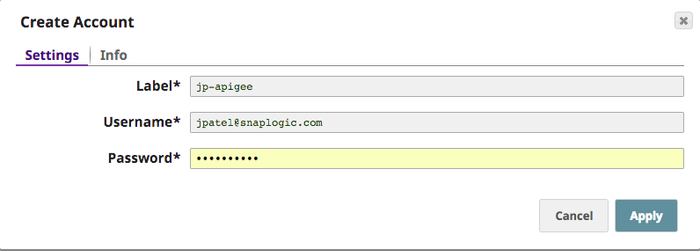
- In Create Account, enter an account name for Apigee in Label, along with your Apigee account user credentials – Username and Password.
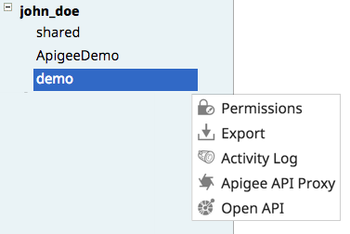
- Click the project folder and select API Proxy to start building your Apigee proxy.
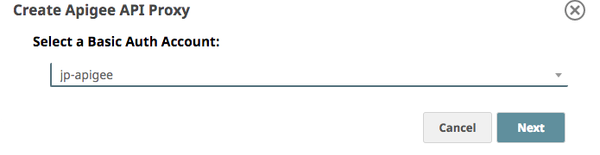
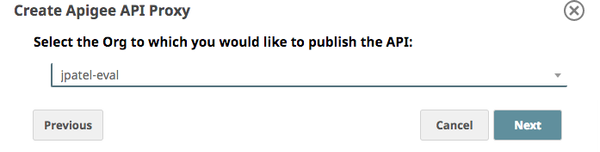
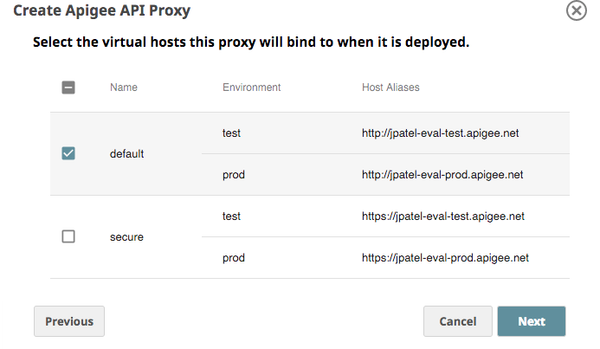
- Perform the following steps in the Create Apigee API Proxy wizard:


Warning Apigee supports only letters, numbers, dashes (-) and underscore ( _ ) for the Proxy Name.
Note Recreating a proxy triggers the following alert:

If you opt to revise a proxy, then the current proxy is simply overwritten.
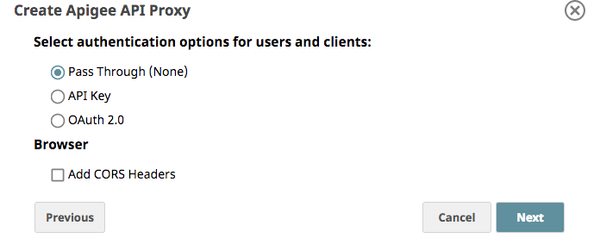
Note Enable Add CORS Headers for the "try out" feature to work in Swagger Online Editor.
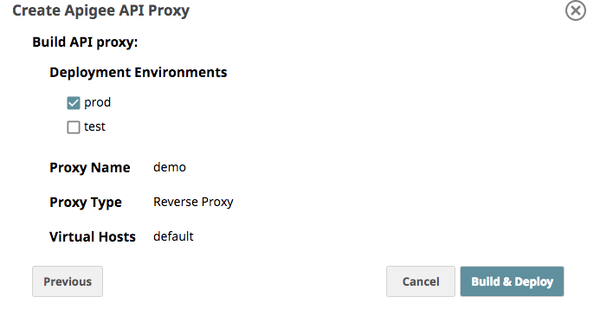
Note Clicking Build & Deploy displays "Building..." for some time while the API is generating.
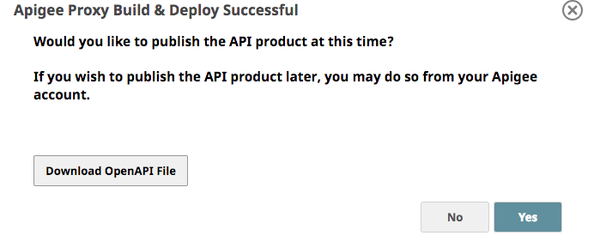
Note Click Download OpenAPI File to download the zip file containing all the .yaml files. Click Yes to publish the API product (and read the next step). Else, click No and view the downloaded .yaml file in any text editor like Swagger.
(Optional) If you choose to create a product in Apigee, provide the required details, and click Publish.
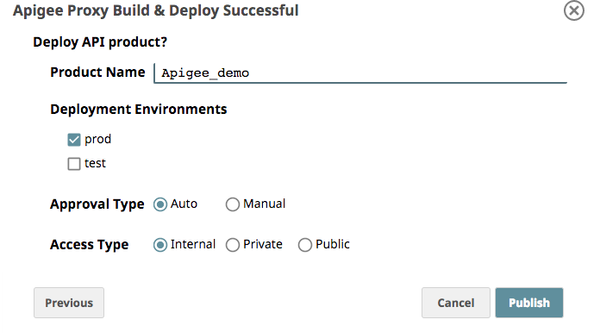
Warning Apigee supports only letters, numbers, dashes (-) and underscore ( _ ) for the Product Name.
The dialog displays a "Publishing..." message for a few minutes, then closes itself. You can now check your Apigee account to manage the API proxy product.
...