In this article
Snaps in this Snap Pack use the Azure Active Directory OAuth2 account to access the Azure Active Directory (AAD). For the OAuth2 account to function without any issue, ensure to (create and) configure an application corresponding to the account as explained in the steps below. These steps also contain the information required to create/define a new OAuth2 account for use with this Snap Pack.
Create/Access your Azure Portal Application
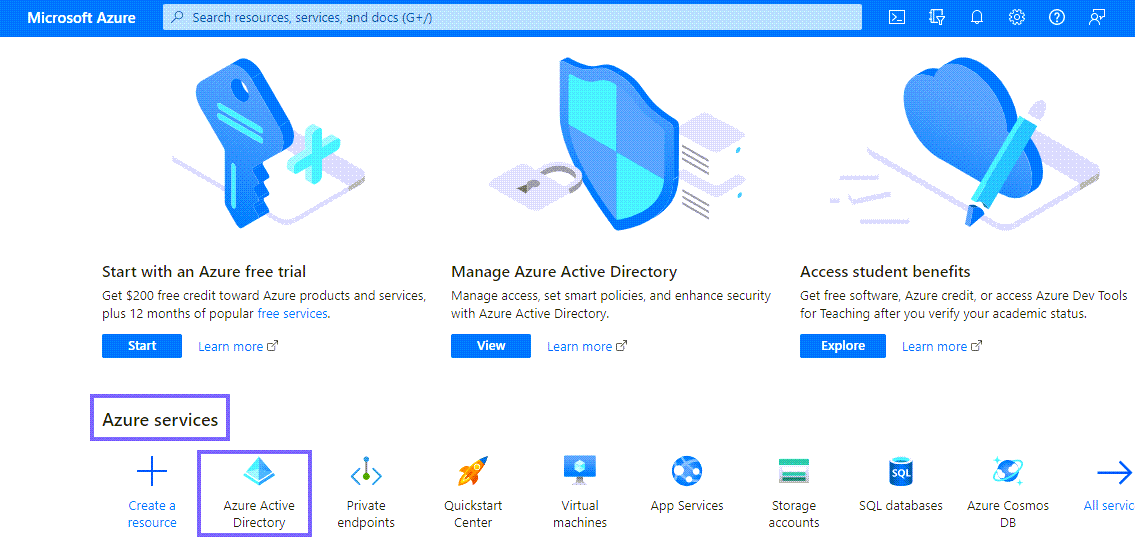
- Log into the Microsoft Azure Portal.
- To create a new application, click Azure Active Directory under Azure Services.
- Click Add → App Registrations

- On the Register an Application page, enter the Name and Redirect URL Name and Redirect URL for the new app registration. Redirect URL is the URL of your SnapLogic server that uses this account.
OR
To use an existing application, select the application from the list in the App Registrations to select the application.
- Click Register.
Locate/Define Information Required to Create your Snap Account
- Specify the values required to create a successful Snap account connection.
- Enter the application (Client) ID for the new account.

- Click Endpoints to locate the OAuth 2.0 authorization endpoint (v1) and OAuth 2.0 token endpoint (v1).

- Under Manage, click Authentication to define the trusted redirect/callback/reply URLs from your SnapLogic platform that connect/transact with the Azure Active Directory application.
- Click Add URL to define a new Redirect URI and save it.

- Configure the Logout URL to: https://elastic.snaplogic.com.
- Click Certificates & secrets to view the Client secrets that can be used for the new account.
- Click Add.
- Copy the value of the generated Client Secret. You will need this Client Secret to configure the Azure Active Directory in SnapLogic.

Under Manage, click API permissions to grant permissions to the application for the endpoint in context.
Click Add permissions to add permissions.

13. Under Microsoft Graph, select Delegated permissions and choose the following permissions from the respective category.
OpenId permissions > offline_access
Files > Files.ReadWrite.All
14. Click API permissions to grant permissions to the application for the endpoint in context
You can assign admin access to yourself and proceed with account configuration in SnapLogic.
Scopes and Permissions Required for Azure Active Directory
- Navigate to the Snap of your choice and set up the account with the following details noted in the previous steps.
- Client ID
- Client Secret
- OAuth2 Endpoint and OAuth2 Token:Replace <tenantname> with your Azure Active Directory tenant name.
- Token Endpoint Config:
- Token endpoint parameter: response_type
- The token endpoint parameter value: code
- Auth Endpoint configuration:
- Authentication parameter: scope
- Authentication parameter value: offline_access Files.ReadWrite.All
- Click Authorize.
You will be redirected to the login page of Microsoft office. - Login and accept the permissions.
The Access token and the Refresh Token will be generated. - Check the Auto-refresh token checkbox and save the account.
See Also