Configure two or more Snaps linked together to orchestrate a flow of data between end points.
Step-by-step guide
To create a new pipeline:
- In Designer, click on the [+] icon to the left of the tabs. The Configure New Pipeline dialog opens.
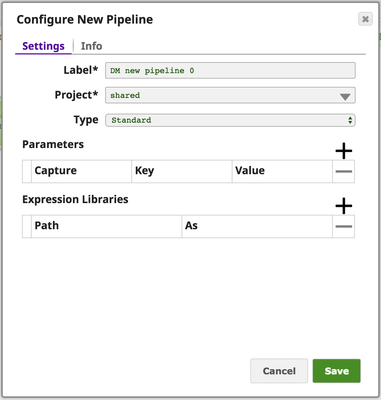
- Modify the Label (pipeline name) and project for the pipeline if necessary.
Unless otherwise noted, the names of any asset or project is limited to UTF-8 alphanumeric characters and these punctuation characters !"#$%&'()*+,-.:;<=>?@[\]^_`{|}~. - If you know of parameters to define for this pipeline, you can do so now or later through the Pipeline Properties dialog.
- If you are using an expression library, you can add it now or later through the Pipeline Properties dialog.
- If you have the Spark feature, you also have the option to designate this pipeline as a Spark pipeline.
- Click Save.
Related articles
Filter by label
There are no items with the selected labels at this time.