...
| Table of Contents | ||||
|---|---|---|---|---|
|
In this article
Table of Contents maxLevel 2 absoluteUrl true
Overview
You can export a Project in the form of a Zip file containing all of the Pipelines, files, Flows, Accounts, and Tasks associated with the Project. Pipeline dependencies, such as child Pipelines and related accounts, are maintained during export. Accounts are exported only when the Org supports encryption. SnapLogic, by default, has Standard Account Encryption (SAE) across all Orgs, unless an Org has opted for /wiki/spaces/DRWIP/pages/2506064207. In SAE, accounts are encrypted with keys managed in the cloud.
Exporting Projects
| Note |
|---|
|
To export a Project:
- In SnapLogic Manager, hover your cursor over the Project you want to export, and click
 . The Project menu appears:
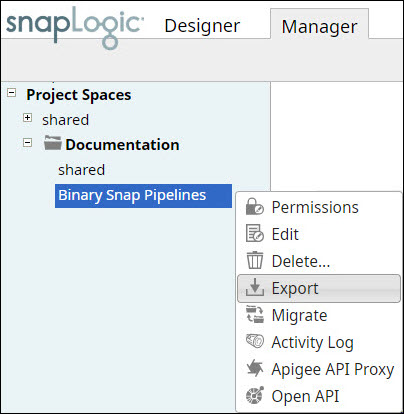

- Click Export from the dropdown list. This displays the The Export <Project Space>/<Project Name> dialog appears:

- Select the Asset types that you want to export. Pipeline, Task, Account, and Flows options are selected by default. You can choose to deselect either of these to not export them. Select All to export all the assets available in the Project.
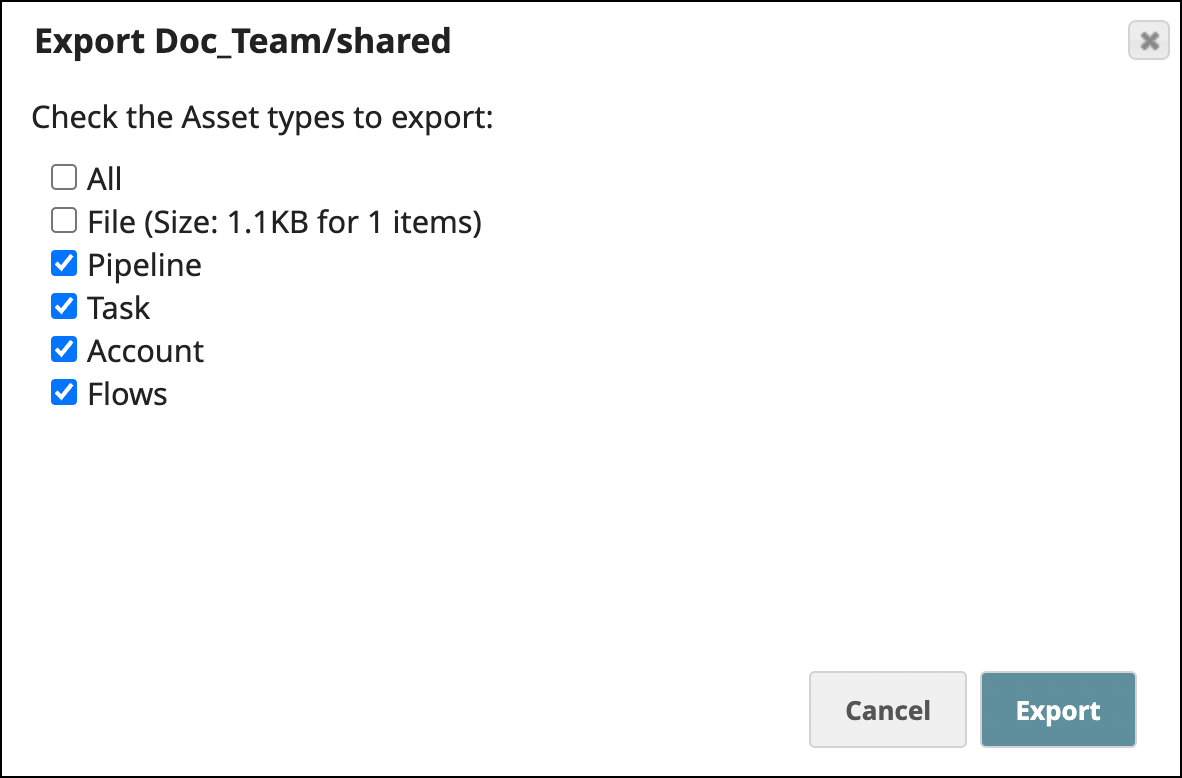
Click Export to export the selected Project assets as a ZIP select All to export all Assets or deselect any Asset types from the Project export. - Click Export to download the Project as a Zip file.
Importing Projects
To import a Project:
- In SnapLogic Manager, hover your cursor over the Project Space in which you want to import the Project and click . The Project menu appears:
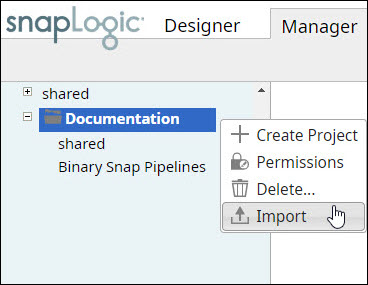
Click Import in the list of options. This displays the Confirm project import dialog: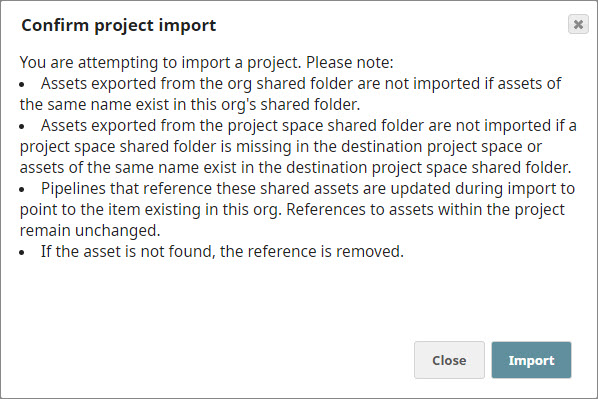
- The Confirm project import dialog lists the guidance that you must consider while importing a Project. Review these carefully before you proceed. Once you are sure that you want to go ahead with the import, click Import.
...
- This displays the Project dropdown.

- Click Import. This displays the Import Project dialog:

- Click Choose File to upload the Project files:
- Import Project Zip File*
- Import Account JSON File (optional)
- Import Expression Library Zip File (optional)
- When the upload is complete, click Import. A confirmation message appears on the page, and the new Project appears in the list of Projects on the left.
...
-
You
...
- might need to
...
- do the following:
Add files that are referenced if they were not a part of the Project's export.
...
Edit the Tasks to select the Snaplex on which they must run.
| Note | ||
|---|---|---|
| ||
|