...
Choose one of the following ways to open the dialog for a Triggered or Ultra Task:
In the Designer tab, click the Task icon from the expanded toolbar.
In the Manager tab, navigate to the target project or global
sharedfolder, and In the assets table, do one of the following:To create an APIM API from a task:
For an existing Task, click on the target Task.
Click
 and in the dropdown, select Task > Triggered or Task > Ultra. Alternatively, click the Tasks tab, then click
  and in the dropdown, select Triggered or Ultra.
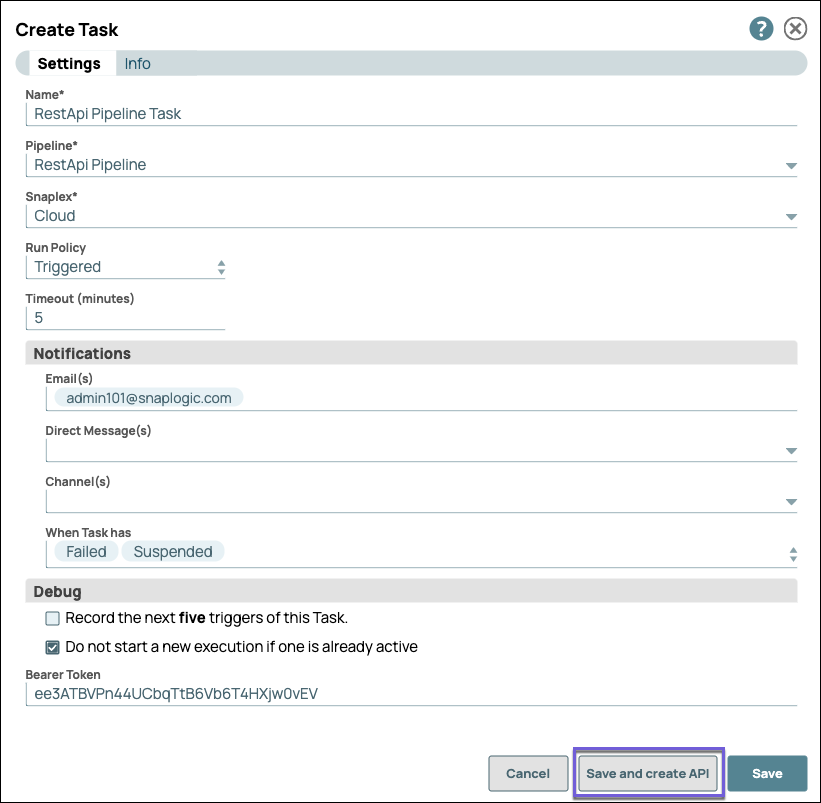
The task dialog for the task type you selected appears.Fill out the Task form with the appropriate information, then click Save and create API.
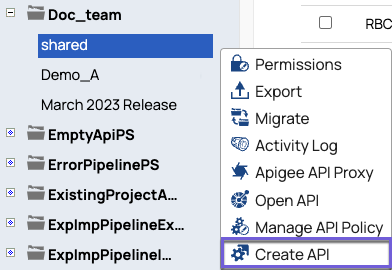
To create an APIM API from a project or Project Space share folder, click
 to display the dropdown list, select Create API:
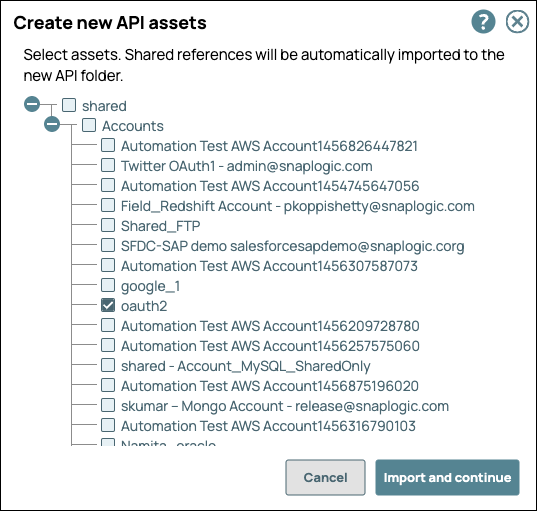
In the Create new API assets, select the target assets to include in your API, and then click Import and continue.
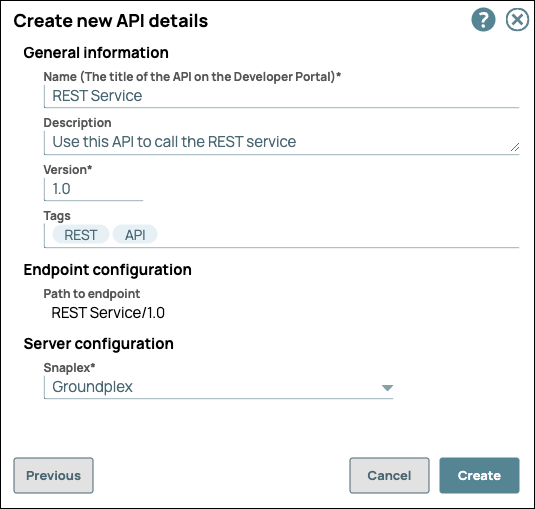
In the Create new API details, enter the details.
Name (Title). The name of the new API.
The name must meet the following requirements:
Must be unique.
Must begin with alphanumeric characters A-Z, a-z, or 0-9.
Cannot contain the reserved keyword
shared.Cannot contain |, <, >, [, ], {, }, #, ?, /, and \.
Must be no more than 256 characters. If the name includes double-byte characters, the maximum length is shorter.
Description. A description of the new API.
Version. The version number for the first version of the API.
Default: 1.0.
Learn more: Managing Versions of Your APIsTags. Enter any tags associated with your API. You can create the tags as required.
Endpoint Configuration » Path to Endpoint. (Read-only) The base path for the endpoint.
Server Configuration » Snaplex. The Snaplex to associate with the new API.
Click Create.
Navigate to the API Manager to verify API creation.
Edit an API name
Rename the API to align with the company standards and best practices. Save the extra effort instead of copying the API to rename it and then deleting the old one.
Navigate to API Manager > API > API details:
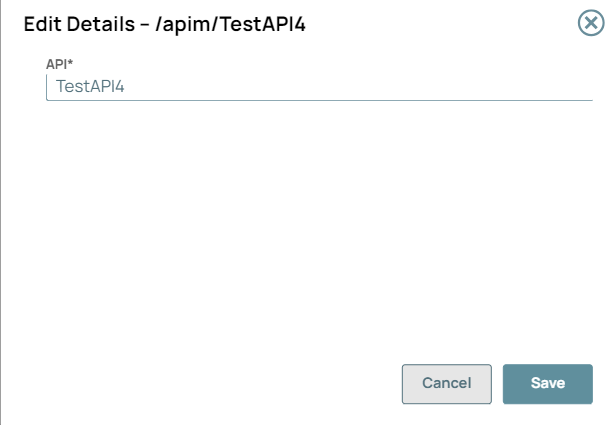
Click Edit Details to rename the API:
Click Save. A message “API details has been updated successfully” displays in the UI.
You can only rename the unpublished APIs. Published APIs cannot be renamed because that would change the endpoint URL of the API.
Unpublish the API to edit the API name.
Special characters such as |, <, >, [, ], {, },#, ?, /, and \. cannot be used.
| Anchor | ||||
|---|---|---|---|---|
|
...

