| Table of Contents | ||||
|---|---|---|---|---|
|
...
- The user triggers the application by providing an input sentence.
- The UI (HTML + JavaScript) calls a REST API, which points to an Ultra Task.
- The Ultra Task sends the input sentence to the Twitter Sentiment Analysis Pipeline.
- The Twitter Sentiment Analysis Pipeline uses the Twitter Sentiment Analysis model built using SnapLogic Data Science to determine the polarity of the input sentence and send it back to the UI.
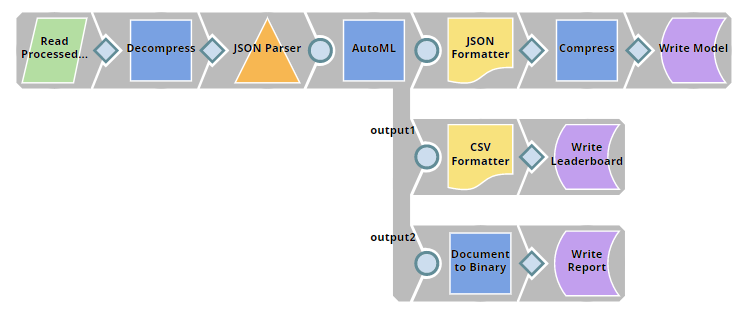
- The Twitter Sentiment Analysis model is built using two Pipelines:
- The Prepare Twitter Data Pipeline uses the sentiment140 dataset as a source of input sentences and applies Bag of Words techniques to prepare the dataset, which can be used to train the model.
- The Build Model Pipeline uses the processed dataset to create (and save in the SnapLogic File System (SLFS)) a model using a range of machine learning algorithms. For details on these algorithms, see the Build Model Pipeline section below.
...
| Pipeline | Description | ||
|---|---|---|---|
| Data Preparation
| ||
| Build Model
| ||
| Twitter Sentiment Analysis
|


...
- Download and configure the Pipelines as discussed in the previous section. If you have already done so, you can skip the following two steps.
- Download the Twitter Sentiment Analysis.zip file. This file is an export of a project containing the required Pipelines, tasks, and files.
- Import the project. In SnapLogic Manager, select the project space > Import. For more information, see How to Import and Export Projects.
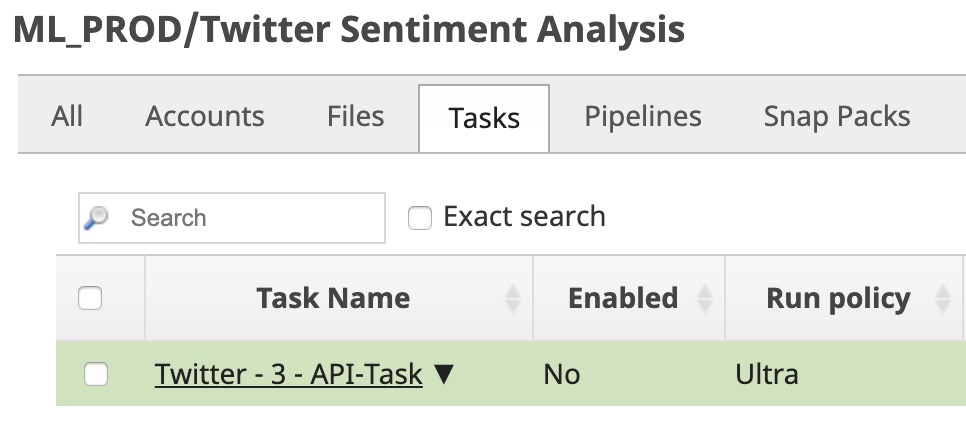
- Go to the project that you created in Manager and click the Tasks tab. Click the task entity in the list of files to open the Update Task dialog.
Select the Snaplex on which you want to deploy this Ultra Task. Click Update.
This updates the task and redisplays the list of files associated with the project.Note The FeedMaster node is required for scheduling Pipelines as Ultra Tasks.

- Your Ultra Task is now created and can be used once it is enabled. To enable the task, select the check box associated with the task and click Enable on the top-right section of the screen.

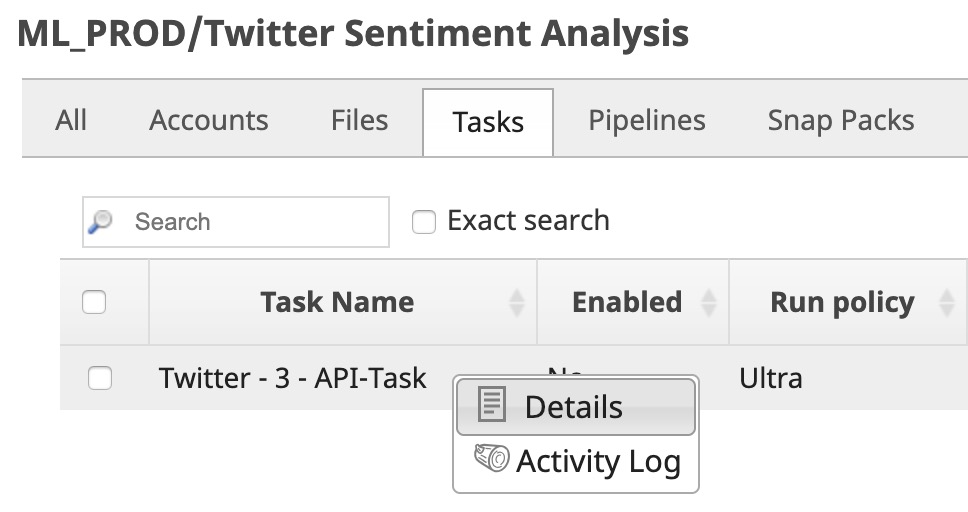
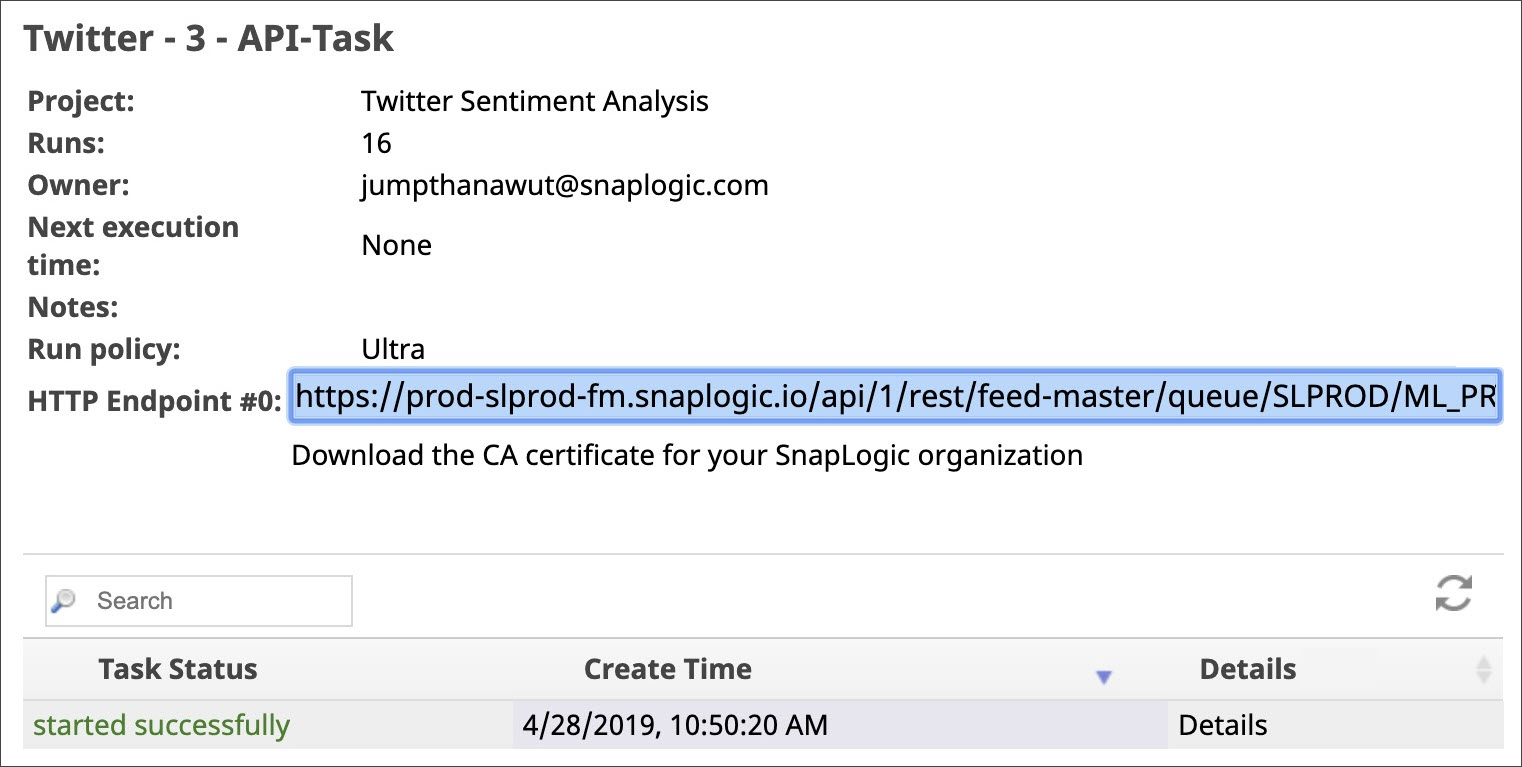
- You now need to copy the URL to this task, so you can use it with the web application. Click the inverted triangle next to the Task's name and click Details to open the Task details pane.
- In the Task details page, copy the URL listed in the HTTP Endpoint field and save it on your local machine to add it later on to your HTML file. Tasks can take up to 5 minutes to start. At any time, you can click the Details option to view the Task's status.
...
For information on how the HTML file is coded, see Creating and Deploying the Twitter Sentiment Analysis FrontendFront-end. The page also contains information on how you can modify the HTML file before you deploy it.
...