...
From Designer or Manager, open the Create Task dialog:
In Designer with the Pipeline open, in the toolbar, click More Tools. Click Create Task and select Ultra Task:
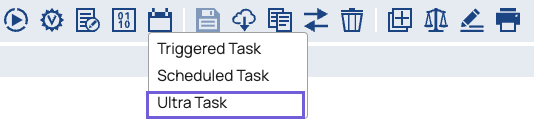
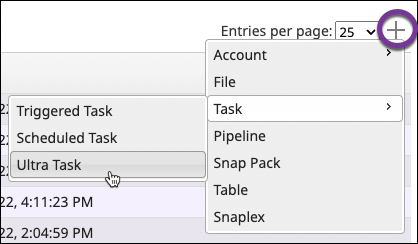
In Manager, from the left navigation, select the Project containing the Pipeline. In the toolbar, click Create and select Task > Ultra Task.
The Create Task dialog displays:

Edit the required fields:
Name. Enter a name. This name is used in the URL when the Pipeline has unconnected inputs/outputs.
The names of assets, projects, or project spaces are limited to UTF-8 alphanumeric characters and these special characters:!"$%&'()*+,-.:;<=>@[]^_`{|}~.Pipeline. If not already selected, click the drop-down menu and select the Pipeline to be triggered by the Ultra Task.
If you choose a Pipeline that contains parameters, the parameters display in the Create Task dialog, where you can modify them. In the following example, the parameter keys path, full, and table name are displayed, with their entries as the corresponding values. In the full field, the values contain nested JSON.

Snaplex. From the drop-down menu, select a Snaplex that has a Feedmaster.
Modify the applicable optional fields as described in Configuration Options.
Click Save.
(Optional) To create an API in API Manager, click Save and create API. Learn more about creating APIs from Ultra Tasks.
Configuration Options
Field | Description |
|---|---|
Notifications | Enables email notifications based on the status of the Scheduled Task. If your Org supports Slack notifications, you can add Slack channels or recipients. To use notifications:
|
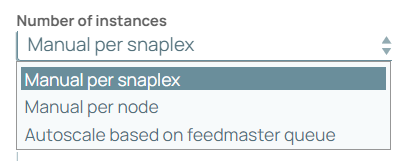
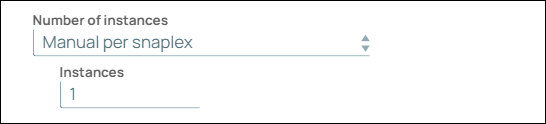
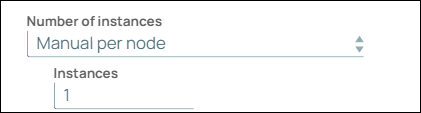
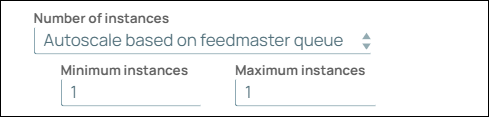
Number of Instances | Select from the dropdown to scale the running instances for the Ultra Tasks. |
|
|
|
|
|

|
Specifies how many instances of the Pipeline should be running on a Snaplex.
The default value is 1.
The Snaplex distributes instances across nodes. For example, If a Snaplex has five nodes and this value is set to 10, the Snaplex starts two instances on each node. The algorithm for distributing executions on nodes is based on the number of currently running Ultra Task instances.
A document is processed by only one instance.If the Pipeline or node fails for any reason, then the document is unacknowledged in the queue. Consequently, when the consumer is recognized as no longer being connected, the document returns to the queue and is picked up by another instance
| |||||||
Alias | Use an alias to run an Ultra Task in multiple regions for high availability and disaster recovery. Use the same alias in multiple Ultra Tasks that run the same Pipeline. When an Ultra Task in one region fails, a Snaplex in another region can run the Pipeline by invoking the Ultra Task that shares the Alias name. The Ultra Task that shares the Alias must be in the same project folder as the primary Ultra Task, but be deployed to different Snaplex instances. | ||||||
Bearer Token | An automatically generated token for the HTTP Authorization header. If you clear this field, authentication is not required. You can also set the value yourself.
| ||||||
| Specifies an optional threshold when the pipeline fails to start. If the number of failures reaches the threshold, the Snaplex disables the Ultra Task. The default value is 10. The maximum value is 1000. Set the value to 0 to remove the limitation on pipeline failures. During development, the pipeline can be in an invalid state and fail to start multiple times. Therefore, in this scenario, we recommend that you set the value to 0 until the pipeline is ready for production. | ||||||
Max In-Flight | Specifies a threshold for documents to be processed on a single Pipeline instance. Once the execution reaches the threshold, the Snaplex distributes to other instances of the Ultra Pipeline. This enables you to prevent an excessive number of documents from being queued on a single, slow execution. Set the Max In-Flight value to the maximum number of documents that can be processed by one instance at a time. Default: 200 Minimum: 1 Maximum: 1000 Set this value higher if the Ultra Task executions take a long time. A value of 1 disables the prefetching of documents and can negatively affect performance. |
Editing an Ultra Task
Click Manager.
From the left navigation, select the Project Space to which the Ultra Task belongs.
Select the Tasks tab.
Click the Ultra Task name. The Edit Update Task dialog appears.
Edit the Ultra Task and click Save to close the dialog.
...
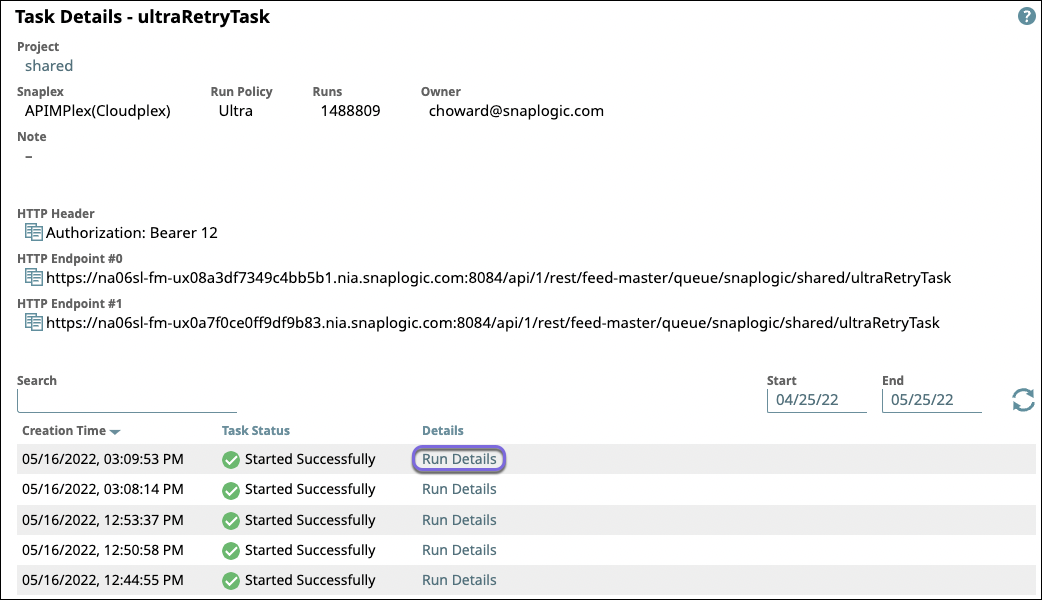
In Manager, navigate to the Ultra Task and select Details from the dropdown menu:
On the Task Details page, view execution statistics by clicking Run Details: