...
- In SnapLogic Manager, click API Management > API Manager.
The API Manager - /apim page is displayed.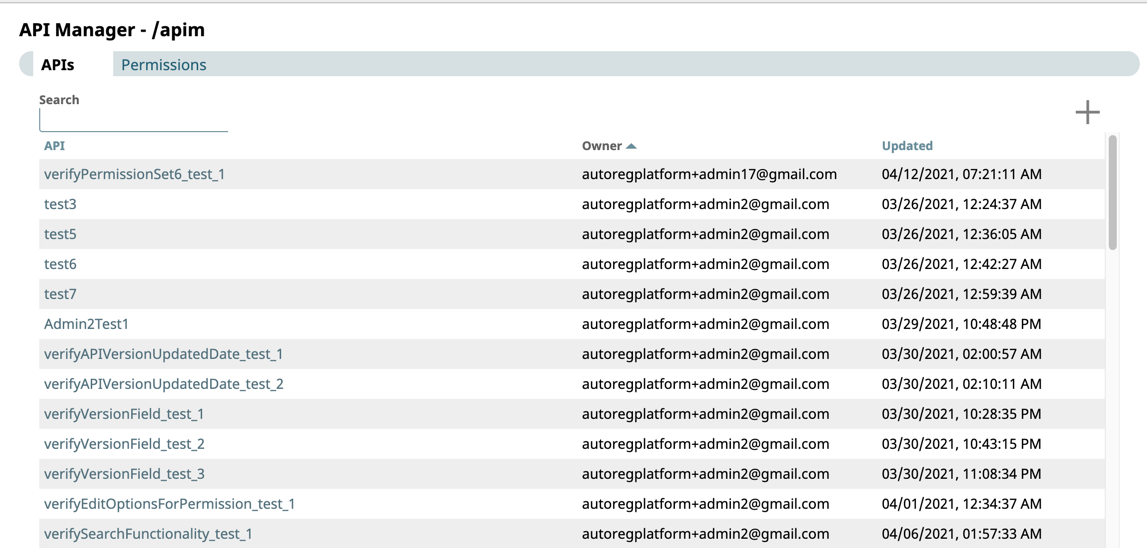
- Click
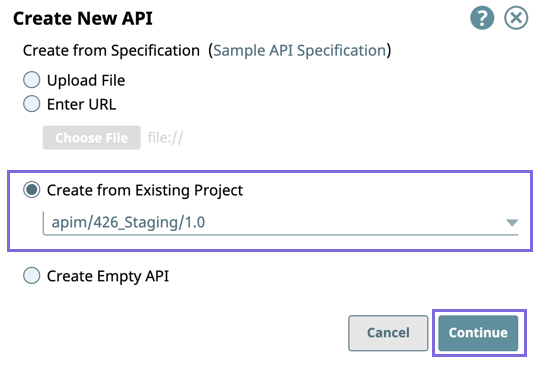
 to display the Create New API dialog window.
 - Select Create from Existing Project.
- Select the target Project from the drop-down list, then click Continue.
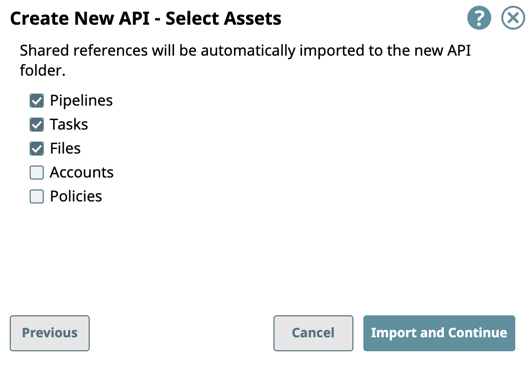
- In the Create New API -Select Assets dialog window, select/deselect the assets from the Project to use in the API, then click Import and Continue.
- Select the target Project from the drop-down list, then click Continue.
- Complete the creation of the API:
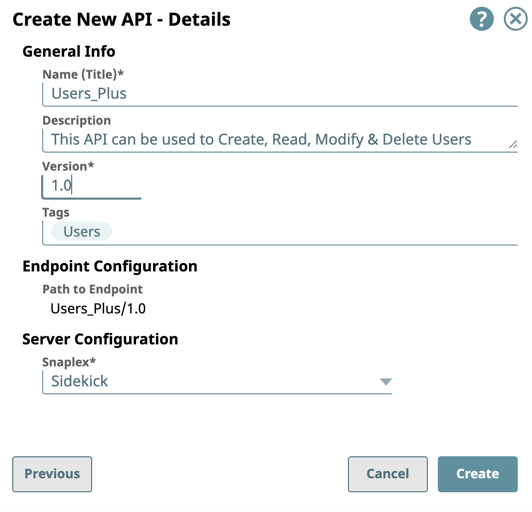
- Enter the required information or modify the information that is extracted from the specification in the subsequent Create API dialog window.
- General Info: Provide basic information about your API.
- Name (Title): Enter a name for your API. The name must meet the following requirements:
Must be unique.
Must begin with alphanumeric characters A-Z, a-z, or 0-9.
Cannot contain |, <, >, [, ], {, }, #, ?, /, and \.
Must be no more than 256 characters. If the name includes double-byte characters, the maximum length is shorter.
- Description: Enter a brief description.
- Version: Define the version. By default, the version is 1.0, when you create an API for the first time. For details about API versions, see Managing Versions of Your APIs.
- Tags: Enter any tags associated with your API. You can create the tags as required.
- Name (Title): Enter a name for your API. The name must meet the following requirements:
- Endpoint Configuration: The base path for the endpoint.
Server Configuration: Enter the Snaplex associated with this API.
Info - You must enter a name and Snaplex. You can also change the version from this dialog window, and thus create another version of the API.
- Depending on the type of Snaplex, the following configuration requirements apply to the Snaplex that is displayed in the selector:
- Cloudplex with a load balancer.
- Groundplex with at least one node.
- General Info: Provide basic information about your API.
- Click Create.

The API asset is displayed on the API Manager page.
- Enter the required information or modify the information that is extracted from the specification in the subsequent Create API dialog window.
...
- In SnapLogic Manager, click API Management > API Manager.
The API Manager - /apim page is displayed. - Click to display the Create New API dialog window, and select Create an Empty API Version:
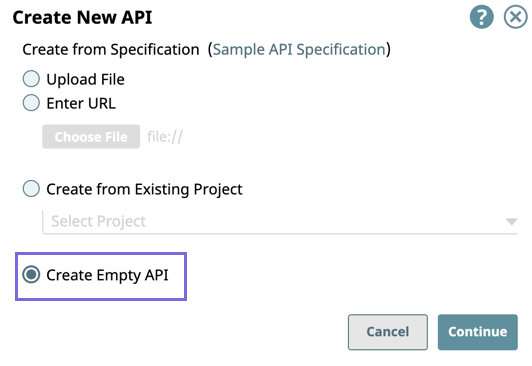
- Click Continue to display the Create API Details dialog.
- Complete the creation of the API:
- Enter the required information or modify the information that is extracted from the specification in the subsequent Create API dialog window.
- General Info: Provide basic information about your API.
- Name (Title): Enter a name for your API. The name must meet the following requirements:
Must be unique.
Must begin with alphanumeric characters A-Z, a-z, or 0-9.
Cannot contain |, <, >, [, ], {, }, #, ?, /, and \.
Must be no more than 256 characters. If the name includes double-byte characters, the maximum length is shorter.
- Description: Enter a brief description.
- Version: Define the version. By default, the version is 1.0, when you create an API for the first time. For details about API versions, see Managing Versions of Your APIs.
- Tags: Enter any tags associated with your API. You can create the tags as required.
- Name (Title): Enter a name for your API. The name must meet the following requirements:
- Endpoint Configuration: The base path for the endpoint.
Server Configuration: Enter the Snaplex associated with this API.
Info - You must enter a name and Snaplex. You can also change the version from this dialog window, and thus create another version of the API.
- Depending on the type of Snaplex, the following configuration requirements apply to the Snaplex that is displayed in the selector:
- Cloudplex with a load balancer.
- Groundplex with at least one node.
- General Info: Provide basic information about your API.
- Click Create.
The API asset is displayed on the API Manager page.
- Enter the required information or modify the information that is extracted from the specification in the subsequent Create API dialog window.
...