On this Page
After you have authorized SnapLogic to access GitHub on your behalf, Git operations will be available in SnapLogic Manager. Your next steps depend upon whether your Project is already associated with a GitHub repository:
If the Project has already been linked with a GitHub repository, use the GitHub actions in Manager to add, update, or delete Assets as described in Working with Tracked Assets in Manager. You can also add, update, and delete Assets from Github.
If Project Assets are not being tracked, first follow the steps described in Linking a Repository to a Project.
Organizations often use multiple SnapLogic Orgs for development, testing, and deployment. By using the Git Integration, you can work on the same Project in different Orgs and track changes in the same repo. For example, in a development Org, you might associate Project1 with a dev branch of Project-Repo-1. When you are ready to move the Assets to the testing Org, check them in and merge to the test branch in GitHub. In the test Org, create Project1 associate it with Project-Repo-1 and checkout the test branch.
The Project can have a maximum of 200 files. If checking out a Project with more than 200 files, SnapLogic throws an error.
When committing files to GitHub from SnapLogic, some subdirectories might be inadvertently deleted from the repository, including GitHub Actions workflows in the .github directory. Target fix version: 4.29.2 patch in July 2022
Linking a Repository to a Project
After a Project is associated with a repository, you can add, update, or delete files from SnapLogic or from GitHub. To link a repository to a Project, follow these steps:
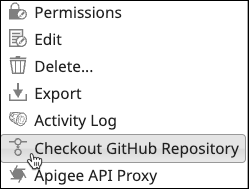
In the SnapLogic Manager, navigate to your Project and click the arrow:

In the options menu, click Checkout GitHub Repository:
Select the repository and branch or tag to link the project:
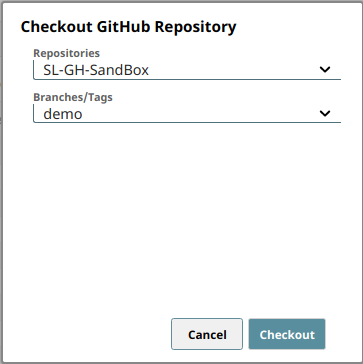
Click Checkout.
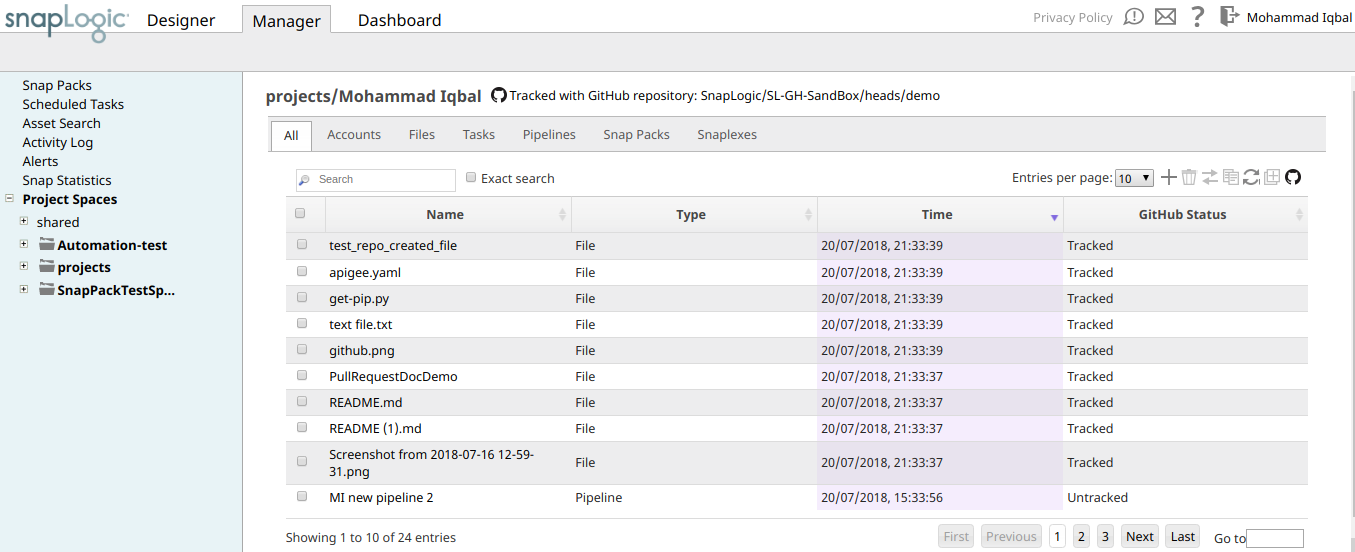
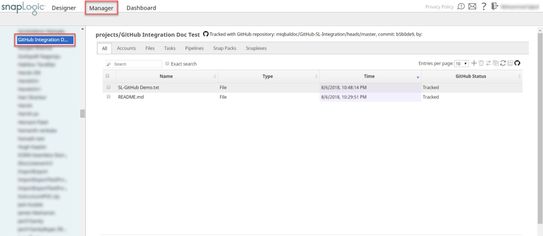
The Git Integration associates the Project with the branch of the repository. You must add the Assets to track and they will display in the Project Asset table. The table title includes tracking information and a column for GitHub Status:
Switching Branches
To switch Project Assets to a different branch, follow these steps:
In the SnapLogic Manager, navigate to your Project and click the arrow:
From the options menu, click Checkout GitHub Repository:
In the Checkout GitHub Repository dialog, select the branch to switch to:
Click Checkout.
The Assets in the Project now reflect the state of the Assets committed to that branch.
Working with Tracked Assets in Manager
From SnapLogic Manager, you can perform the following Git operations on Project Assets:
Add Assets to the Repository
Adding a Project Asset to the repository and committing it results in it being tracked by GitHub. You can add untracked Assets of all types, except Snap Pack and Snaplex. The procedure for all supported types is similar to the example documented here for adding a file, but you would not be uploading them, you would instead be creating them in the SnapLogic IIP. A
An alternate way to add an Asset is to commit Project changes. The Commit Changes dialog displays Assets that were not previously added in an Untracked assets list. Select the corresponding checkbox for an Asset and click Commit. After the commit, the GitHub status for that Asset changes to Tracked.
To add a file, follow these steps:
Navigate to the project in SnapLogic Manager.

Click
 and upload the file.
The file displays in the Asset table with the GitHub Status Untracked.
Open the File options menu by clicking the arrow to the right of the file name:
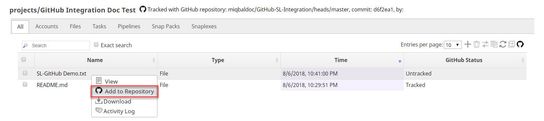
Click Add to Repository. The GitHub status changes to Added.

With the file selected, open the GitHub menu and click Commit to GitHub Repository. The Commit changes dialog box opens. The file is shown under Changes to Commit in the dialog box.
Add a Commit Message.
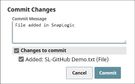
Click Commit. The file is added to the Asset table and the GitHub Status reads Tracked.

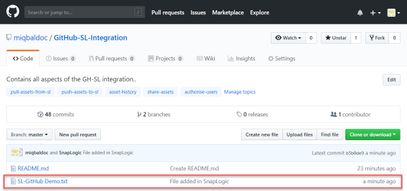
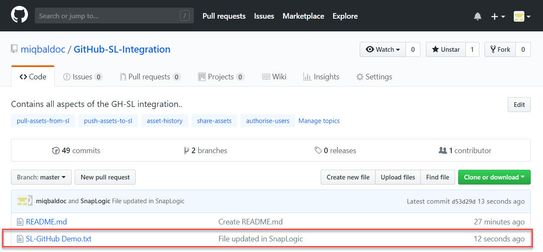
Refresh the GitHub page. The new file is displayed in the repository along with the commit message.
Updating Assets in the GitHub Repository
Using the typical Git workflow, you can update one or many Assets in a single commit. The following steps show an example of updating a single file. For other Assets, such as Pipelines and Tasks, edit them as usual and commit from the Project options menu.
To update a File Asset, follow these steps:
Navigate to the project in SnapLogic Manager.

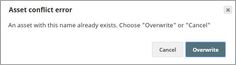
Upload a file from local storage (by clicking the + symbol, and uploading it). Since the file already exists, an Asset conflict error dialog box displays. Click Overwrite to confirm.
Go to the GitHub menu and click Commit to GitHub. The Commit Changes dialog box opens. It automatically detects if there is a newer version of a file and lists it out in the dialog box under the Changes to Commit list.
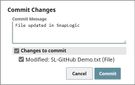
Add a Commit Message, if required.
Click Commit. The Asset table is updated.

Refresh the GitHub repository page to confirm the update.
Deleting Assets from the GitHub Repository
You can delete any type of supported Asset from the repository. This does not delete the Asset, but it is no longer tracked by GitHub. The following provides an example of deleting a file.
To delete a file from the repository, follow these steps:
Navigate to the project in SnapLogic Manager.
Open the File options menu by clicking the arrow adjacent to the right of the file name.
Click Remove from Repository. The GitHub Status changes to Removed:
Commit the deletion from the GitHub menu by clicking Commit to GitHub Repository.
Add a Commit Message, if required:
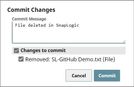
Click Commit. The GitHub Status changes to Untracked and the file is deleted from the GitHub repository.

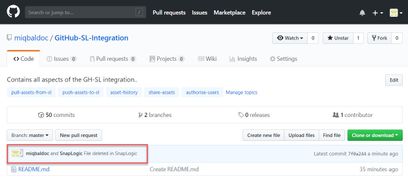
Refresh the GitHub repository page to confirm deletion.
Working with Assets in GitHub
You can also perform the following operations on Project Assets using the Git command line or GitHub repository page:
Add files
Update files
Delete files
If you make any changes from the GitHub side, you need to pull them in SnapLogic to synchronize the Project.
Pulling Updates with No Conflicts
The following example shows what happens when you initiate GitHub Pull in Manager after a file was committed to the GitHub repository:
The GitHub Pull Messages dialog lists the Assets that were fetched from GitHub:
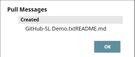
If you click OK the new Asset displays in the Asset table:

Pulling Updates with Conflicts
If an Asset was changed in GitHub and a change was made in Manager since the last commit, a pull operation creates a conflict. The Pull Messages dialog allows you to resolve the conflict:
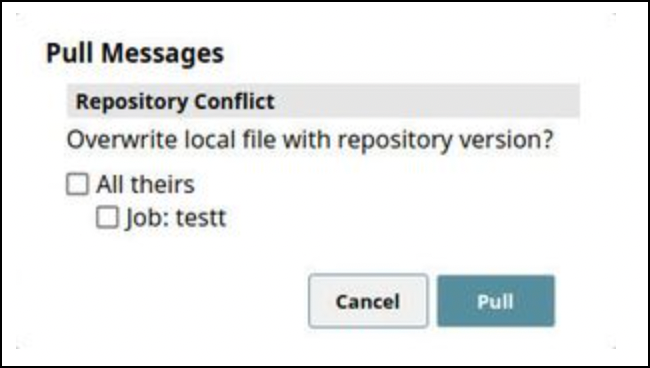
Resolve the conflict in one of the following ways:
To overwrite a local file with the repository version, select the file and click Pull.
To retain the local file, do not select the checkbox and click Pull. To overwrite the version in the GitHub repository with the local file, commit it.