In this article
| Table of Contents | ||||
|---|---|---|---|---|
|
Project spaces are an additional level added above projects to help you better organize your pipelines.
...
...
...
Each Project Space contains a shared project to contain assets shared between the projects of that Project Space. There is also a global shared folder above the Project Spaces that is accessible to the entire org.
When moving or copying pipelines, related assets are checked for within the pipeline's project first, then the Project Space's shared folder, then the global shared folder.
Project Spaces in Designer
In Designer, Project Spaces are supported in:
- the Pipeline Catalog
- when creating/importing/moving pipelines
- when selecting accounts or files.
Project Spaces in Manager
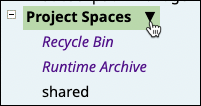
In Manager, org admins can create Project Spaces from the Project Spaces drop-down within the left pane.
Once a Project Space is created, you can:
- create or import projects
- set permissions from the Project Space
Setting Permissions
Permissions can be set at the Project Space level to limit access to project assets to avoid unwanted changes/deletions. Org administrators can assign permissions to any user or group at the project space level or at project level.. Project owners can assign permissions to users or to any group to which they belong.
The following permission types are supported:
...
Overview
Project Spaces provide a way to group related Projects and set permissions for them. Each Project Space has a shared Project and can contain multiple Projects. In Manager, the left navigation pane displays the Project Spaces tree. The shared Project immediately under Project Spaces contains Assets that are accessible from all Project Spaces and Projects in the Org. The shared Project in a Project Space contains Assets that are accessible from all Projects in that Space.
...
Org admins create and manage Project Spaces. They set permissions for users and groups at the Project Space, shared Project, and Project level. The following permission levels are available:
Read Only: View Assets.
Read & Execute: Read and execute
the assets inside the projectAssets.
Full Access: Read, write, and execute
inside the projectAssets.
Owner: Modify permissions on
the projecta Project, change the ownership to another user
.
...
, plus all of the above. The Project creator has Owner permissions.
When a user or group has different permissions at different levels, the lowest permission level is enforced. For example, a Read Only permission applied at the project space level will automatically apply to all projects within the project space.
| Info |
|---|
In case of a conflict in permission types at different levels, permissions at a lower level will take priority. For example, if there is a project space with a Full Access permission that contains a project with a Read Only permission, then all assets within that project inherit the Read Only permission instead of the Full Access permission. |
Project Spaces in Dashboard
In Dashboard, you can filter Executing Pipelines and Pipeline Execution History by projects in any Project Space.user might have Full Access to a Project Space, but if it contains a Project with Read Only permission, the user only has Read Only permission for all Assets in that Project.
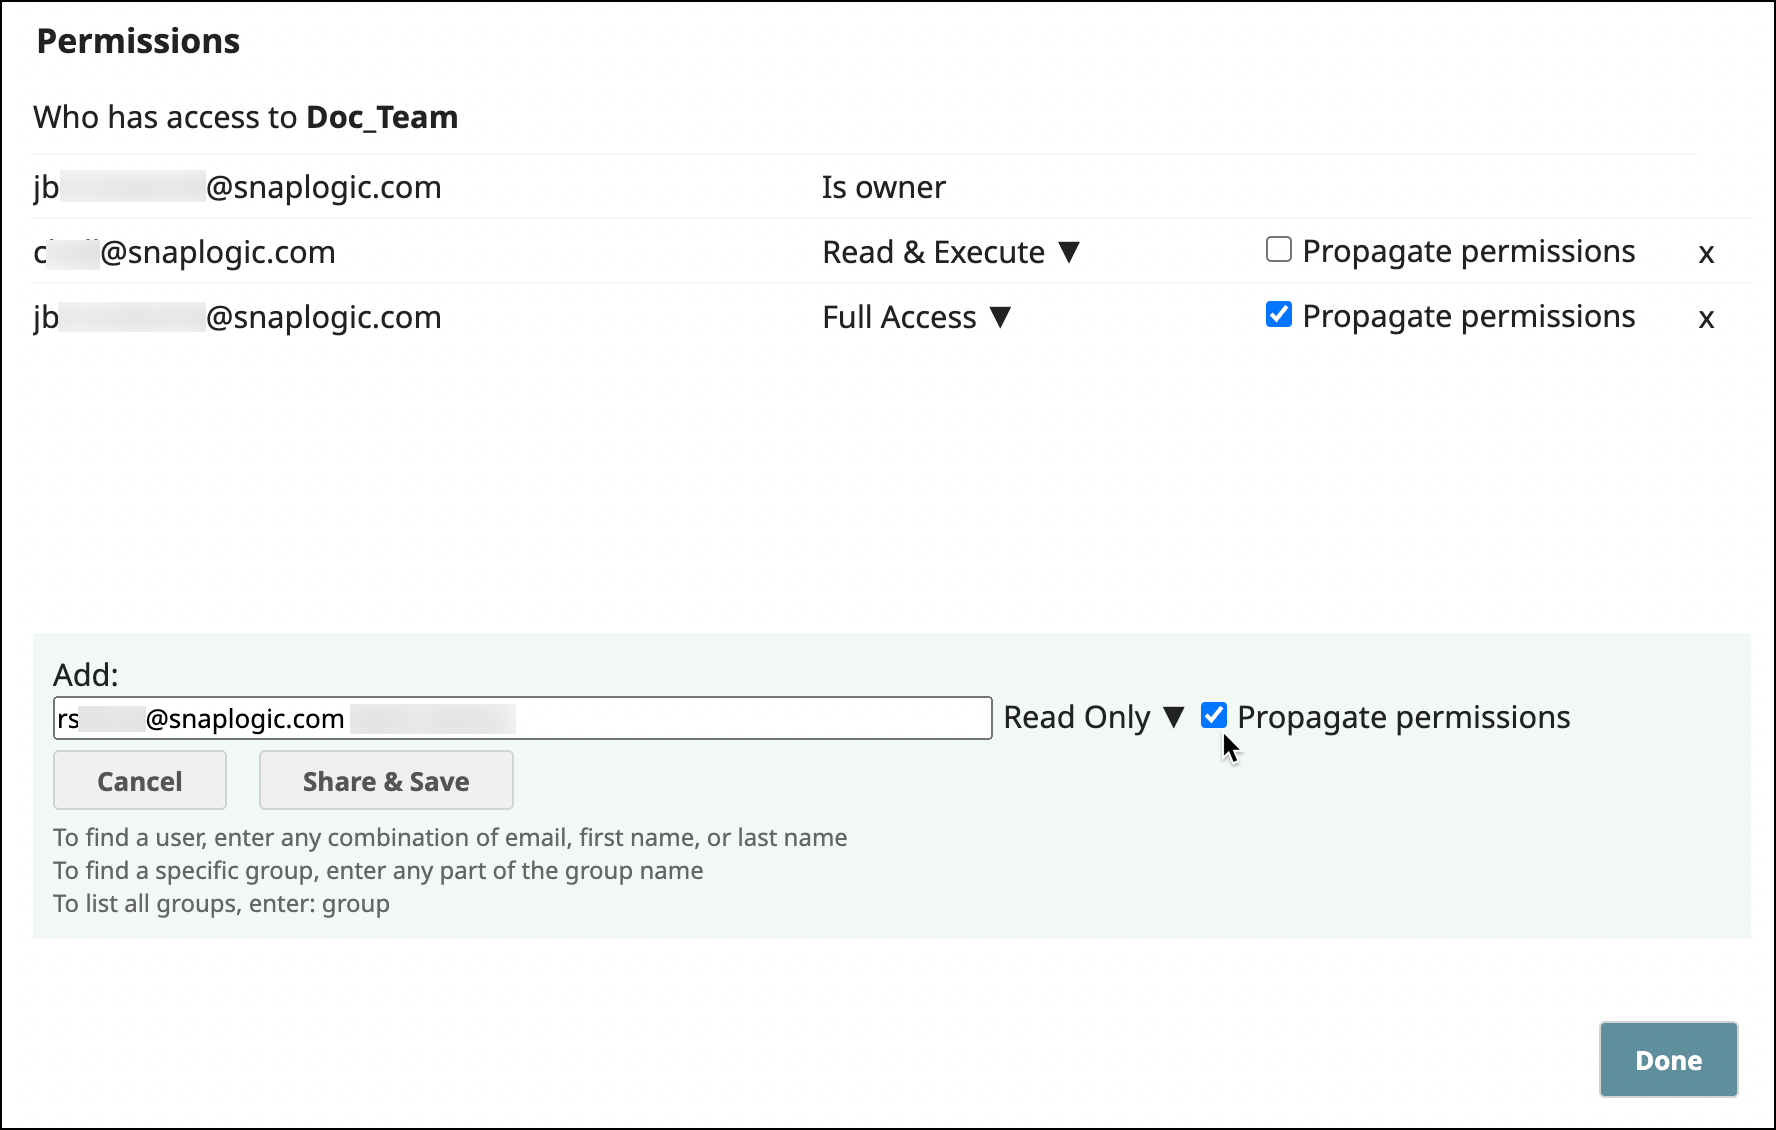
When assigning permission to a Project Space, Org admins can choose to propagate the same permission to all Projects in the Space for that user or group. To assign read, write, and execute permissions to an individual Project Space shared folder, the Org admin can also explicitly assign Full Access to the user for that Project Space.
| Note |
|---|
Avoid creating your own directories in a Project Space because permissions do not propagate to them correctly. |
Creating a Project Space
As an Org admin, you can create a Project Space in Manager:
In the left navigation, click the Project Spaces dropdown menu:
Select Create Project Space.
Enter a name.
Click Create.
The new Project Space displays in the tree in alphanumeric order.
| Info |
|---|
More than 1000 project spaces in an Org or more than 1000 projects in each project space can create performance and usability issues. |
Assigning Permissions for a Project Space or Project
As an Org admin assign permissions at the Project Space or Project level as follows:
Click the dropdown arrow for the Project Space or the Project:
The context menu opens:
Click Permissions.
From the Add dropdown list, select a user or a group. For Project Space permissions, check Propagate permissions to grant the same permission for all Projects in the Project Space:
From the permissions dropdown menu, select the permission level.
Click Save.
Add more permissions, or if finished, click Done.
| Info |
|---|
After you propagate permissions, the user or group displays only in the Permissions dialog for the shared folder, not for the individual projects. Although they don’t show uin the Permissions dialog for individual projects, they have the permission granted at the Project Space level. |
Deleting a Project Space
You must be an Org admin or the Project Space owner to delete a Project Space. Deleting a Project Space removes all of its Projects and Assets. Deleted items first go in the Recycle bin, where you can restore or permanently delete them. Learn more about the Recycle Bin
To delete a Project Space:
In the Manager left navigation pane, click the dropdown icon next to the Project Space name:
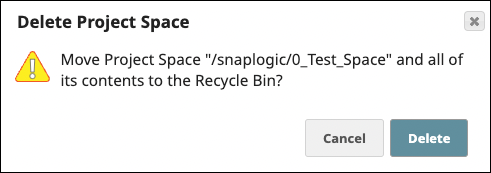
From the dropdown menu, select Delete. A confirmation box displays:
Click Delete.
Restoring or Permanently Deleting Project Spaces and Projects
Org administrators can restore deleted Project Spaces and Projects from the recycle bin or permanently delete them.
To restore an item:
From the left navigation, select Recycle Bin:
Click Project Folders to list deleted Project Spaces and Projects:
Select the item to restore.
In the toolbar, click Restore:
In the confirmation dialog, click Restore.
To permanently delete an item, follow Steps 1-3, but click Permanent Delete instead:
...


