In this article
Overview
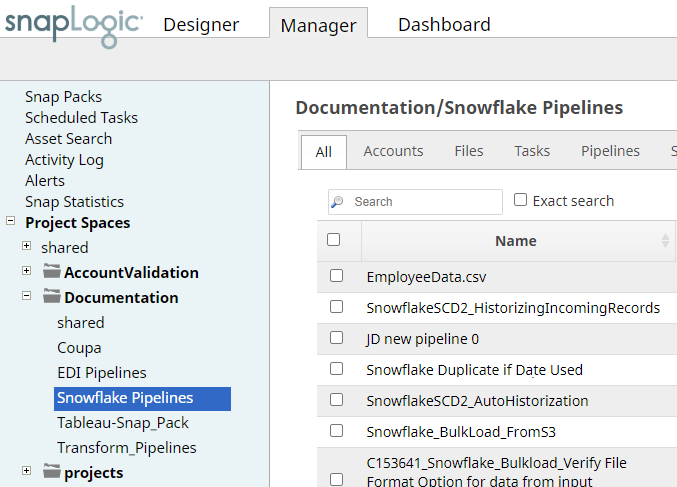
Project Spaces help you organize your projects and related Assets in the SnapLogic platform (such as, Accounts, Files, Tasks, and Pipelines) within an Org. You can access Project Spaces through SnapLogic Manager. In Designer, the Pipelines Catalog displays your Pipelines organized by Projects and Project Spaces.
| 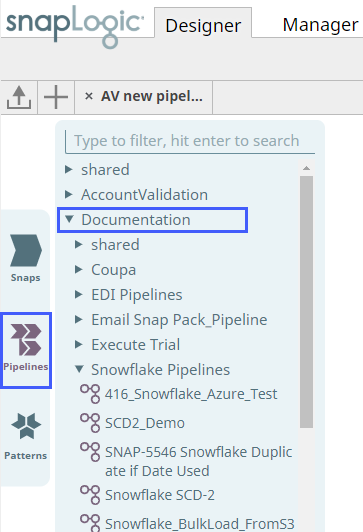 |
| The left menu bar in Manager showing Project Spaces with the Documentation Project Space and the Snowflake Pipelines project within it. | Pipelines Catalog in Designer showing Pipelines in the Snowflake Pipelines project within the Documentation Project Space |
Every Project Space has a shared folder where assets are shared between the various Projects within that Project Space. The global shared folder is accessible to all the Projects and Project Spaces within the Org.
Unlike the global shared folder, where all users in the Org have read and execute permissions, an Org Admin has to add users to a Project Space and then assign permissions to the shared folder in that Project Space. Users added to the shared folder in Project Spaces automatically get read and execute permissions, which the Org admin can later update. For read, write, and execution permissions to a Project Space shared folder, an Org admin must explicitly assign full access to the user for that Project Space.
You can create and import Projects within Project Spaces to which you have at least Write permissions. When you move or copy Pipelines across Projects, SnapLogic checks for the related assets first within the Pipeline's Project, then in the Project Space' shared folder, and finally in the global shared folder.
You must have Org Administrator access to create and manage Project Spaces.
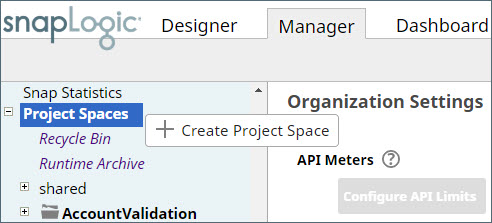
Creating a Project Space
Use Manager to create a Project Space by clicking the drop-down icon next to Project Spaces in the left pane.
The new Project Space is inserted in alphabetic order of the name into the list of Project Spaces. Once a Project Space is created, you can set permissions for it and create and import Projects into it.
We recommend you to create less than 1000 project spaces per org. Else, you may not be able to view the left panel in Manager.
Assigning Permissions for a Project Space
As an Org administrator, you can assign permissions to any user or group at the Project Space or Project level to limit access to project assets and define the actions users can perform.
To assign permissions at the Project Space level:
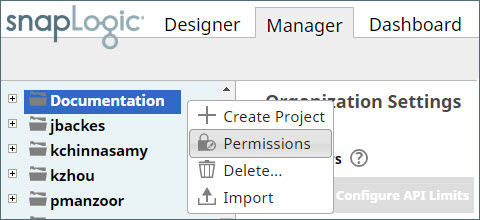
- Click the drop-down icon next to the Project Space name, and click Permissions.
- Select a user or group from the Add drop-down list, and then, select a permission to assign from the Permissions drop-down.
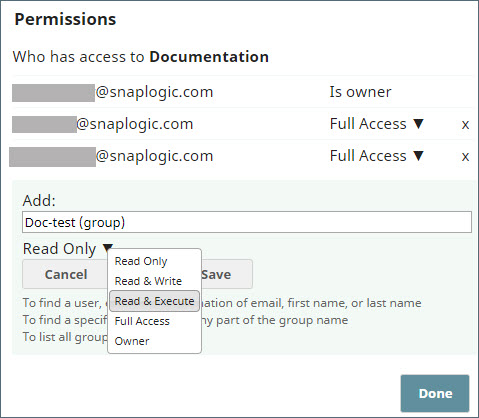
- Click Save.
- Repeat Steps 2 and 3 to add more users/groups and permissions, and finally, click Done.
To assign permissions at the Project level, click on the drop-down icon next to the Project name and perform the steps mentioned above.
Supported Permission Types
- Read Only: Read the assets within the Project.
- Read & Execute: Read and execute the assets within the Project.
- Full Access: Read, write, and execute the assets within the Project.
- Owner: Modify permissions on the Project, change the ownership to another user, plus all of the above.
In case of a conflict in permissions at different levels, permissions at the lowest level assume priority. For example, even if a user has Full Access to a Project Space, if it contains a project with Read Only permission, then all assets within that Project inherit the Read Only permission.
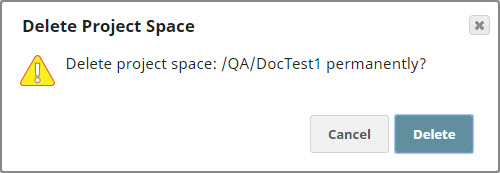
Deleting a Project Space
You must have Org Administrator access or be the Project Space owner to be able to delete a Project Spaces.
Deleting a Project Space removes all its assets from SnapLogic.
To delete a Project Space:
- In the left navigation pane, click on the context menu icon next to the Project Space name, and select Delete from the drop-down list.
- Click Delete in the Delete Project Space conformation dialog.