In this Page
Overview
You can set access permissions on projects to limit and control user access.
- Full access permissions allow users to Read, Write, and Execute inside the project. Owner permissions have extra privileges like the ability to modify permissions on the project or change the ownership to another user.
- Org admins can assign permissions to any user or group. Project owners can assign permissions to users or groups (to which they belong).
Managing Project Access Permissions
To assign permissions to a project or project space:
- In Manager, select a project or project space.
- Choose Permissions from the Project context menu. Hover the mouse a few seconds to view the menu.
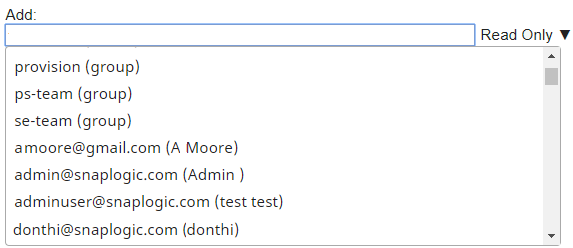
- Select the Permission you want to Add from the drop down. Permissions include:
- Read Only
- Read & Execute
- Full Access
- Owner
- Select a user or group.
- Click Done.
To quickly select a group:
- Type "group" to view a list of groups, or
- Start typing the group name.
Apart from the steps listed above, you can also choose to manage access permissions to projects and project spaces programmatically.
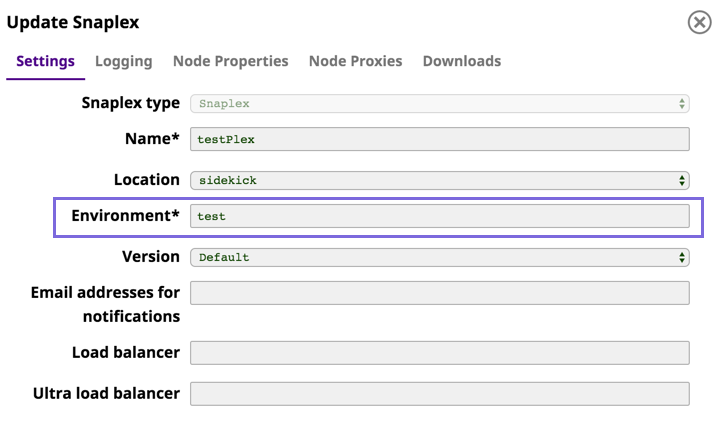
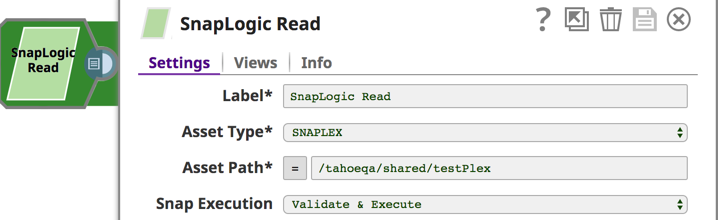
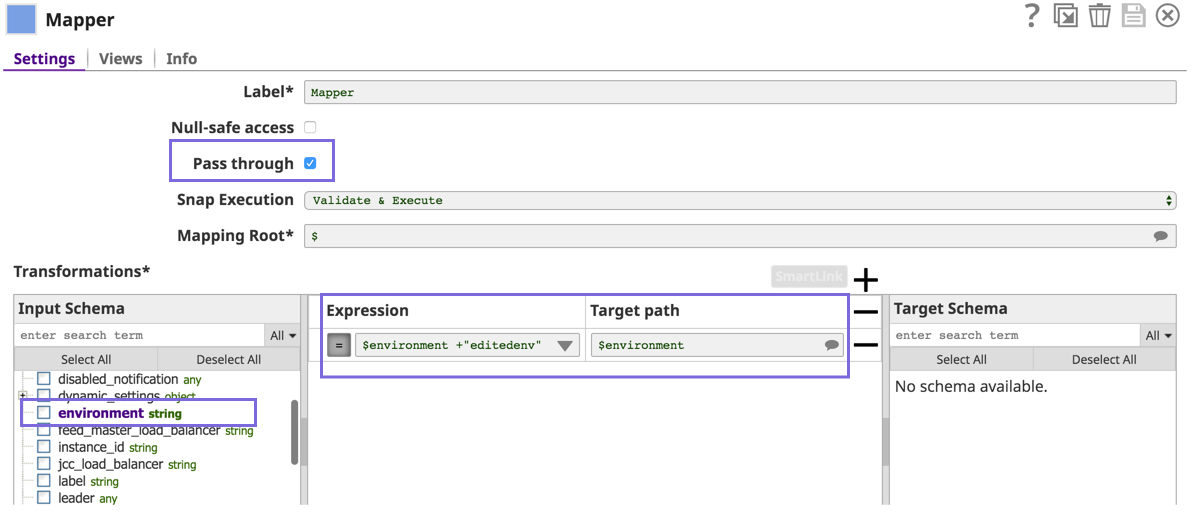
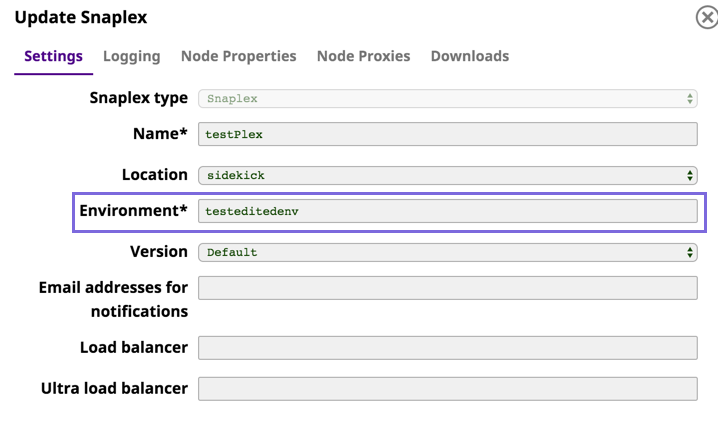
This simple example demonstrates how you can use the SnapLogic Metadata Update Snap to programmatically update Snaplex information. The Snaplex for this Pipeline is called Test. Because other Snaplexes might share the same environment name, you might want to rename the Environment. In the SnapLogic Read Snap, set the Asset Type to Snaplex and specify the path. In the Mapper Snap, you select the Input Schema element environment, and enter the expression to change the Environment name. Note that the Pass through option is selected. In the Update Snap, you write the changes to the Snaplex and specify its file path. When you go to the target folder in SnapLogic Manager, you can see that the Snaplex Environment name is changed.Updating a Snaplex Programmatically


See Also