Overview
As an Org admin, you can use the Recycle Bin to recover or permanently remove deleted Project Spaces, Projects, Pipelines, Tasks, and Accounts. Deleted items are available to recover for 30 days unless you delete them permanently. To permanently delete Project Spaces and Projects, you must delete the Assets they contain first.
In the Recycle Bin screen, you can also:
Search for Assets by name
Filter Assets by type: Accounts, Tasks, Pipelines, Project Folders, which include Project Spaces and Projects
Configure the number of items per page
Refresh the Recycle Bin
Opening the Recycle Bin
To access the Recycle Bin:
Open SnapLogic Manager.
From the left navigation under Project Spaces, select Recycle Bin.

The Recycle Bin displays deleted items in a table:
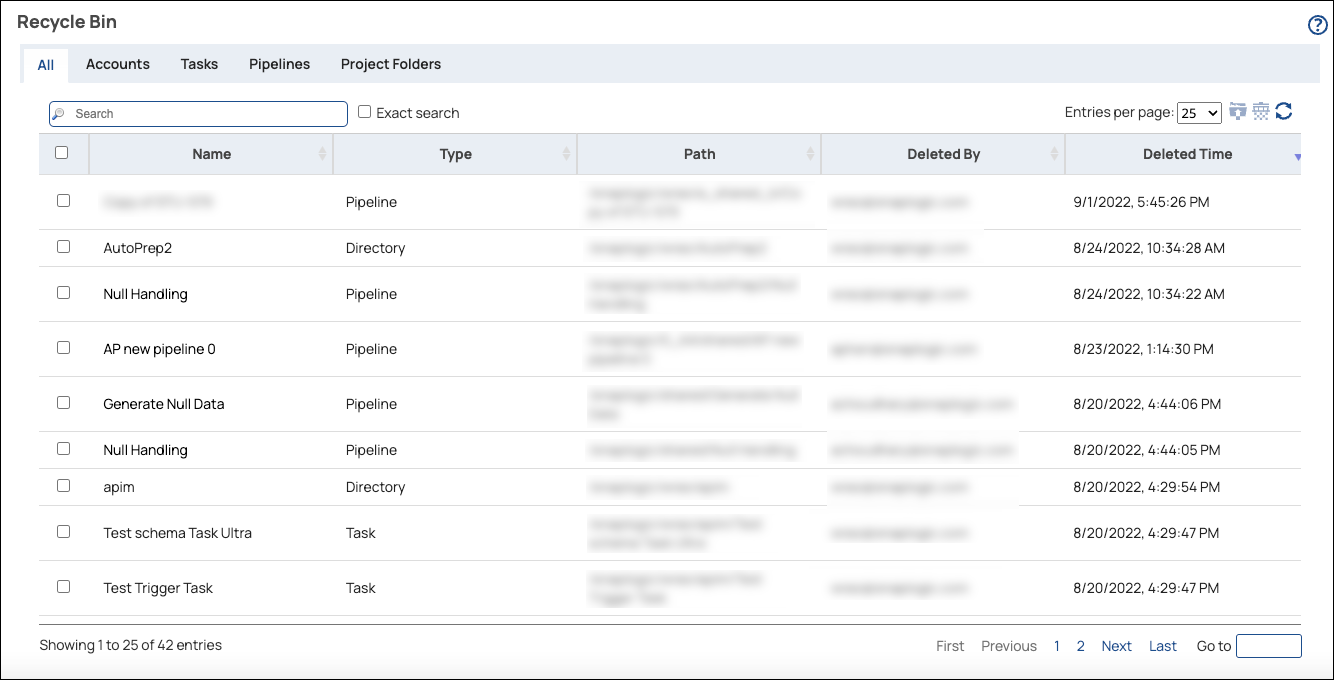
Details about deleted items include:
Name: The name of the Asset.
Type or Run Policy: The Asset type, or for Tasks, the run policy. The Directory type applies to Project Spaces and Projects.
Path: The original location of the Asset.
Deleted by: The user who deleted the asset.
Deleted Time: The date and time of deletion.
Recovering Deleted Items
To recover a deleted Project Space, Project, Pipeline, Task or Account, use the toolbar Restore button (![]() ) :
) :
Open SnapLogic Manager.
From the left navigation under Project Spaces, select Recycle Bin.
Select the assets to recover
In the toolbar, click Restore
 .
.Click Restore to confirm.
Permanently Deleting Items
To permanently delete empty Project Spaces and Projects, use the toolbar Permanent Delete button (![]() ):
):
Open SnapLogic Manager.
From the left navigation under Project Spaces, select Recycle Bin.
Select the assets to permanently delete.
In the toolbar, click Permanent Delete
.Click Delete to confirm.