Viewing the List of Proxies
To view the list of Proxies:
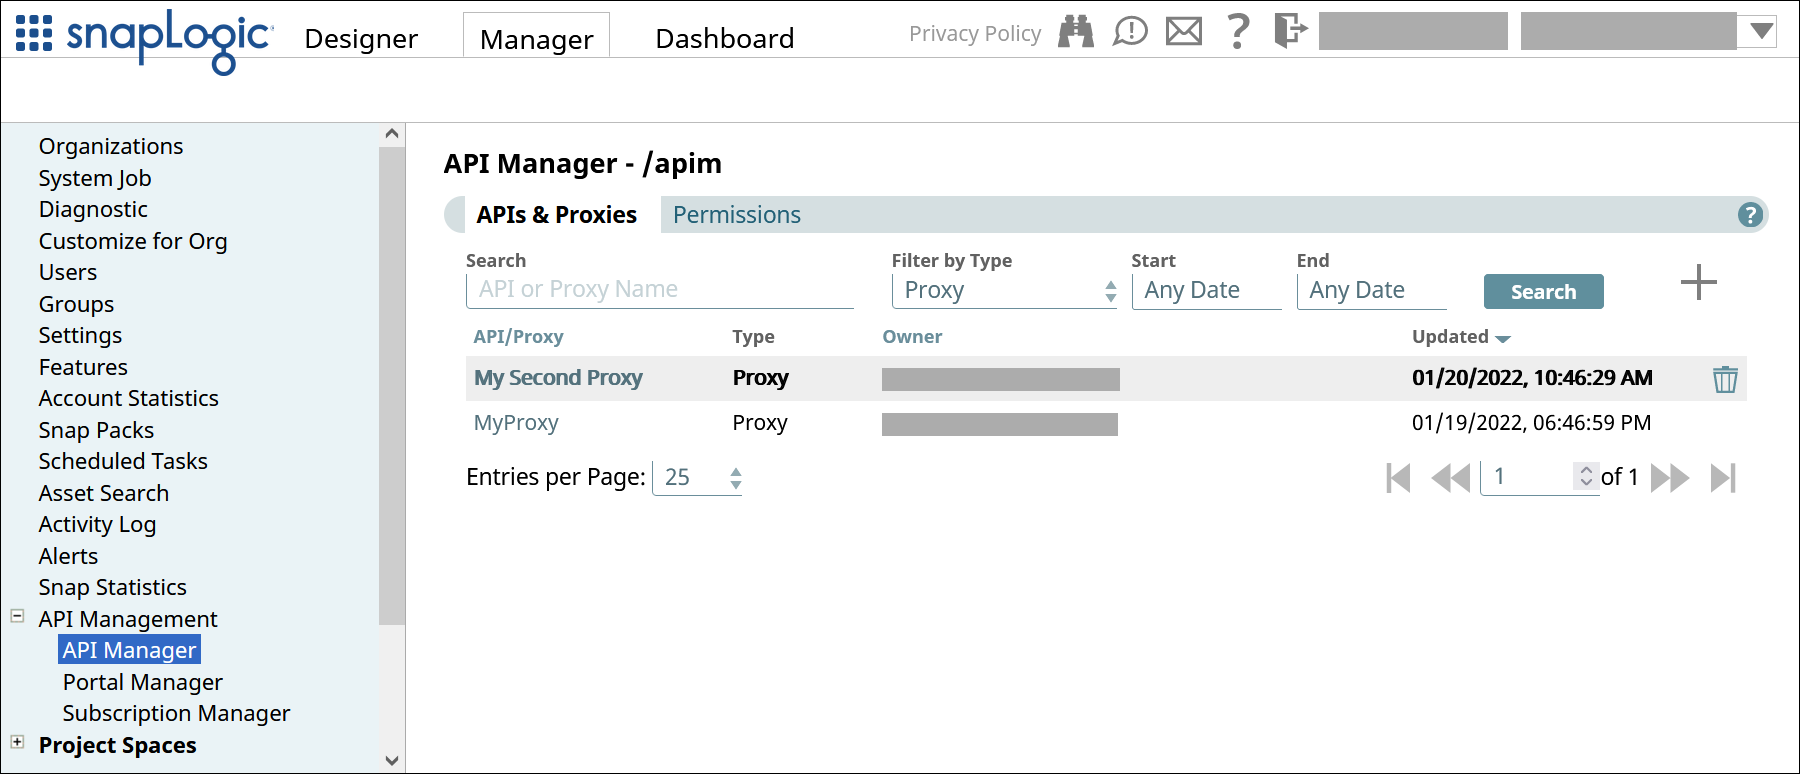
In SnapLogic Manager, go to API Management > API Manager.
In the API Manager, go to the APIs & Proxies tab.
Set Filter by Type to Proxy and click Search.
Creating a Proxy
To create a proxy:
In the API Manager, go to the APIs & Proxies tab.
Click the plus icon (
 ).
).Select New Proxy from the dropdown.
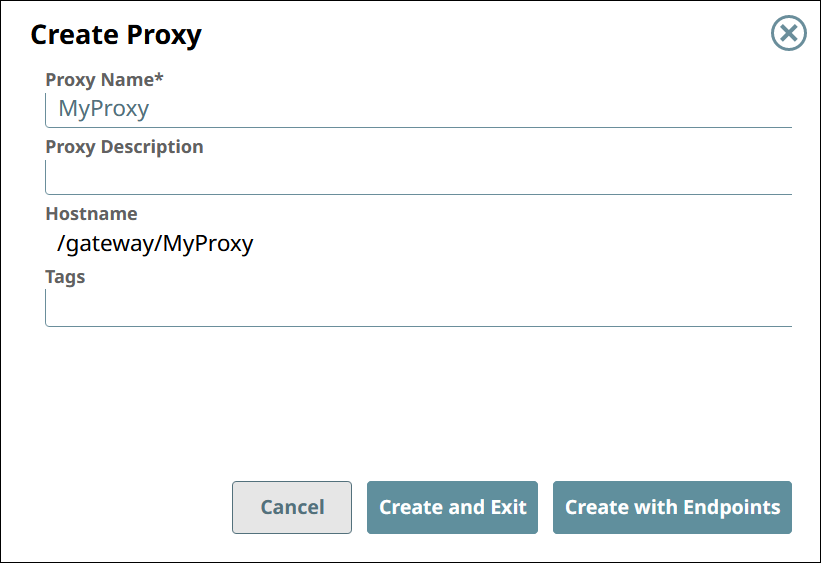
Configure the new proxy.
Field | Description |
|---|---|
Proxy Name | The name for your Proxy.
The Proxy name is appended to the Hostname. |
Proxy Description | (Optional) Information about the Proxy. |
Hostname | The prefix |
Tags | (Optional) Tags you can use to organize your proxies. |
To associate endpoints with the new Proxy at this time, click Create with Endpoints. To do so at a later time, click Create and Exit.
Learn more about creating Proxy endpoints.
Deleting a Proxy
To delete a Proxy:
In the API Manager, go to the APIs & Proxies tab.
Hover over the row of the Proxy.
Click the trash icon (
) that appears at the end of the row.