Viewing the List of Proxies
To view the list of Proxies:
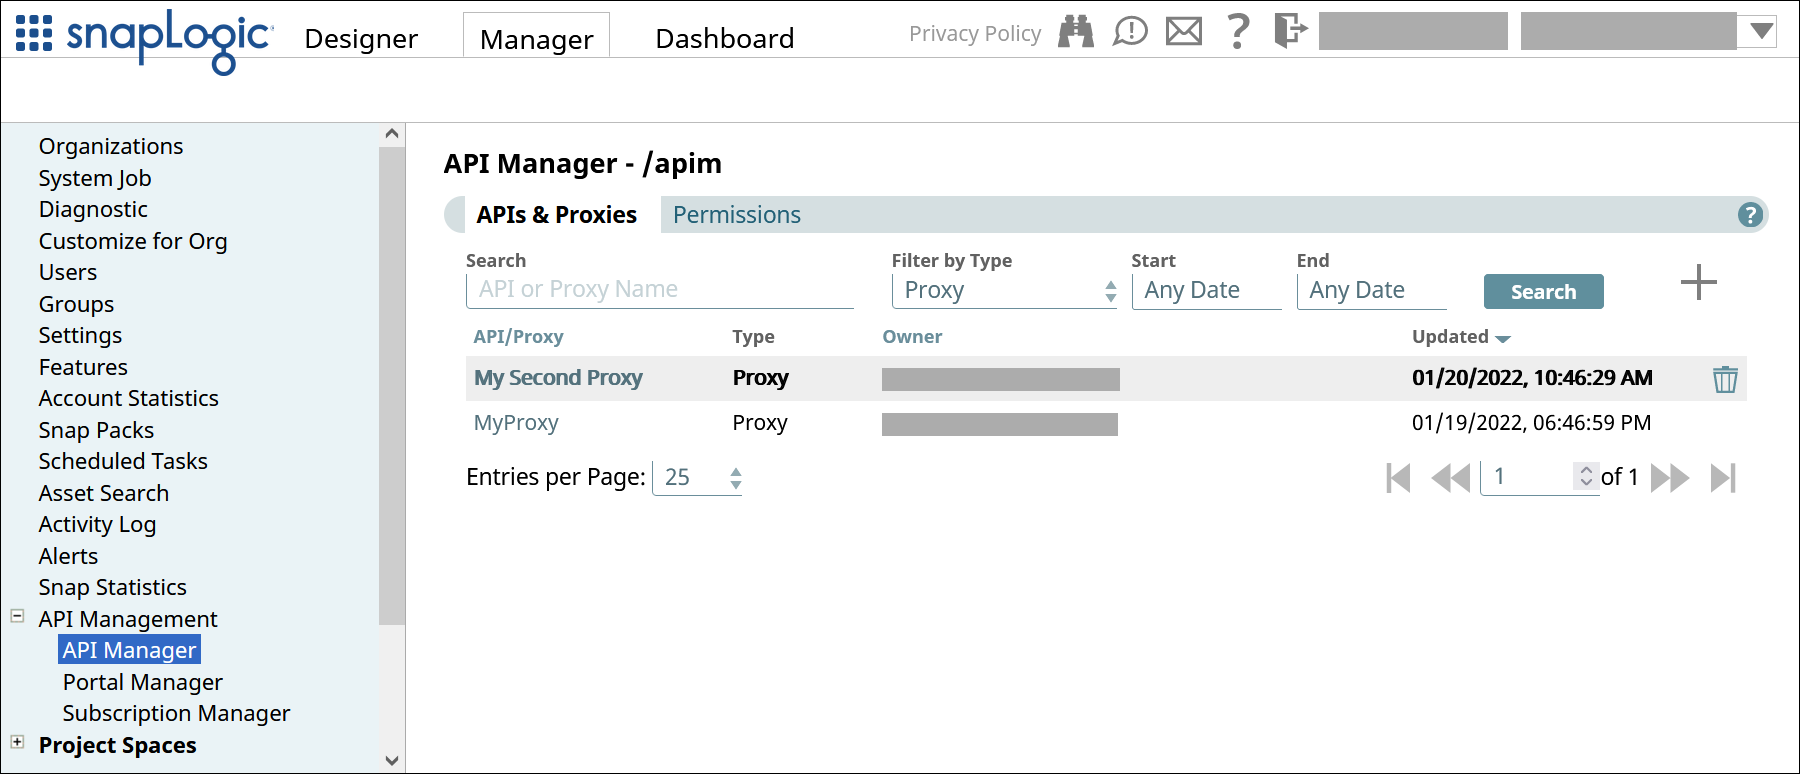
In SnapLogic Manager, go to API Management > API Manager.
In the API Manager, go to the APIs & Proxies tab.
Set Filter by Type to Proxy and click Search.
Creating a Proxy
Proxies support referencing OAS 2.0 and 3.0 API specifications. You can define the metadata for the proxy or overwrite the data from the specification. Proxies support referencing OAS 2.0 and 3.0 JSON and YAML API specifications. You can assign policies and other routing/mapping conditions to the proxy endpoints imported from the specification.
Limitations:
We do not support paths where the first element is a dynamic path/path parameter.
For example:/{petId}If the proxy does not match any mappings, an
is nullerror is displayed.
To create a proxy:
In the API Manager, go to the APIs & Proxies tab.
Click the plus icon (
 ), and select New Proxy from the dropdown.
In Create proxy dialog, choose the source of the OAS 2.0 or 3.0 file.

Upload File. Click Choose File to specify the location of the specification file to upload.
Enter URL. Enter a valid URL pointing to the location of the specification file.
Create empty proxy: Do not reference a specification during proxy creation.
Click Continue.
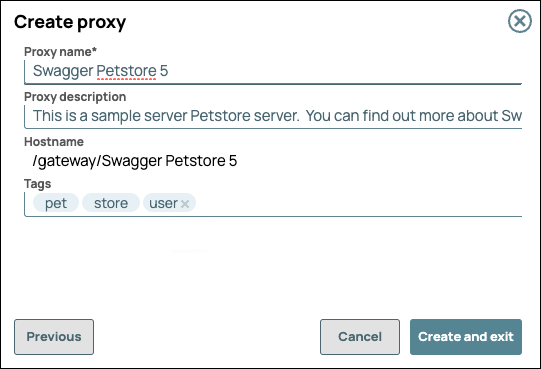
Configure the new proxy, then click Create and exit.
Field | Description |
|---|---|
Proxy Name | The name for your Proxy.
The Proxy name is appended to the Hostname. |
Proxy Description | (Optional) Information about the Proxy. |
Hostname | The prefix |
Tags | (Optional) Tags you can use to organize your proxies. |
To associate endpoints with the new Proxy at this time, click Create with Endpoints. To do so at a later time, click Create and Exit.
Learn more about creating Proxy endpoints.
Deleting a Proxy
Prerequisite: If a Proxy has endpoints, delete the endpoints before deleting the Proxy.
To delete a Proxy:
In the API Manager, go to the APIs & Proxies tab.
Hover over the row of the Proxy.
Click the trash icon (
) that appears at the end of the row.