Use Case: Automating Asset Management Using the SuccessFactors Snap Pack
In this article
Overview
This use case demonstrates how you can integrate a human resource management (HRM) system such as SAP SuccessFactors, with an asset management system such as ServiceNow. You can leverage SnapLogic's capability to build a Pipeline using the SuccessFactors Snap Pack and ServiceNow Snap Pack to accomplish this task.
ServiceNow's Asset Management module tracks inventory and life cycle of all IT and non-IT assets in an organization. SAP SuccessFactors is a human resource management (HRM) tool used to record and track the full employee-life cycle everything from payroll to employee release.
Challenge
It is a common scenario to integrate an HR system such as SAP SuccessFactors with an asset management system such as ServiceNow. Such an integration scenario helps automate asset management when dealing with employee life cycle.
Whenever an employee is hired by an organisation there are several assets which are made available in ServiceNow. When the employee leaves the organisation, the asset needs to be released. The image below depicts the high-level business process.
To implement this scenario, you must perform operations on both, SAP SuccessFactors and ServiceNow. At an enterprise-level, it is a challenge to manage the potentially massive influx of data exchange between both the systems. You need a workflow that automates the exchange between SAP SuccessFactors and ServiceNow.
Solution
To solve this problem, you can use SnapLogic's SuccessFactors and ServiceNow Snap Packs. We have designed the following Pipeline:
Key Operations
- Fetch employee record from SuccessFactors.
- Create employee record in ServiceNow.
- Allocate assets to employee in ServiceNow.
- Update employee record in SuccessFactors.
Fetching User Details from SuccessFactors
When an employee is hired, a User object is created in SAP SuccessFactors. This object contains all the necessary information about the employee, such as name, designation, salary, and position. We retrieve these details from SAP SuccessFactors first. The following portion of the Pipeline accomplishes this task:
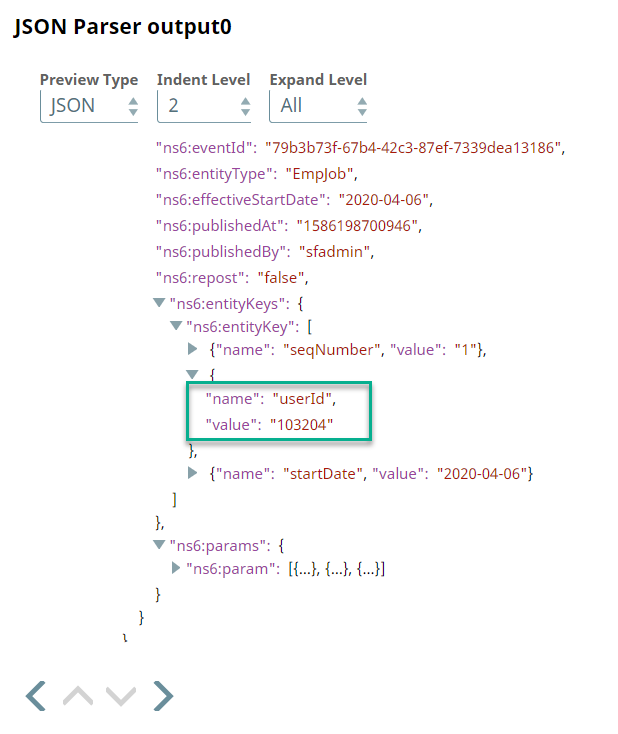
In a bulk-hiring scenario this becomes time consuming. You can leverage SnapLogic's ability to handle a batch of records by storing the employee's details in a file using the SOAP format (which SAP SuccessFactors uses as a default). You can use a suitable parsing Snap to read this file; we use XML Parser here since the file we used is an XML file. Then, we use the JSON Formatter and Parser Snaps to format and parse the data in JSON.
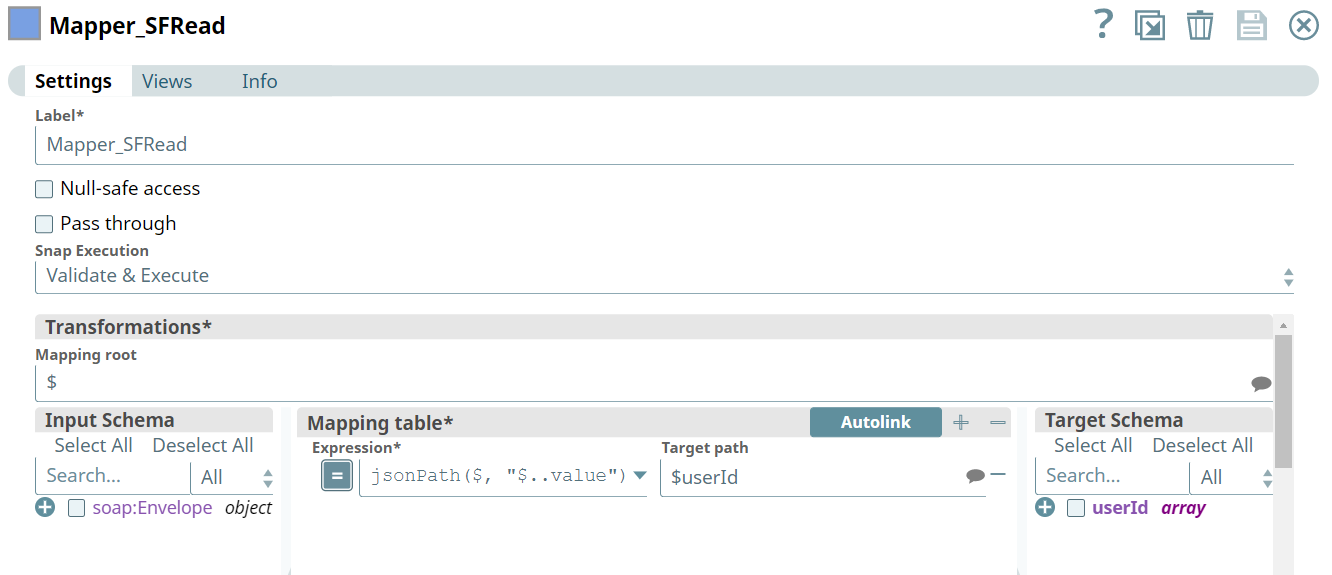
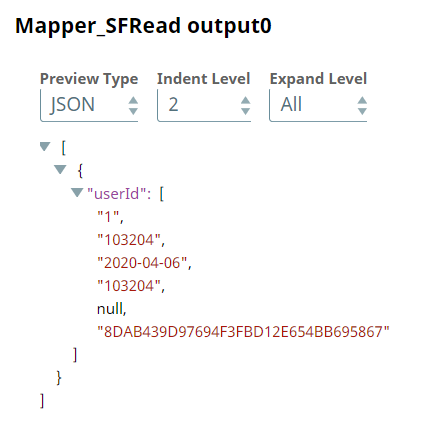
We use the table schema from SuccessFactors to map the file’s schema in the Mapper Snap. We then configure the Mapper Snap to pass only the user ID value downstream.
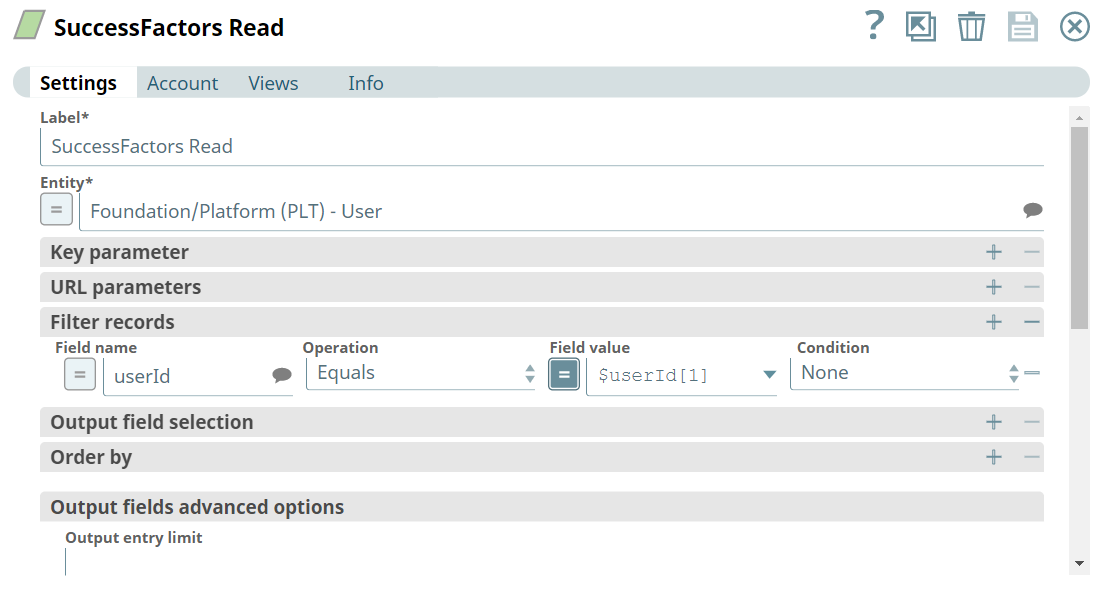
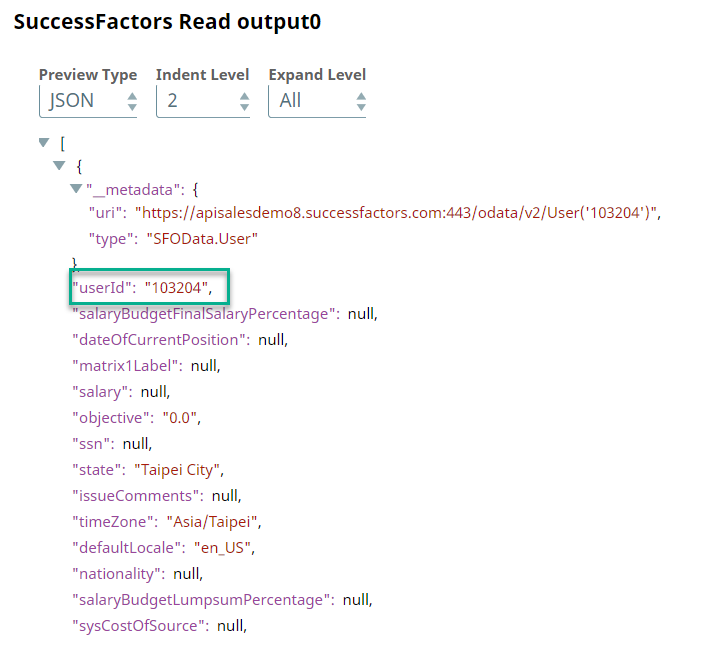
We configure the SuccessFactors Read Snap to fetch details of users matching the input user ID.
We now have the employee's details and can pass these details to ServiceNow.
Creating Employee Record in ServiceNow
We must create the employee’s record in ServiceNow before an asset can be allocated in the system. The following portion of the Pipeline accomplishes this task:
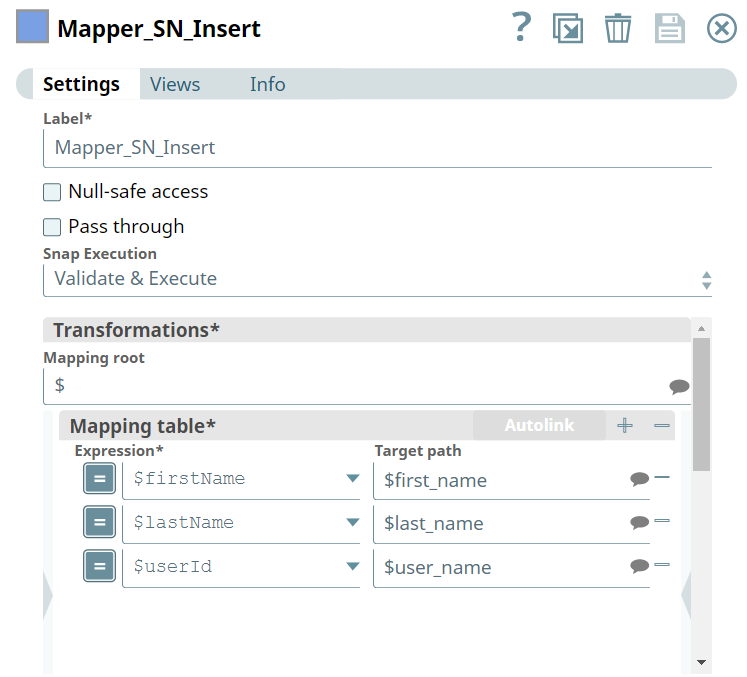
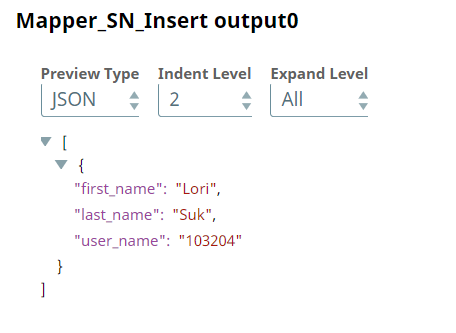
Since the schema used in ServiceNow may not be the same as the one in SuccessFactors, we map the output from SuccessFactors Query Snap to the schema of the target table in ServiceNow using a Mapper Snap.
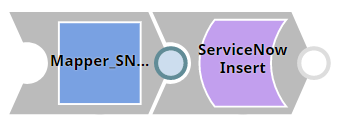
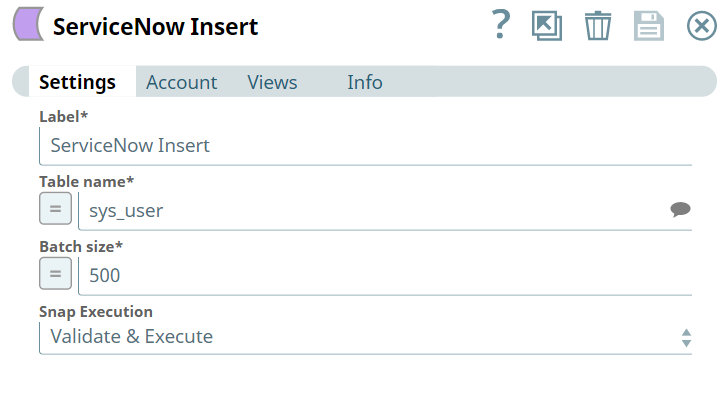
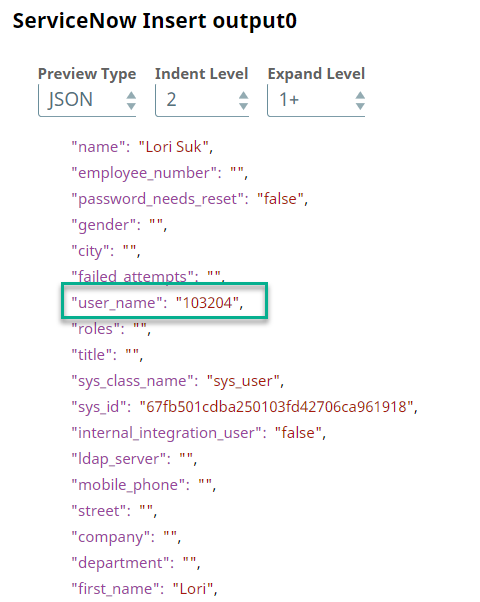
The Mapper Snap's output becomes the input for the ServiceNow Insert Snap. This action inserts the new employee's information into the sys_table table in ServiceNow, thereby creating a record of the new employee in the database.
With the employee's record created in ServiceNow, we can reserve and allocate assets to the employee.
Allocating Assets to New Employee in ServiceNow
To allocate an asset, we must first query the available assets. Once we have retrieved a list of the available assets, we can then go ahead and map the applicable available assets to the employee. The following portion of the Pipeline accomplishes this task:
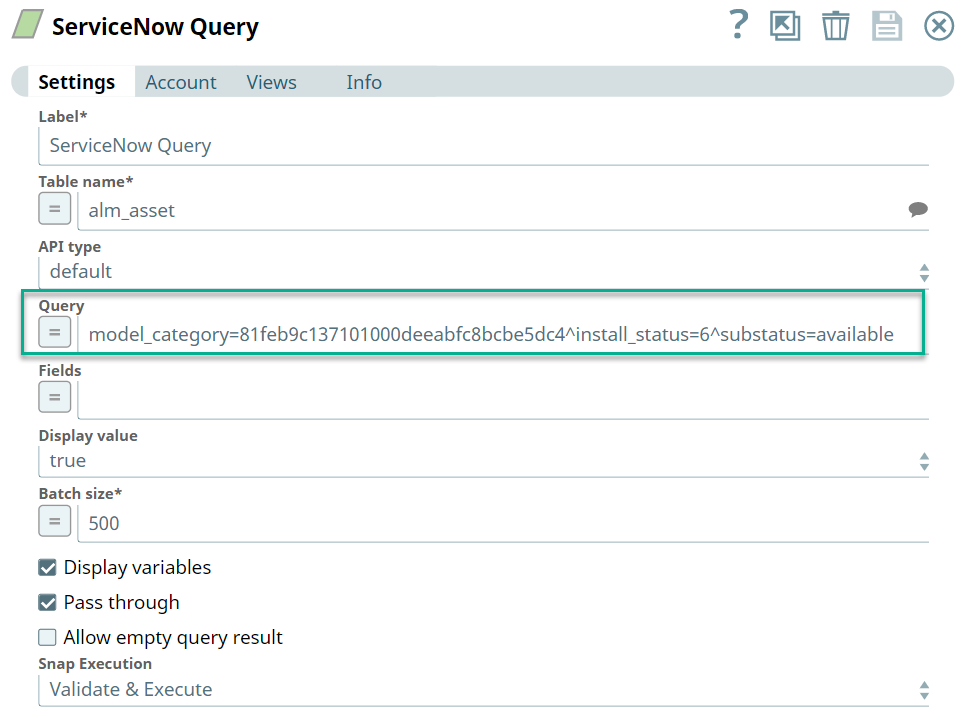
In this use case, the asset inventory is maintained in the alm_asset table. We query this table by the asset's availability status to retrieve the available assets using the ServiceNow Query Snap:
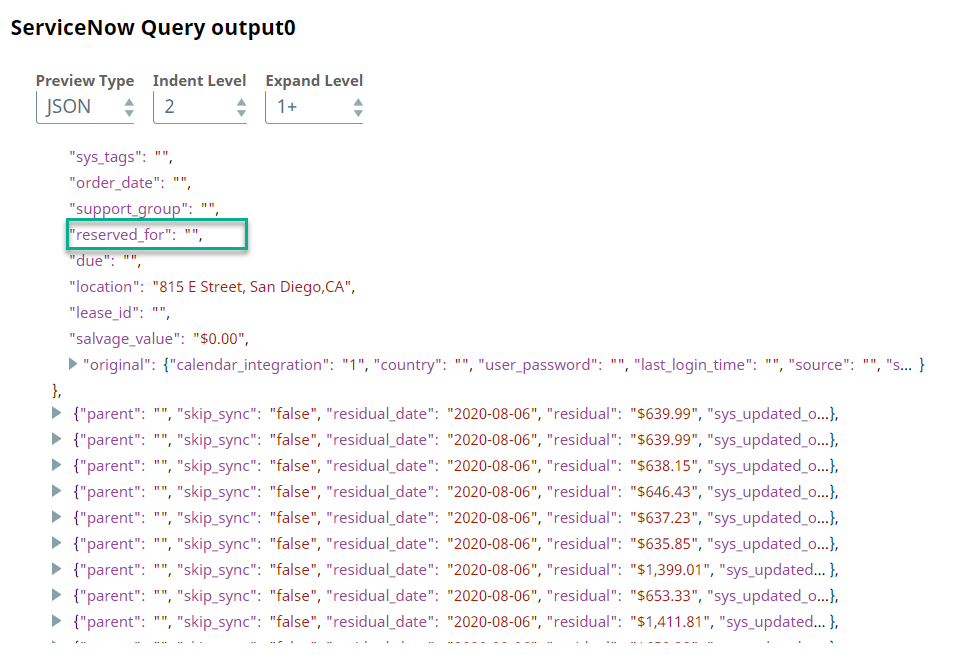
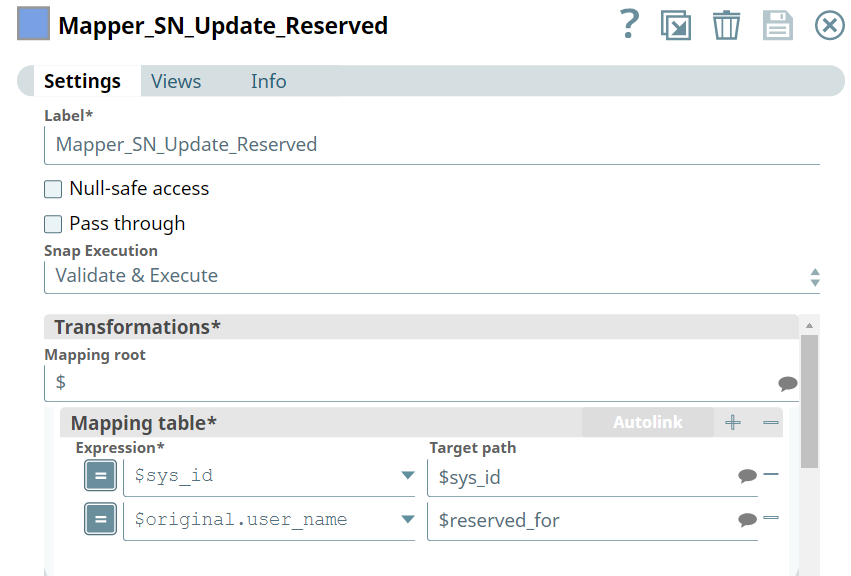
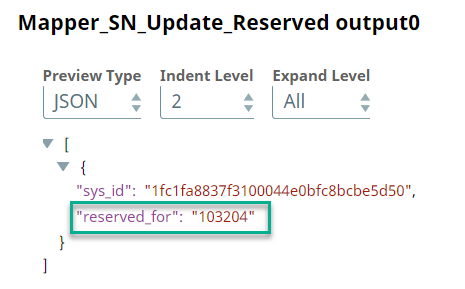
The column reserved_for represents the owner of the asset, it is blank for available assets. We select the first asset from this list using the Head Snap. To allocate an asset to an employee, we must update the asset table, alm_asset, to include the employee's name under the asset's reserved_for field. To do this, we use the Join Snap to combine both, asset data and employee data. This joined data is mapped to the corresponding fields in the alm_asset table using the Mapper Snap:
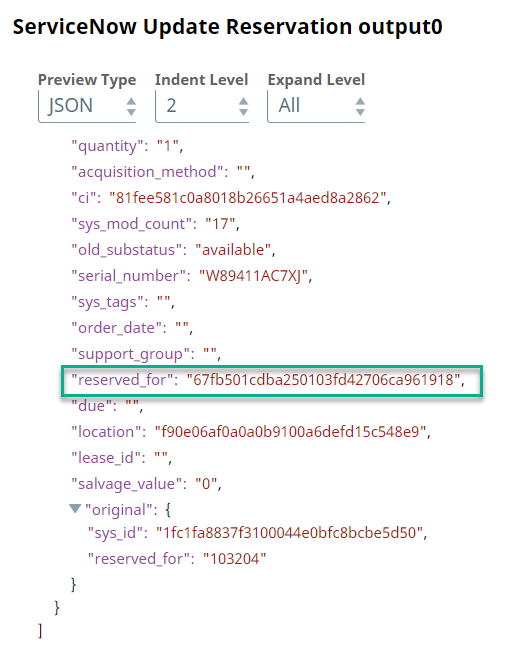
The Mapper Snap's output becomes the input for the ServiceNow Update Snap where the alm_asset table is updated. This action allocates the asset to the employee in ServiceNow.
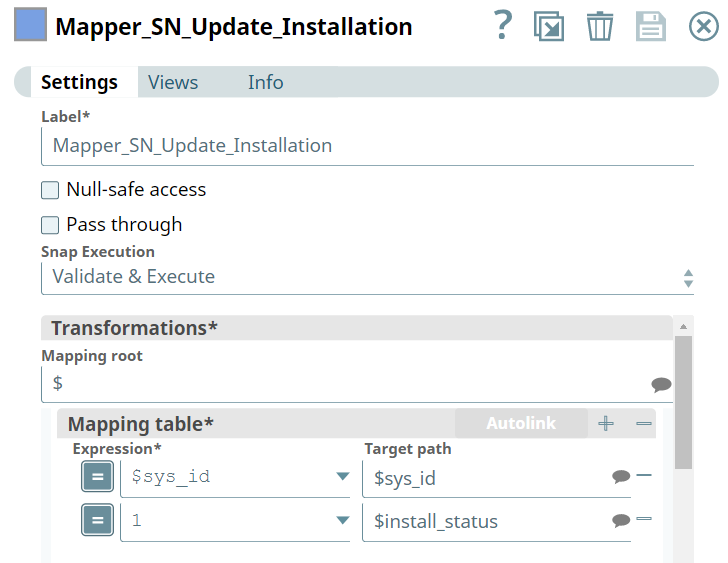
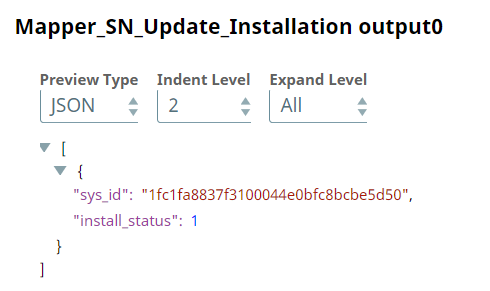
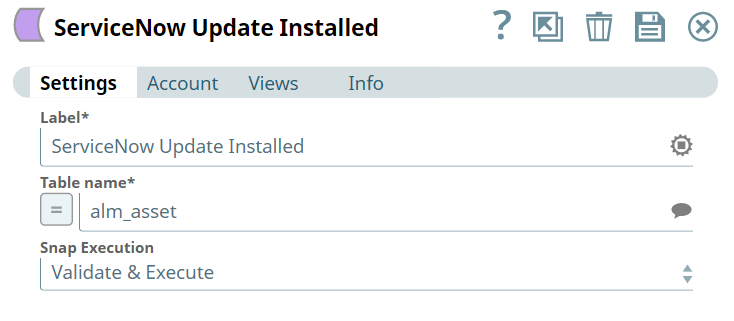
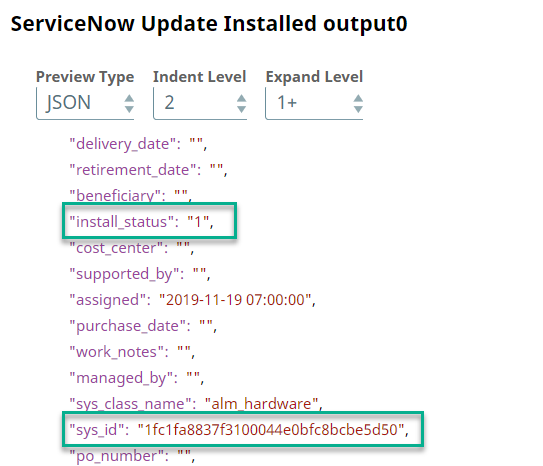
We use another set of Mapper and ServiceNow Update Snaps to update the status of installation. You can do this as a separate Pipeline based on the asset's installation requirement. However, we include this step in the use case for the sake of demonstrating this function.
This updates the value of install_status field in the alm_asset table based on the sys_id field's value using the ServiceNow Update Snap:
Updating the Employee Record in SuccessFactors
In some organizations, each employee has separate reference IDs in its various databases. However, in this use case we want to update the employee's reference ID: userID according to the asset allocation in ServiceNow.
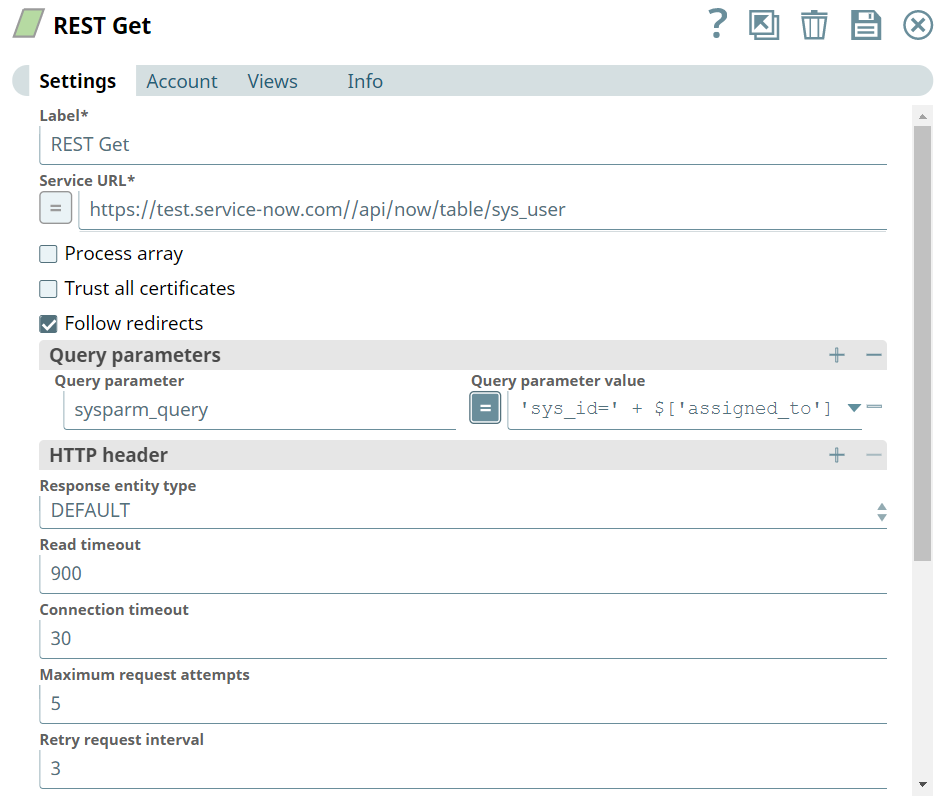
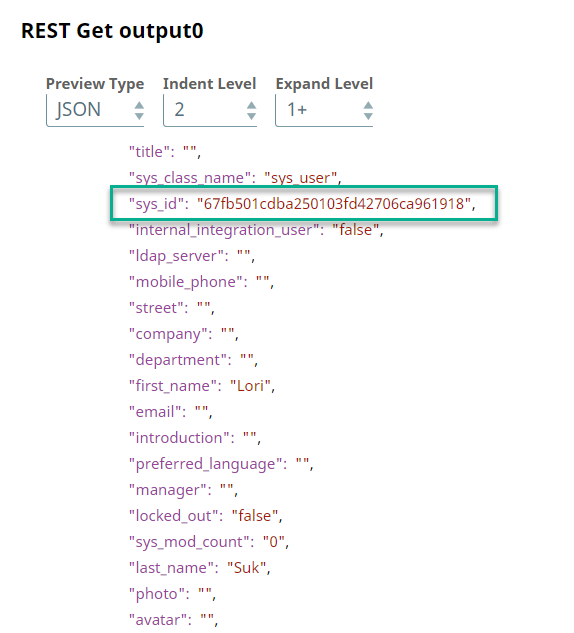
We configure a REST Get Snap to fetch the employee's updated record from the sys_user table in ServiceNow.
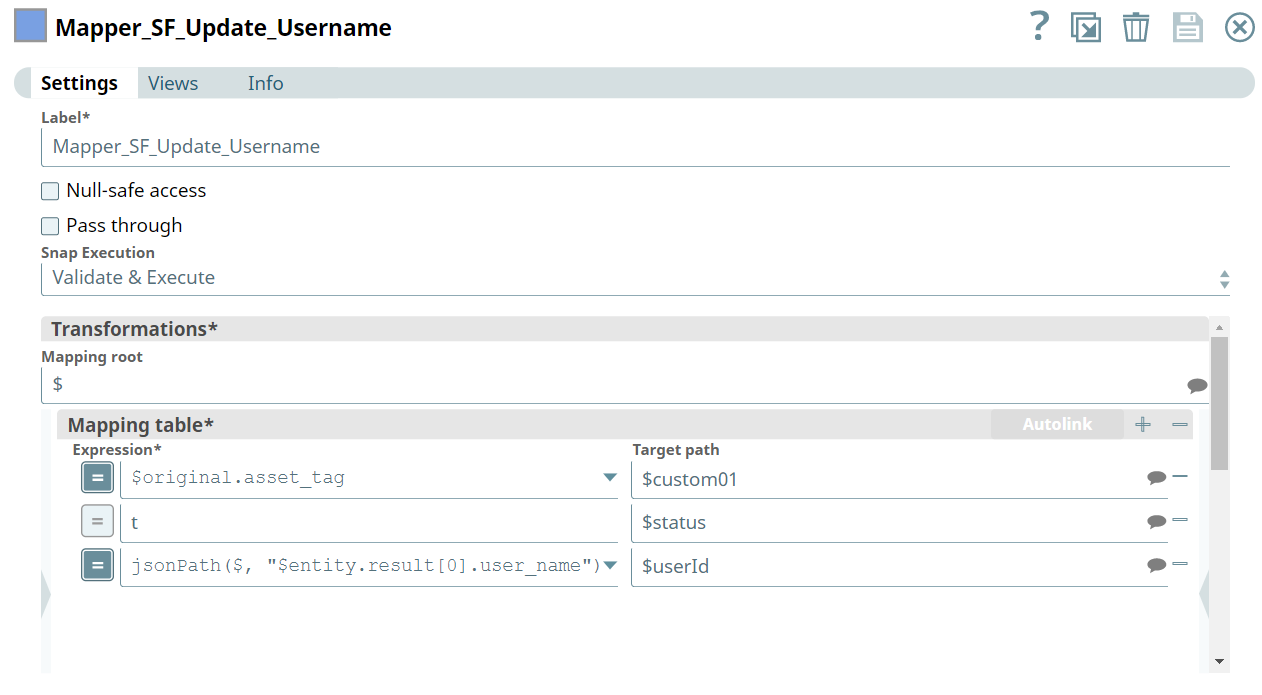
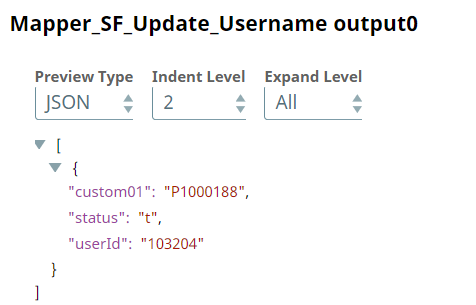
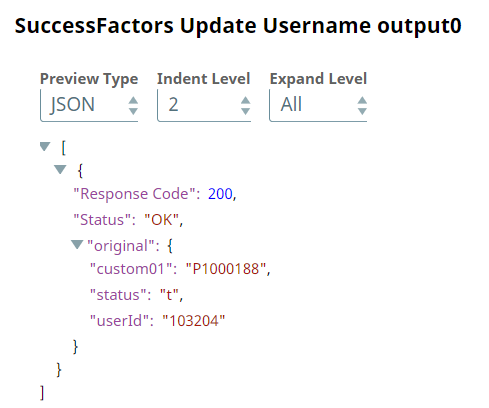
We retrieve the updated username from the sys_table is and map it to the userID in SuccessFactors using the Mapper Snap:
This synchronizes the employee's user ID in both SuccessFactors and ServiceNow systems.
Additionally, we create a local file using the File Writer Snap to record this updated employee information.
Automating the Workflow
The Pipeline shown in this use case uses a File Reader Snap to pass the new employee's details to the SuccessFactors Snap. You can edit the Pipeline to automate the entire workflow.
To do so:
- Remove the File Reader Snap and save the Pipeline.
- Create a Triggered Task for this Pipeline by clicking on the SnapLogic Designer toolbar.
- Go to SnapLogic Manager > Project Spaces > Project > Tasks to view a list of the Tasks.
- Open the Task's details and make note of the URL in the Cloud URL field.
- Do the following configurations in SAP SuccessFactors:
- Log into your SAP SuccessFactors account and go to the Intelligent Service Configuration section.
- Go to Event Notification Subscription > Subscriber and create a subscriber.
- Go to Event Notification Subscription > SEB External Event and assign the event for new hiring to this new subscriber. Enter the Triggered Task's URL, which you recorded in step 4 in the Endpoint URL field.
- Log into your SAP SuccessFactors account and go to the Intelligent Service Configuration section.
Every time there is a new hire event triggered in SAP SuccessFactors, an event notification is sent to the subscriber that you created. This event notification automatically triggers the Triggered Task and executes the Pipeline, thereby allocating an asset in ServiceNow and updating the employee's details in SAP SuccessFactors as well.
Downloads
Important steps to successfully reuse Pipelines
Have feedback? Email documentation@snaplogic.com | Ask a question in the SnapLogic Community
© 2017-2025 SnapLogic, Inc.


