SnapLogic Pipeline Configuration as a REST API
- Vidya Patil
- Ruth Stento
- Mohammed Iqbal
In this article
Overview
This use case demonstrates how you can use SnapLogic Data Science to configure SnapLogic Pipelines as REST APIs to receive requests from external applications. Currently, we support the following two types of REST APIs that are called tasks in SnapLogic:
The table below shows the key differences between the two types of tasks.
| Triggered Task | Ultra Task | |
|---|---|---|
| Objective | Trigger the API using a URL | Real-time API that has a very low response time |
| Latency | High | Very low |
| Resource Consumption | Start a new Pipeline execution for each request | The Pipeline is active all the time |
| Number of Documents | Any number of input/output documents | 1 input document for 1 output document |
This document explains how you can use the SnapLogic platform to run the Pipelines as APIs and is structured as follows:
- Data Science API Pipeline: Describes the Pipeline you must build to run as an API.
- Request format: Describes the request format to send API requests.
- Configuring and managing Ultra Tasks: Describes how to schedule and manage Ultra Tasks.
- Testing Ultra Tasks: Describes how to test the Ultra Tasks.
Data Science API Pipeline
To build Data Science-driven applications, Data Science API is key. Data Science API provides an interface that enables external applications to use the Data Science model. The model can be trained using the Trainer (Classification), Trainer (Regression), 721453390, or other Data Science libraries in Python using the Remote Python Script Snap. Once the model is ready, you can use a Pipeline with a Predictor Snap to host the model and provide REST API.
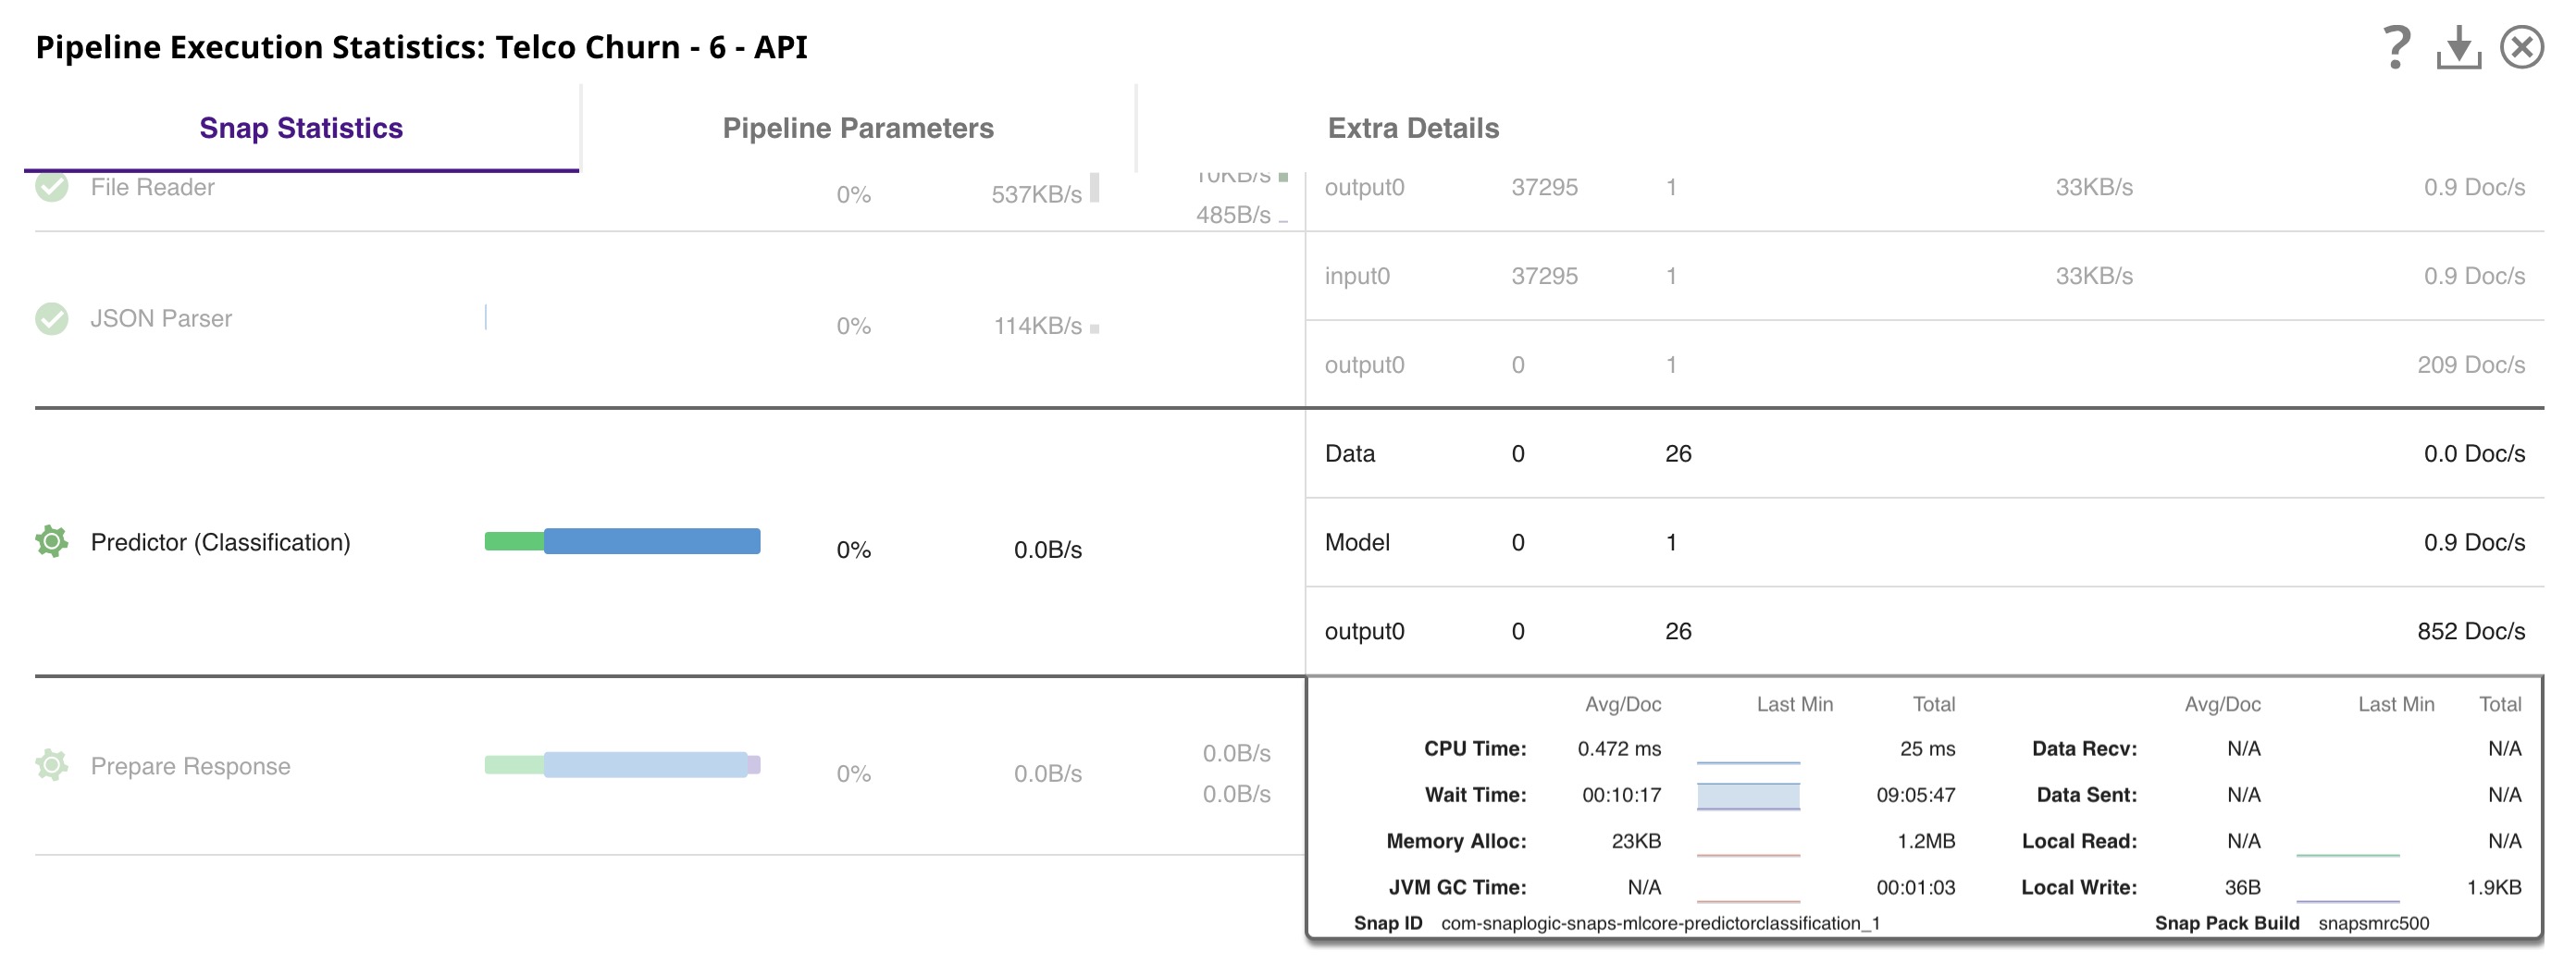
The image below shows an example Pipeline that hosts the Data Science model and provides an API in the Telco Customer Churn Prediction demo. As you can see in the screenshot, the Pipeline that hosts a model must have one open input view and one open output view to be compatible with an Ultra Task. This way, the Pipeline receives the input data from the request and sends the output data in the API’s response
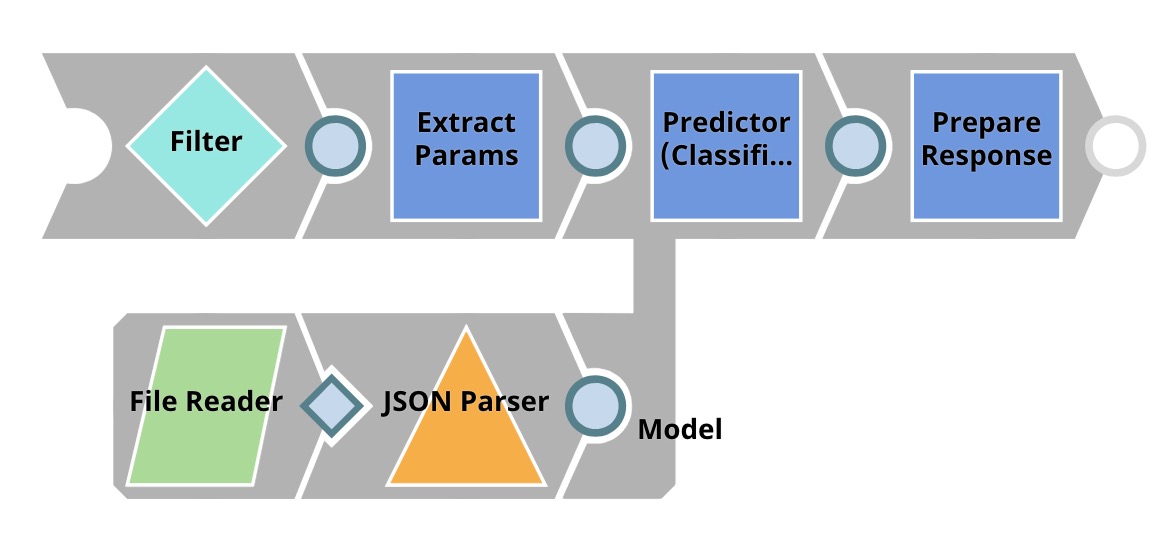
The table below briefly describes what each Snap does in this Pipeline.
| Snap Label | Description |
|---|---|
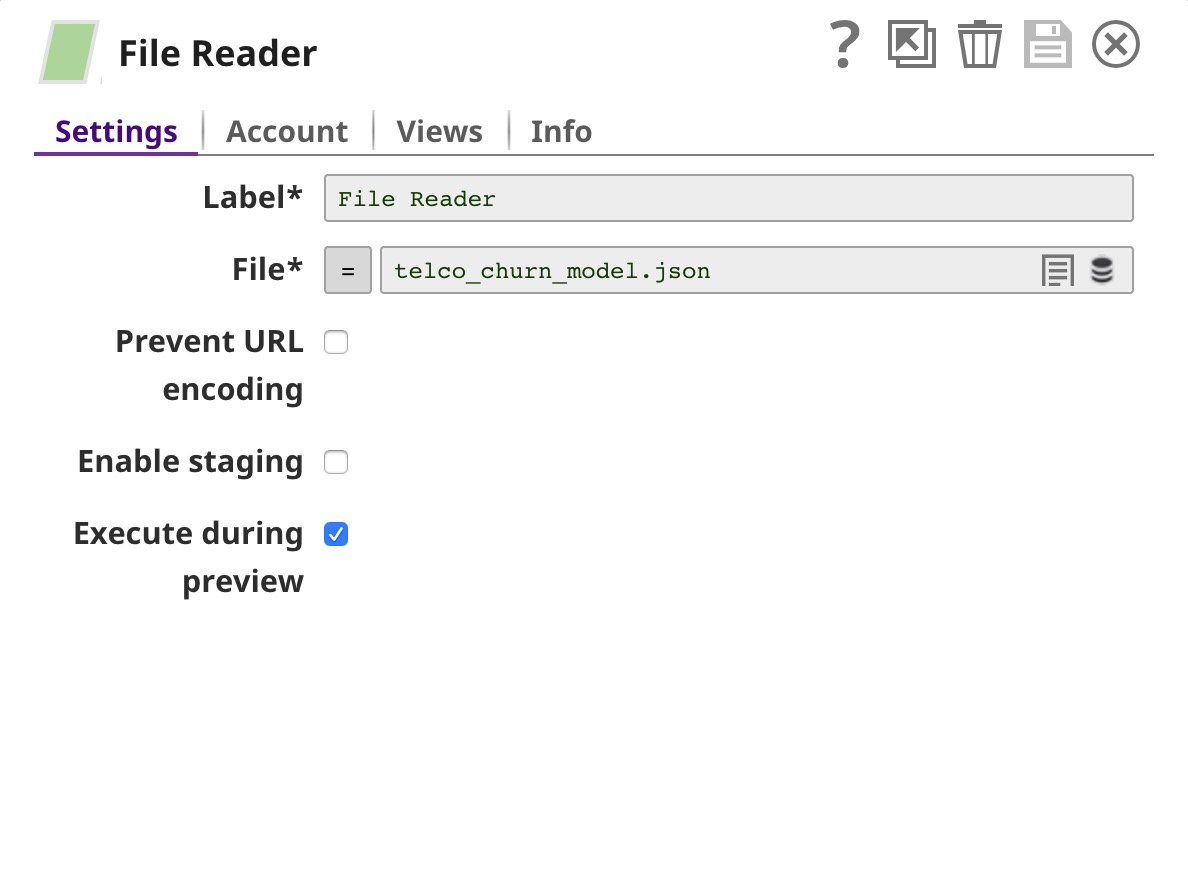
| Reads the model from the SnapLogic File System (SLFS). | |
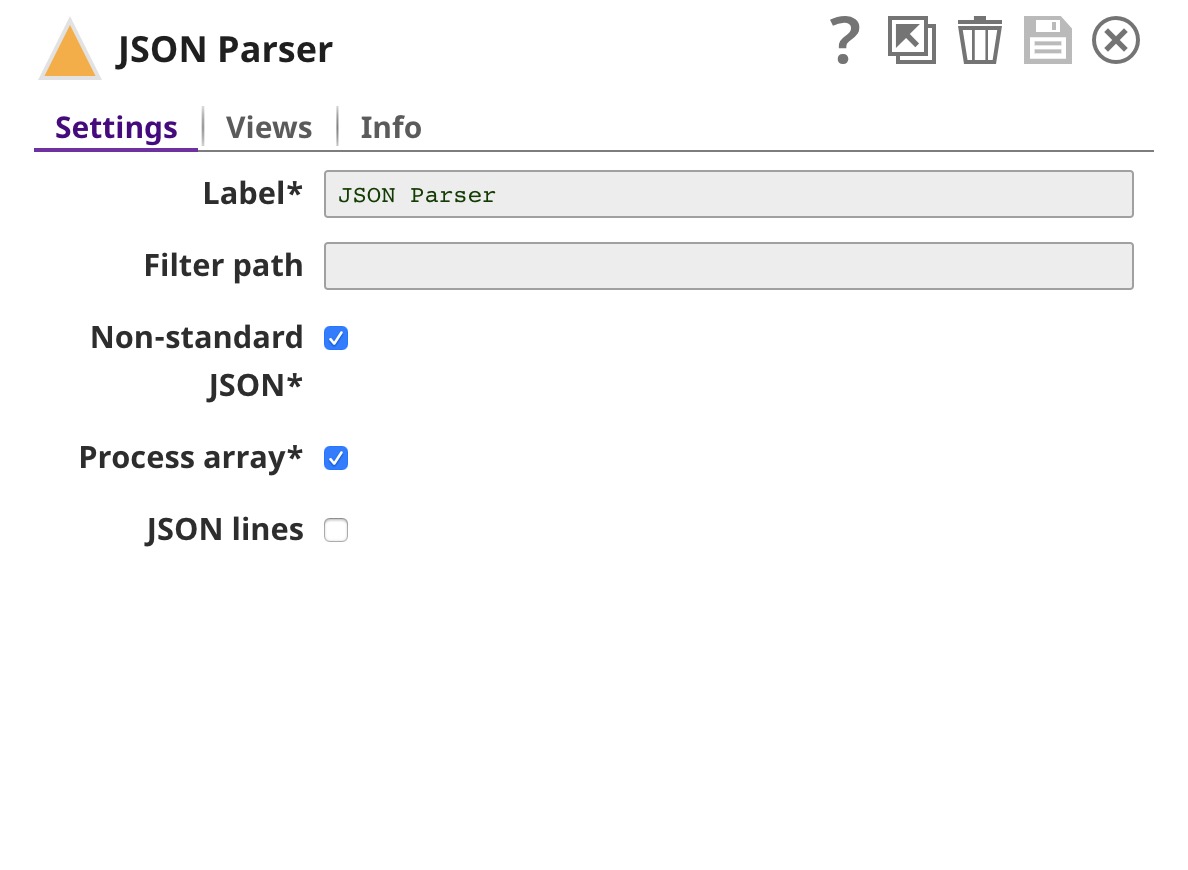
| JSON Parser | Parses the model, which is saved in JSON format. |
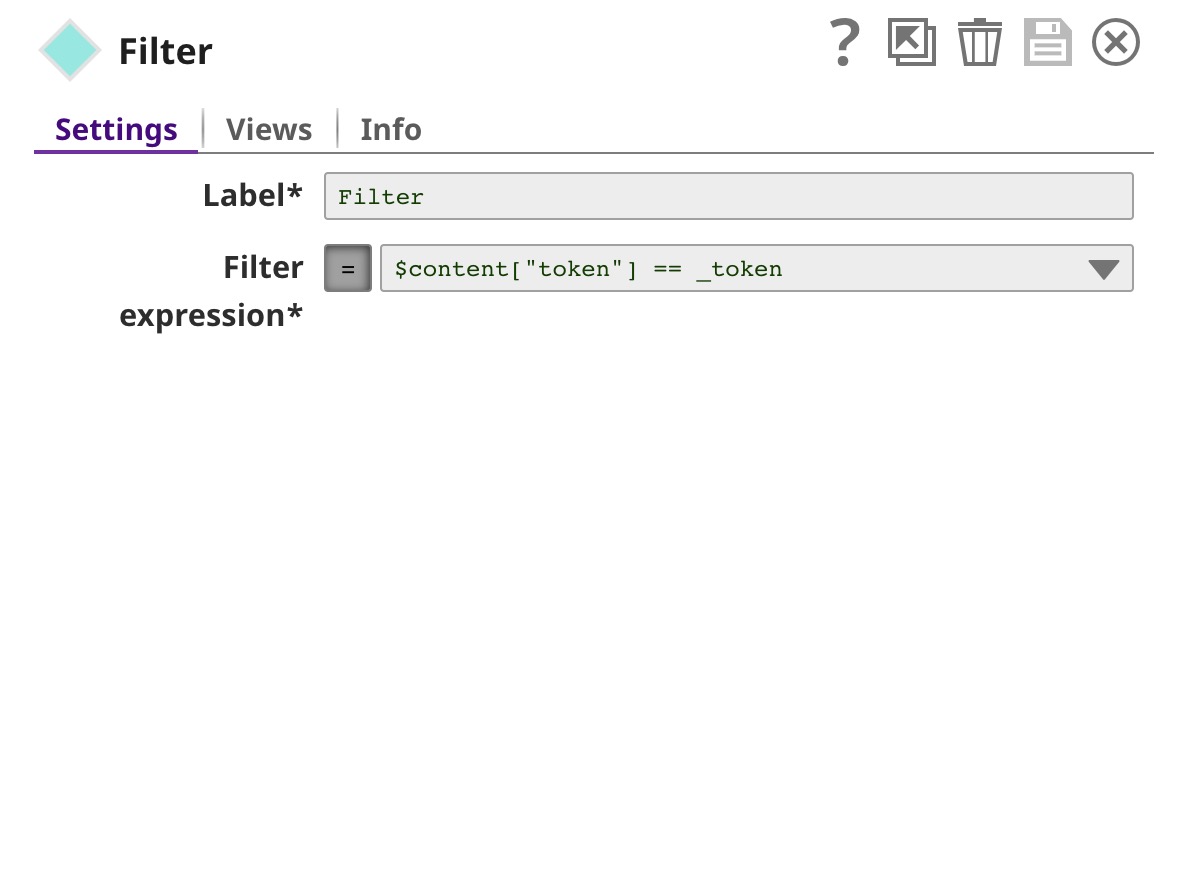
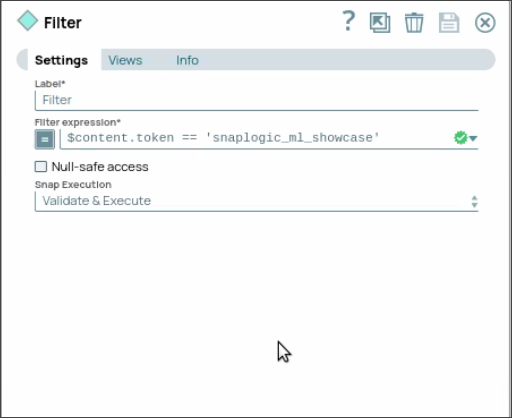
| Filter | Authenticates the request by comparing $content.token to _token, which is the token set as Pipeline parameter. The "_" refers to a Pipeline parameter, while "$" refers to an input document. |
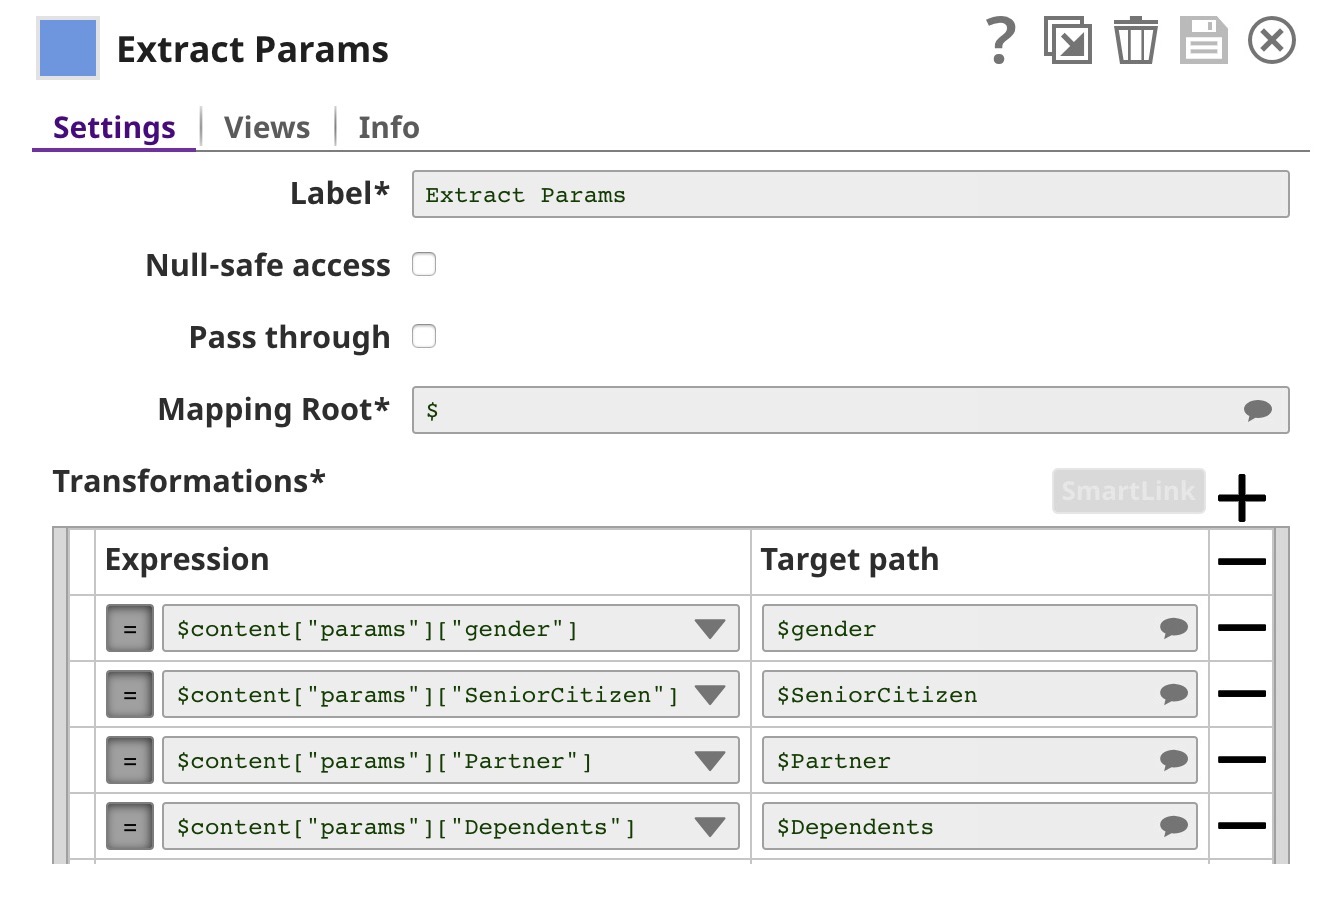
| Extract Params | This is a Mapper Snap. It extracts $content.params.gender and other parameters from the request. |
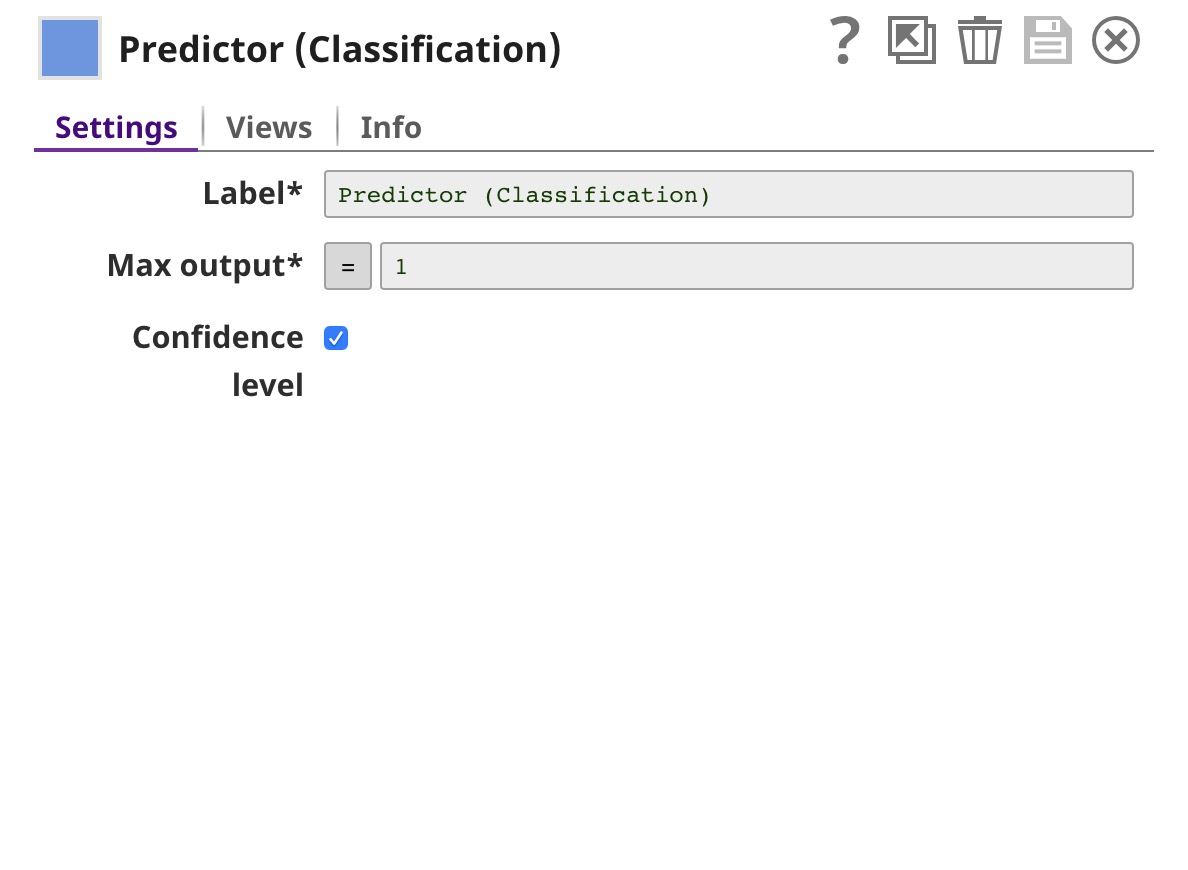
| Predictor (Classification) | Loads the model from the JSON Parser Snap and uses that model to offer predictions based on the input received from the Extract Params Snap. |
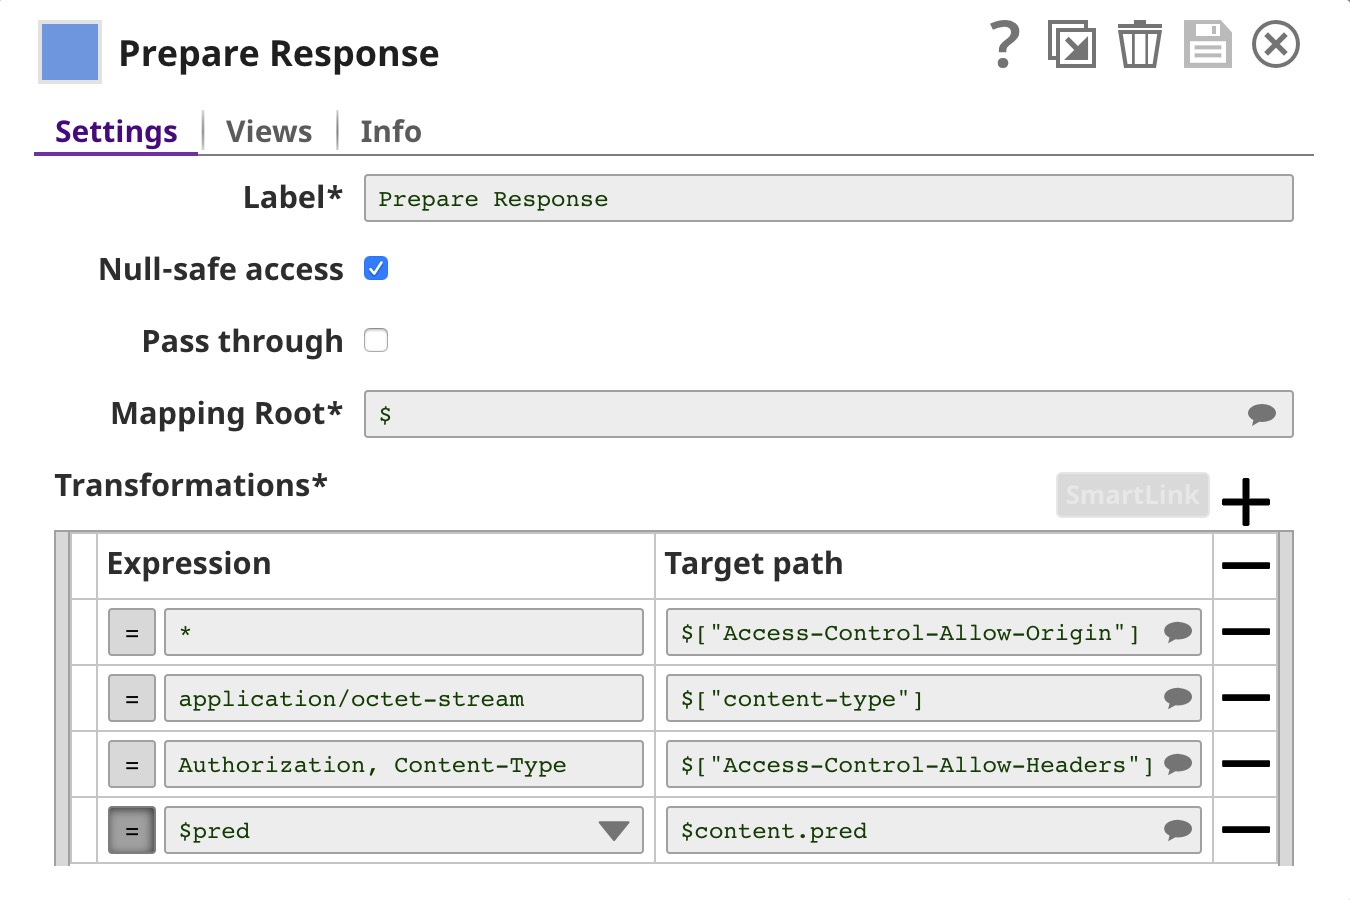
| Prepare Response | This is a Mapper Snap, which inserts the prediction from the Predictor Snap into $content, which forms the response body. It also adds headers to support Cross-Origin Resource Sharing (CORS). |
Request Format
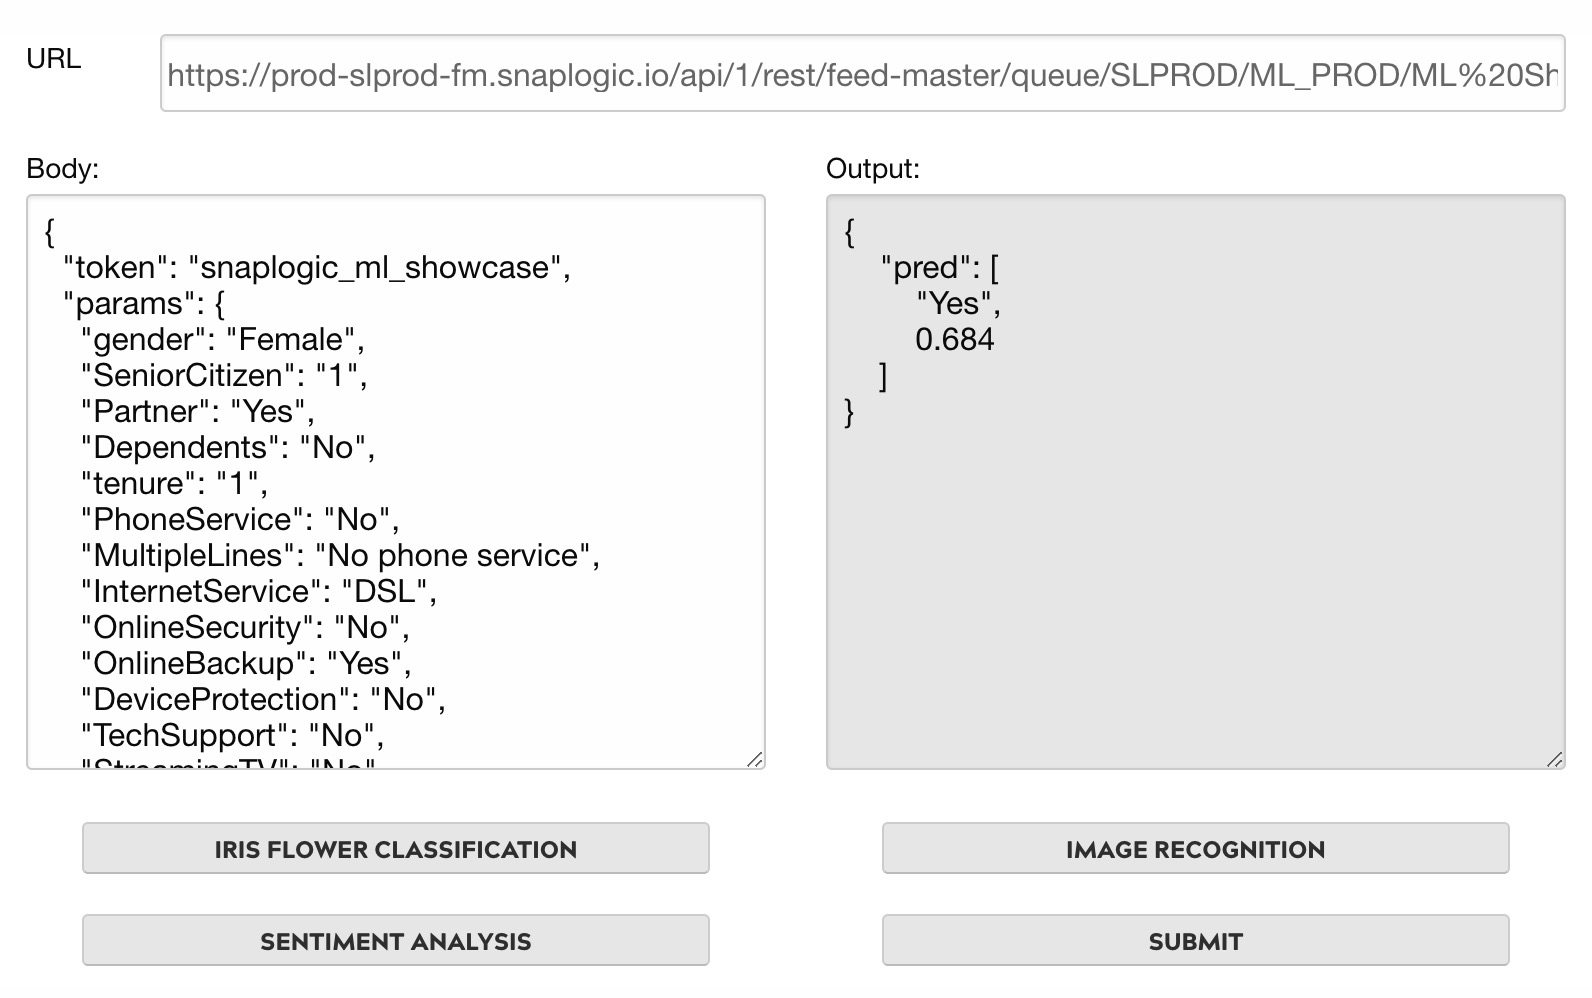
The recommended method for sending Data Science API requests is the POST method. You can send an input document in JSON format as part of the request body. The code block below contains an example of the request body used for the Telco Customer Churn Prediction API. The request body is accessed as $content. In this case, $content.token is "snaplogic_ml_showcase", while $content.params.gender is "Female".
Configuring and Managing Ultra Tasks
This section talks about configuring and managing Ultra Tasks.
To configure an ultra Task:
- In the Designer toolbar, click Create Task.

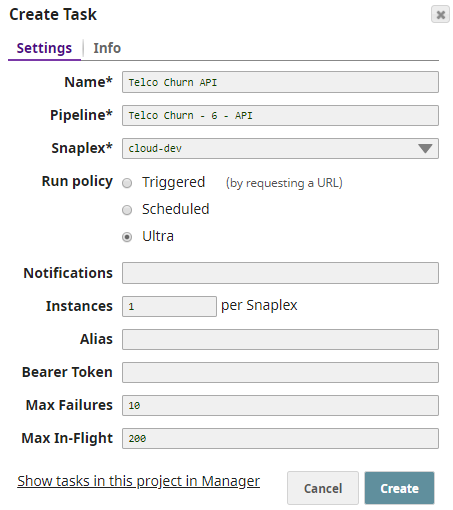
- Select Ultra in Run policy and remove the Bearer Token to remove authentication.
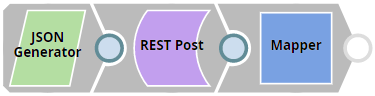
We recommend that you use a Snap to perform authentication inside the Pipeline. To authenticate within the pipeline, send the static tokensnaplogic_ml_showcaseusing the JSON Generator Snap through the REST Post Snap to send a request to the Ultra Task. - Use a Filter Snap in Data Science API Pipeline to compare your authentication details against a static token, as shown in the below screenshot. This step verifies the static token passed from the ultra task.
- Optional. Specify Instances. This is the number of API instances to be run in parallel across nodes in the Snaplex.
We recommend that you use at least two API instances to provide fault tolerance. You can find more information about Ultra Tasks here.
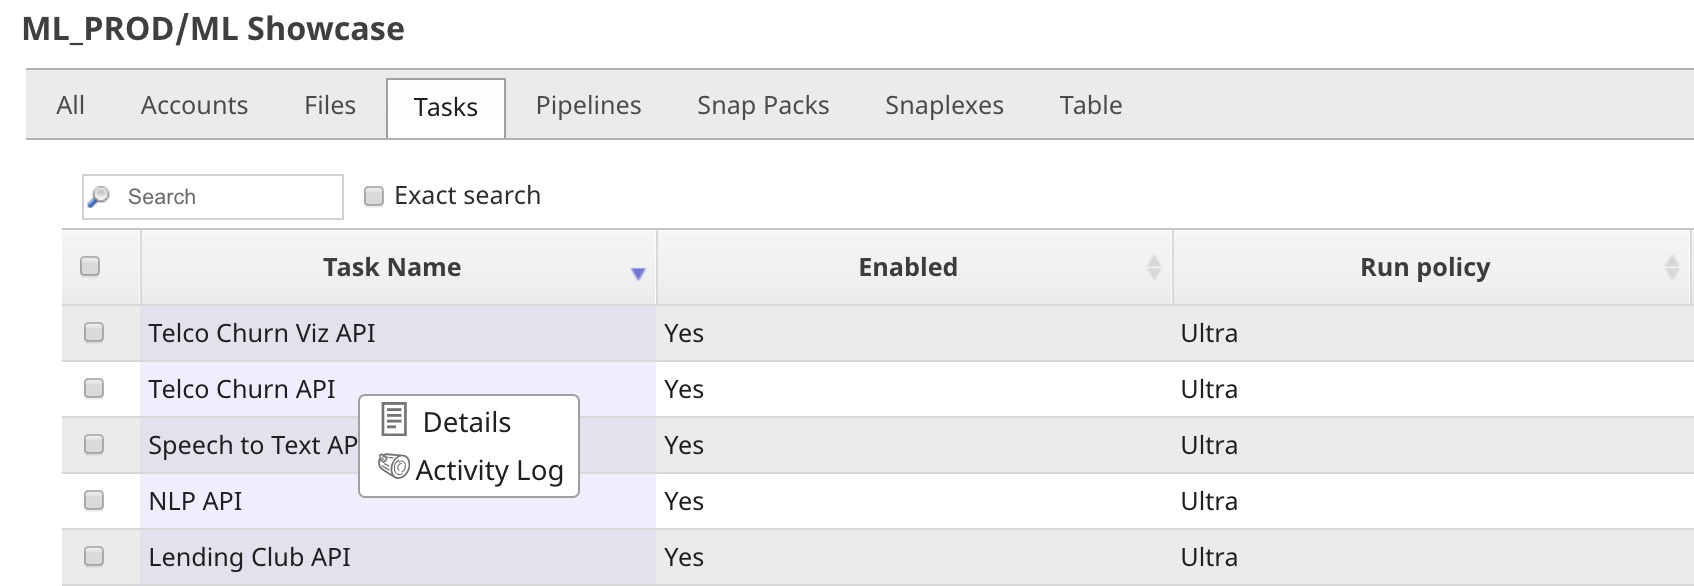
To manage Ultra Tasks:
- Click Create in the Create Task dialog and click Show tasks in this project in Manager to go to the Manager page.
- Click the task name to edit the task settings.
- Click
 next to the task, and then click Details. The task detail popup appears, complete with the HTTP Endpoint URL.
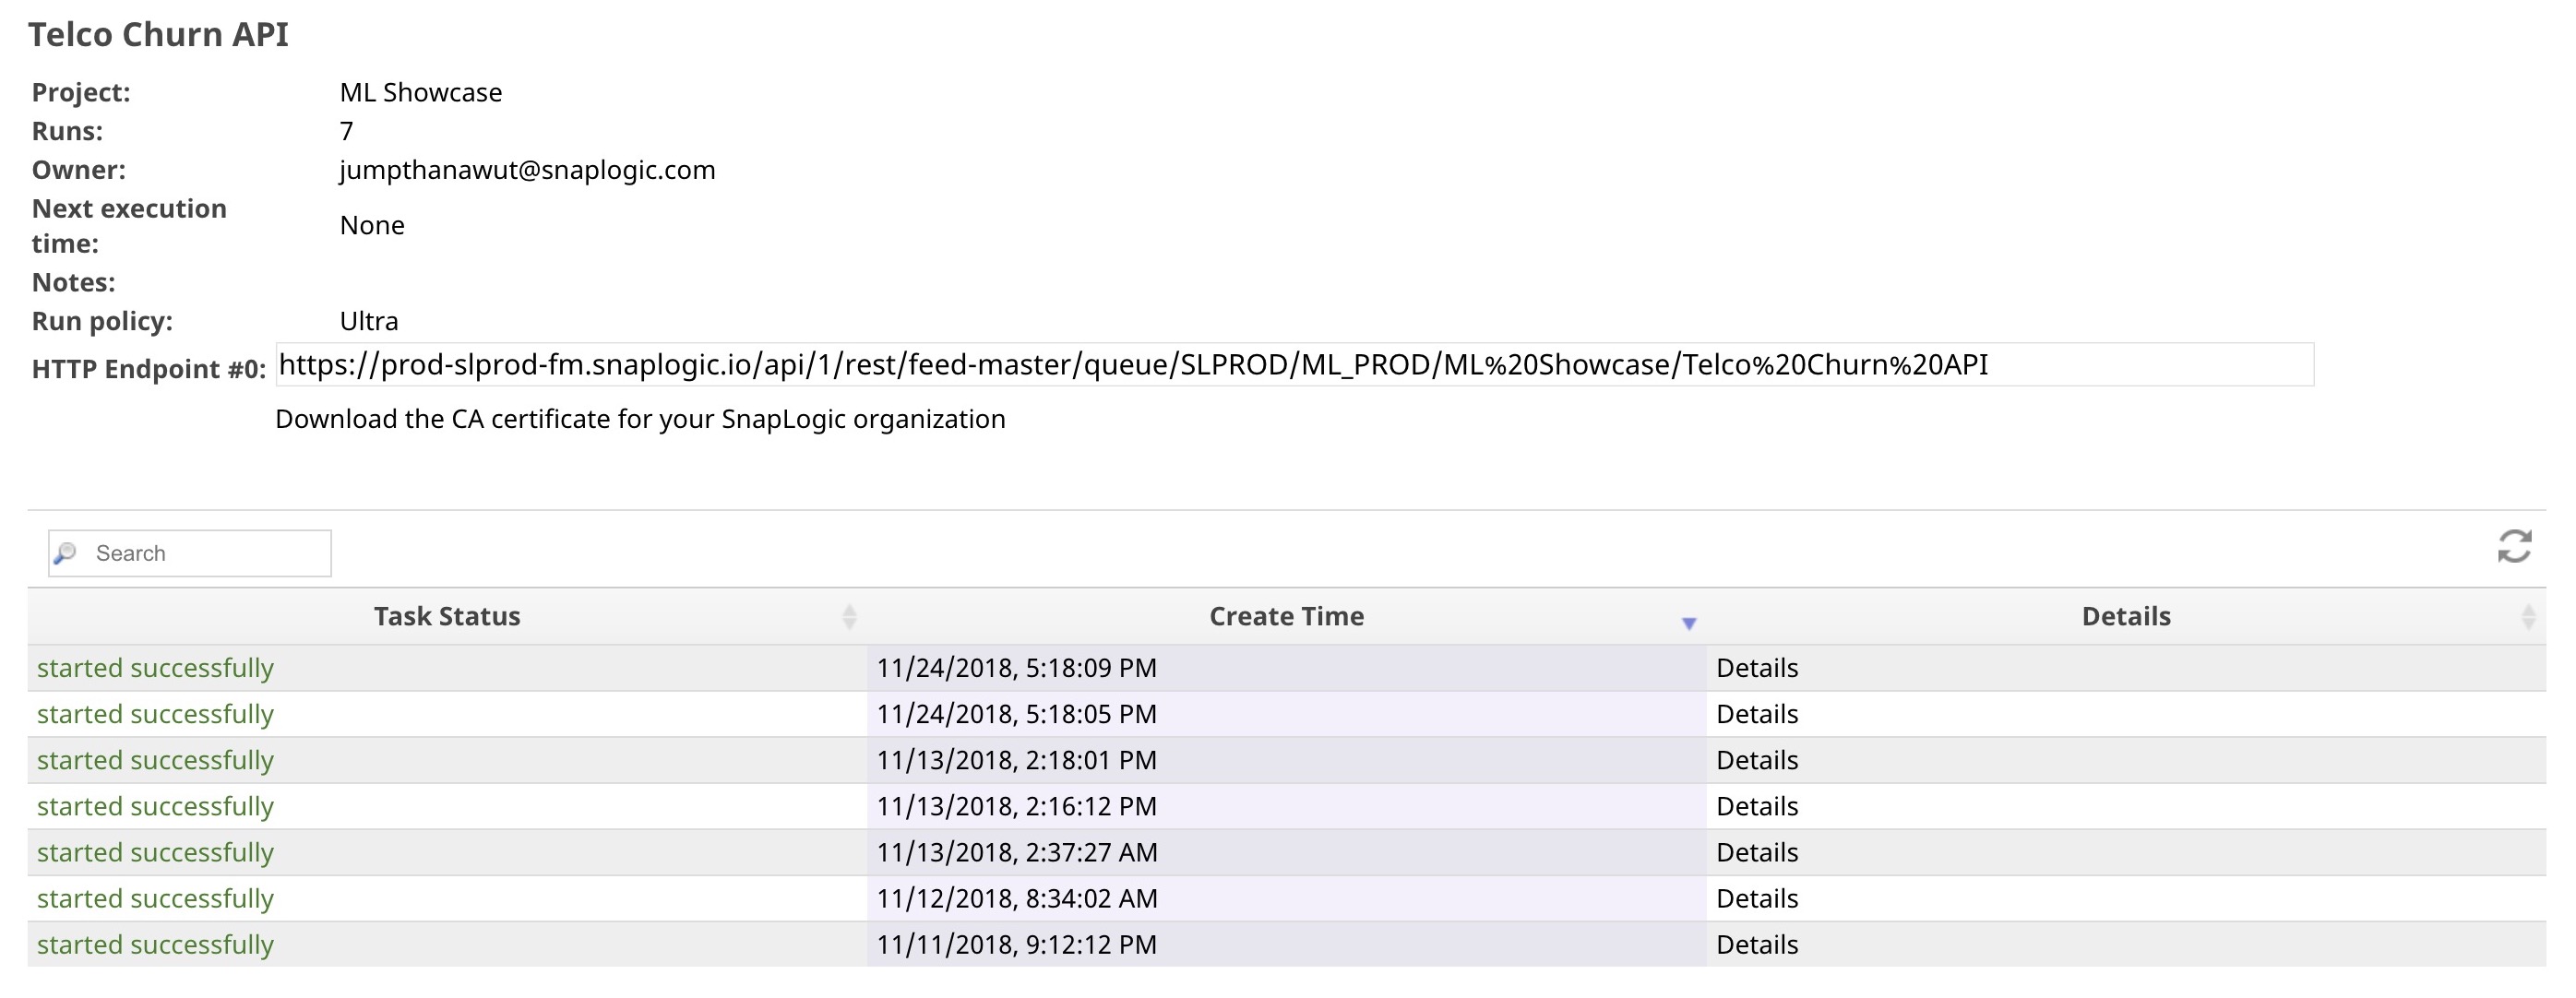
- Click Details to see the task statistics. You can see that there are 7 API instances that have started so far.
However, only 2 API instances are running as shown in the following image from the Dashboard page. The API instance stops, and a new one is created if the Pipeline fails.

Testing Ultra Tasks
There are many tools that you can use to test your Ultra Tasks (APIs). However, if you would like to have a regression/automated test, we recommend that you build a Pipeline to do this, so you can schedule it to run on a daily/weekly basis.
Pipeline
Use the JSON Generator Snap to generate a sample request and use the REST Post Snap to send a request to the Ultra Task. You can download this Pipeline here.
Ultra Task API Tester
The Ultra Task API Tester is available on our SnapLogic Machine Learning Showcase.
Have feedback? Email documentation@snaplogic.com | Ask a question in the SnapLogic Community
© 2017-2025 SnapLogic, Inc.