Understanding Twitter Sentiment Analysis Pipelines
In this article
This document offers details on how each of the Pipelines used with the Twitter Sentiment Analysis web application is structured. For a high-level view of the structure and functionality of the web application, see Using SnapLogic Data Science to Create "Sentient" Web Applications.
This is where it gets technical. We have highlighted the key Snaps in the image below to simplify understanding.
The Data Preparation Pipeline
We design the Data Preparation pipeline as shown below:
This pipeline contains the following key Snaps:
| Snap Label | Snap Name | Description | |
|---|---|---|---|
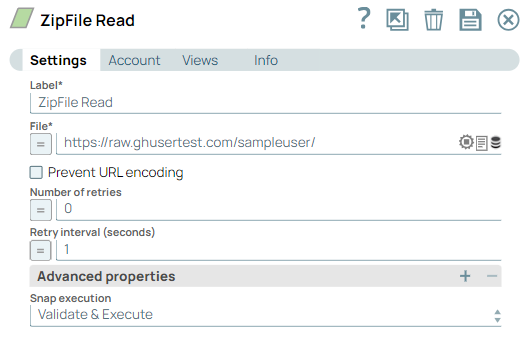
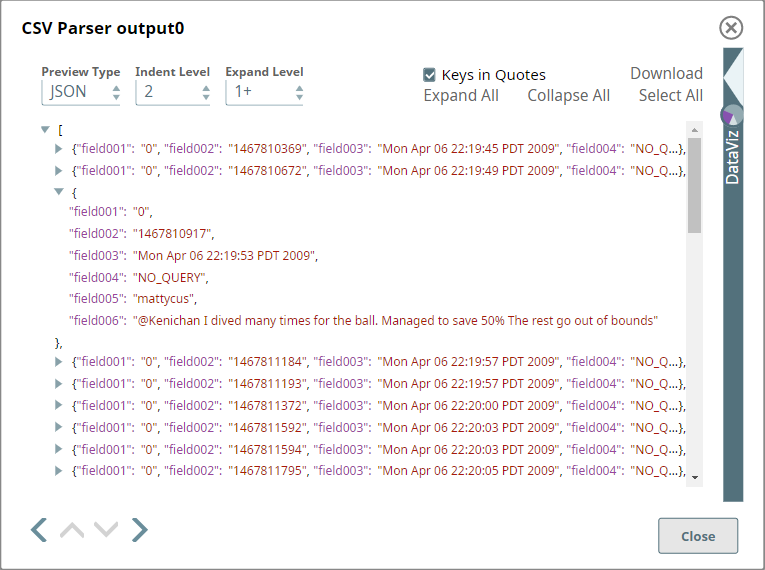
| 1 | ZipFile Read | ZipFile Read | Reads the Twitter dataset containing 1,600,000 tweets extracted using the Twitter API. |
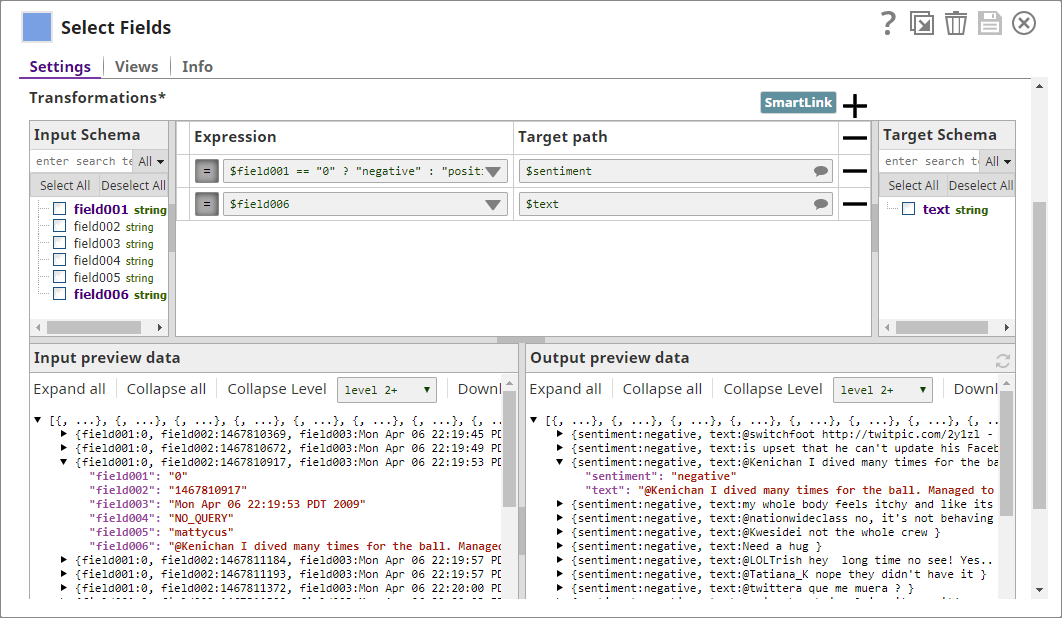
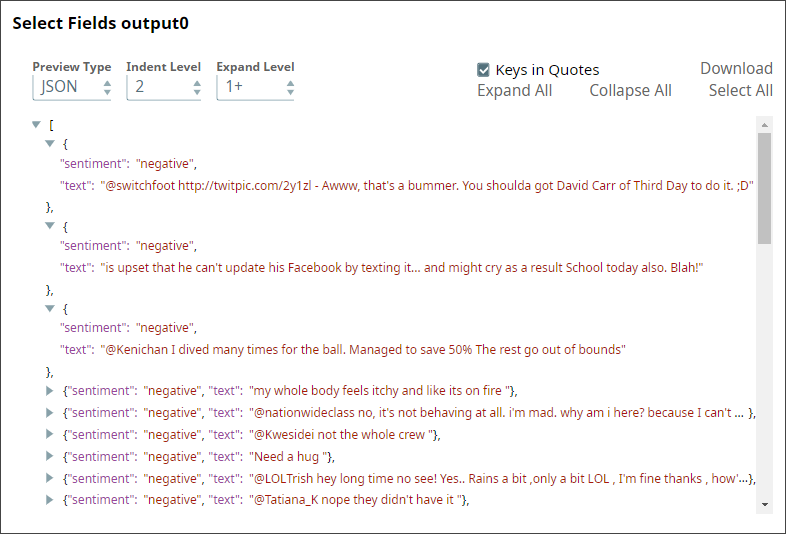
| 2 | Select Fields | Mapper | Identifies all sentences in the dataset that have been tagged 'negative' or 'positive'. |
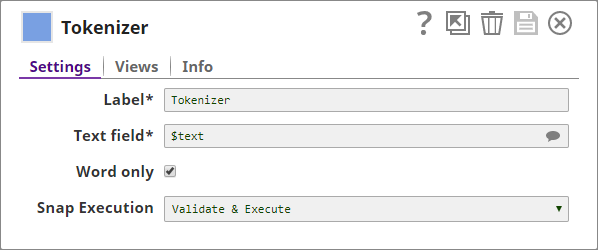
| 3 | Tokenizer | Tokenizer | Breaks each sentence into an array of words, of which two copies are made. |
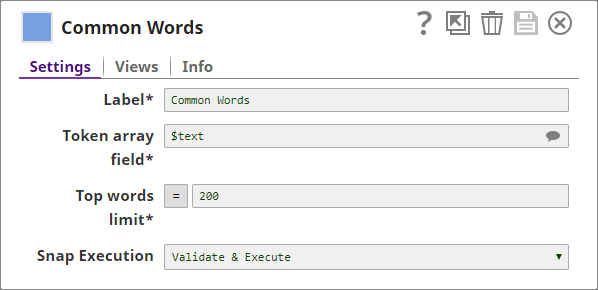
| 4 | Common Words | Common Words | Computes the frequency of the 200 most common words in one copy of the array of words. |
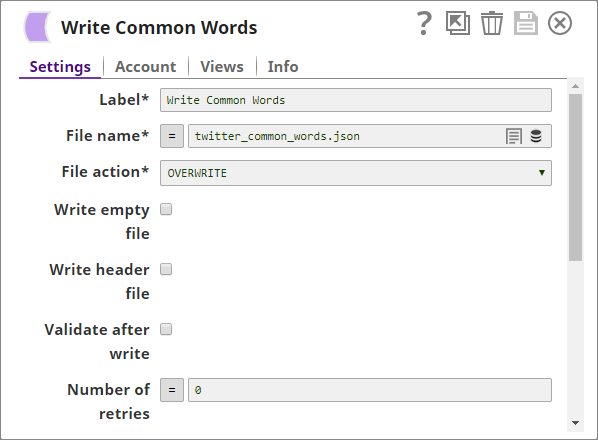
| 5 | File Writer | Writes the output of the Common Words Snap into a file in SLFS. | |
| 6 | Bag of Words | Bag of Words | Converts the second copy of the array of words into a vector of word frequencies, whose rows are then shuffled to ensure that the unsorted dataset can be used in a variety of model-creation algorithms. |
| 7 | Write Processed Dataset | File Writer | Writes the processed dataset received from the Bag of Words Snap to SLFS. |
Key Data Preparation Snaps
ZipFile Read
This Snap reads the Twitter dataset, saved as a ZIP file.
Select Fields
The Twitter dataset contains six fields containing a range of details that are not relevant to sentiment analysis; so, you decide to select only those fields that are required, the actual text and the sentiment associated with the text. You use a Mapper Snap for this task, configuring it to tag all sentences ($text) as "negative" if the value in the property field001 is 0, and "positive" otherwise.
Tokenizer
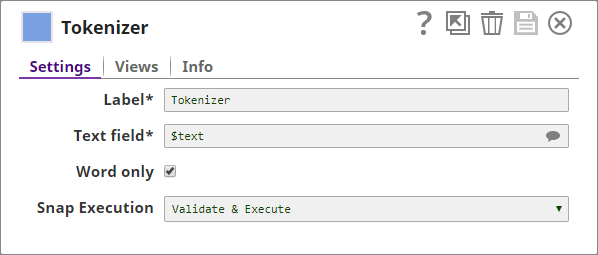
Training ML models on text data can be complicated and ineffective, since most of the generic ML algorithms prefer numeric data. We use the Tokenizer, Common Words, and Bag of Words Snaps to convert text into numbers. First, the Tokenizer Snap breaks the input sentences into a single array of words (tokens). For the purposes of this use case, we are assuming that special characters do not impact the sentiment expressed; so, we select the Word only check box to remove all special characters from the input text.
Common Words
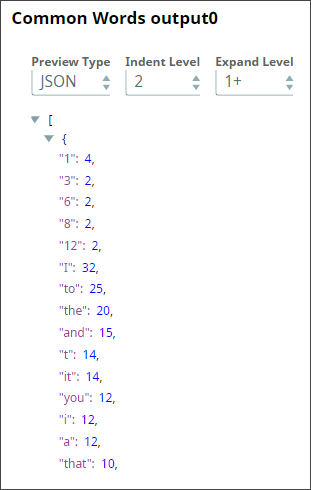
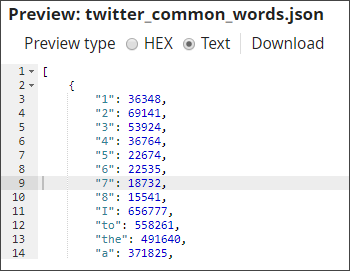
In order to perform a Bag of Words operation, we need to specify the words (bags) that we want to include. In most cases, we use the most common words in the dataset. This we do in this Pipeline using the Common Words Snap, and retain the 200 most-common words in the dataset. We also output the frequency of each word.
Write Common Words
You write the output of the Common Words Snap into a file in the SLFS. You will use this file later for training the model.
Bag of Words
This Snap receives a list of common words from the Common Words Snap and computes the frequency of each word in the input document.
Write Processed Dataset
The data generated as the output of the previous step is the data that you need to train the sentiment analysis model. You now compress the file and write it to the SLFS for later use:
The Build Model Pipeline
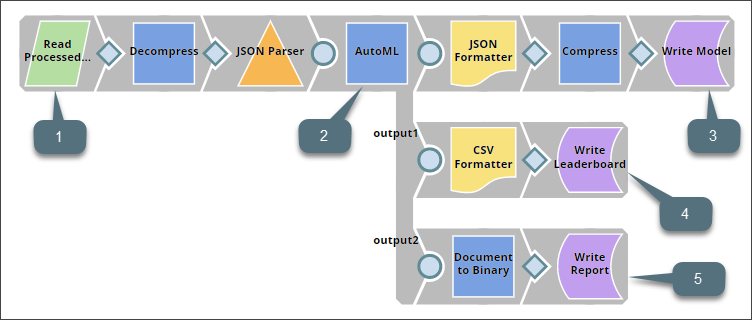
The Build Model Pipeline is designed as shown below:
This Pipeline contains the following key Snaps:
| Snap Label | Snap Name | Description | |
|---|---|---|---|
| 1 | Read Processed Dataset | File Reader | Reads the processed Twitter dataset created by the Data Preparation Pipeline. |
| 2 | AutoML | AutoML | Runs specified algorithms on the processed dataset and trains the model that offers the most reliable and accurate results. |
| 3 | Write Model | File Writer | Writes the model identified and trained by the AutoML Snap to a file in the SLFS. |
| 4 | Write Leaderboard | File Writer | Writes the leaderboard, a table listing out the top models built by this Snap display in the order of ranking, along with metrics indicating the performance of the model. |
| 5 | Write Report | File Writer | Writes the report generated by the AutoML Snap to the SLFS. This report describes the performance of each of the top-five algorithms evaluated by the AutoML Snap. |
Key Build Model Snaps
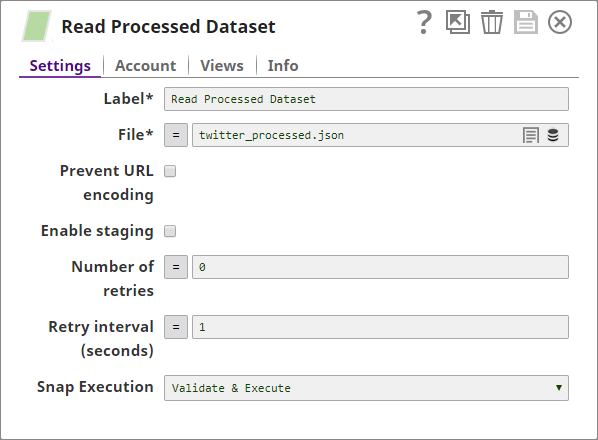
Read Processed Dataset
This Snap reads the processed dataset that you created using the Data Preparation Pipeline.
This is compressed data and is not meant to be human-readable. You use the Decompress Snap to change it back to JSON.
AutoML
This model generates and ranks models that will work best for the processed dataset. For this, you use the AutoML Snap. You configure the Snap to create 10 models around the $sentiment field and give the Snap 10 hours in which to create these models using 5-fold cross-validation. You choose to use the H2O engine and use it to run four distinct algorithms to create the models. Also, to simplify understanding, you decide to generate these models in a format that is human-readable.
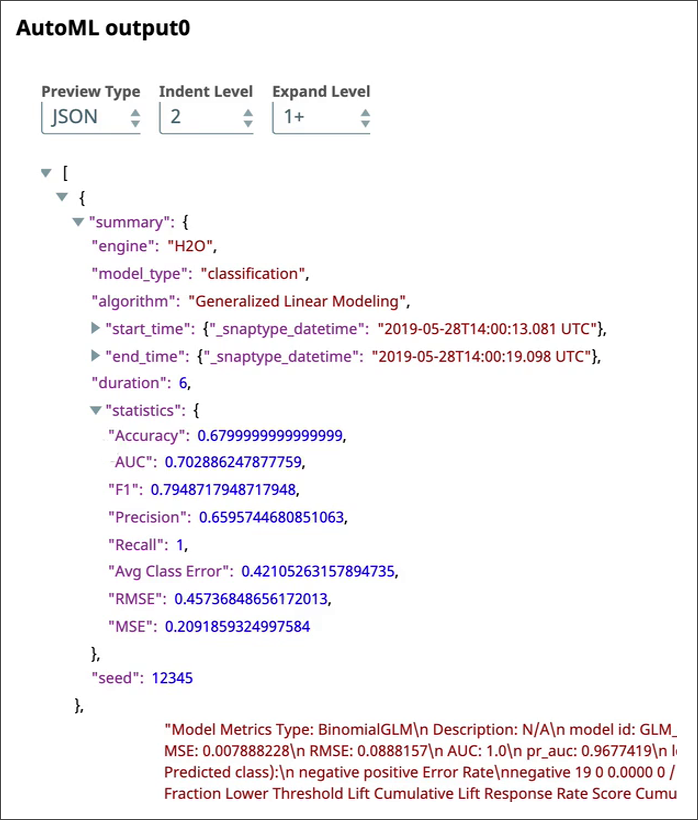
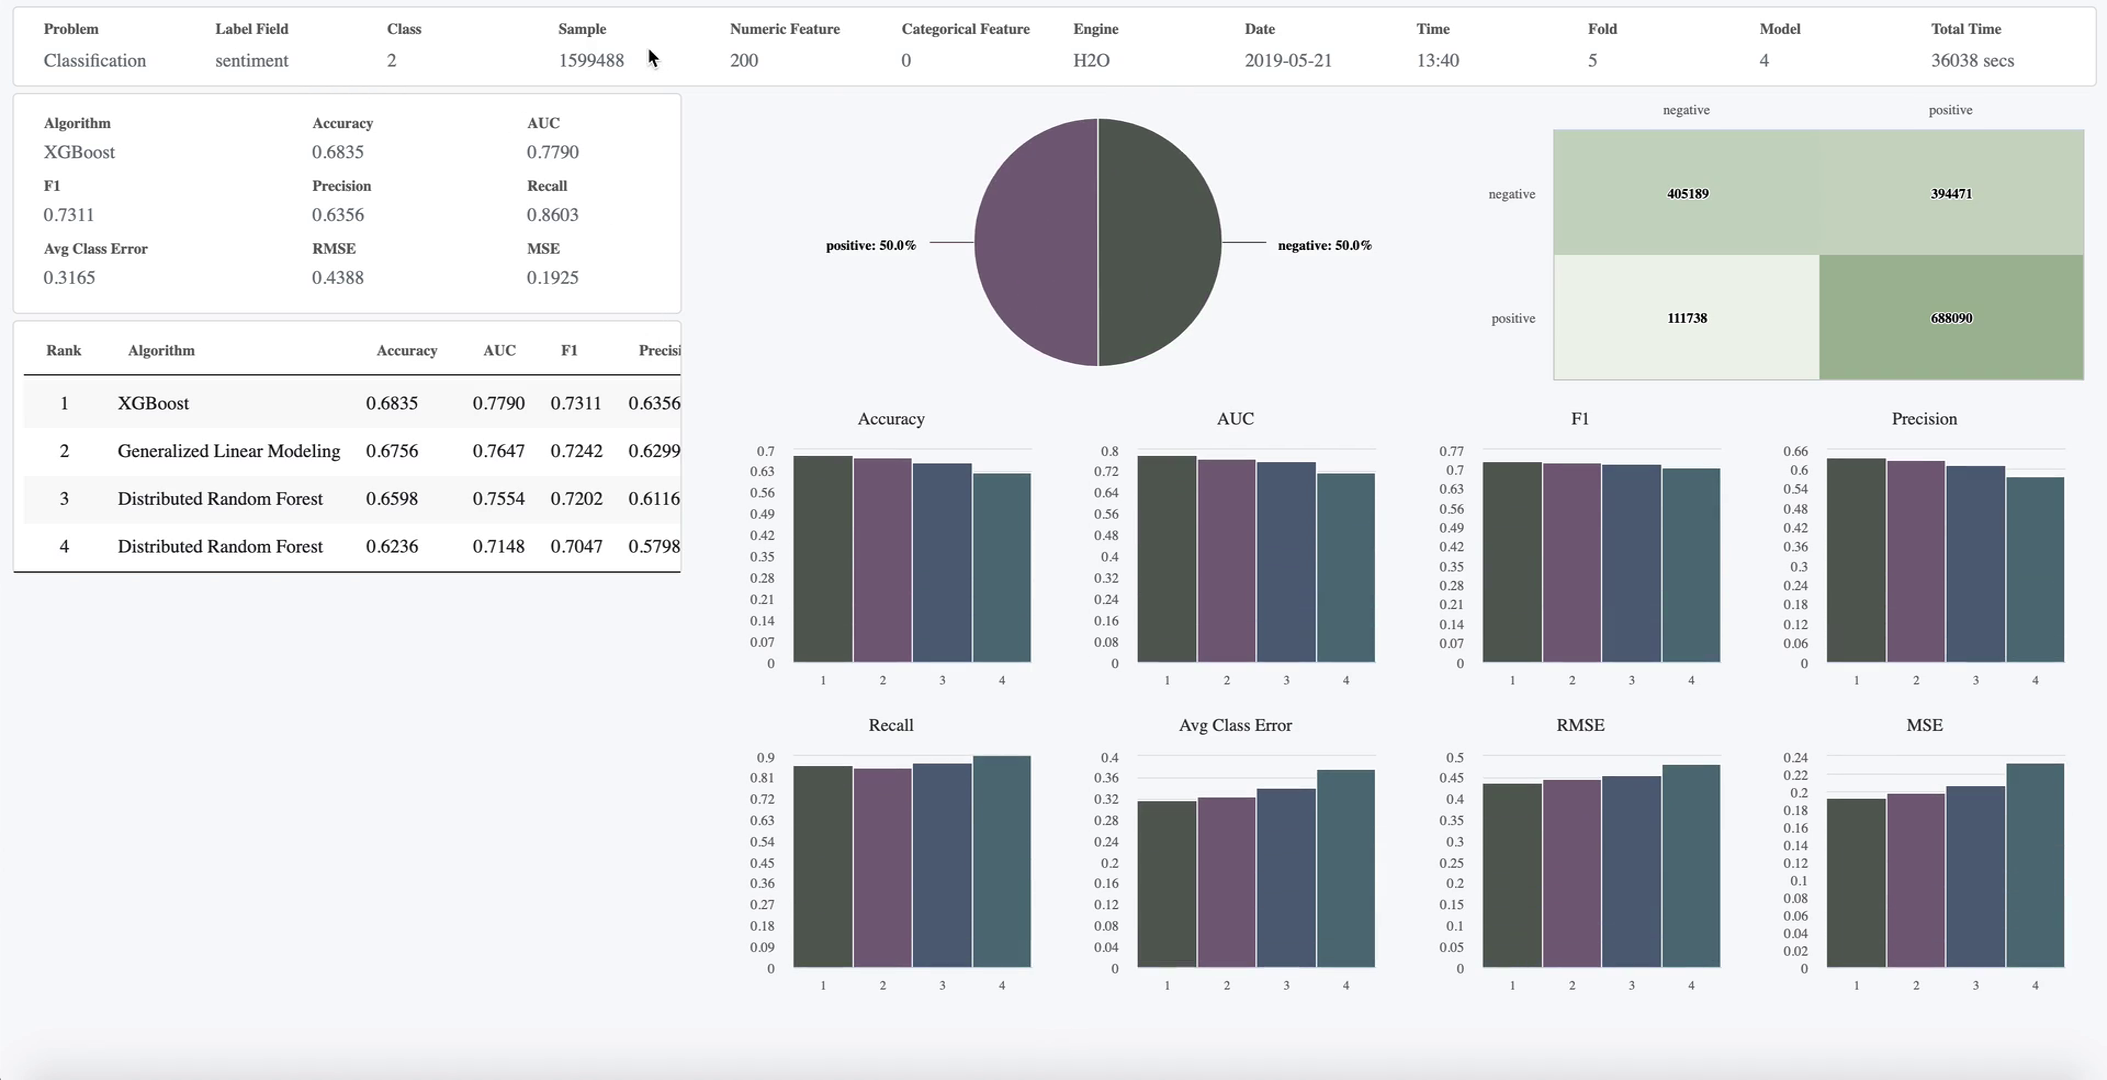
The AutoML Snap runs for the specified amount of time (10 hours) and offers three pieces of output:
| Output | Description | Screenshot (Click to expand) |
|---|---|---|
| Output0: Model | This is the model that the AutoML Snap determines offers the most accurate and reliable sentiment analysis. | |
| Output1: Leaderboard | A document that contains the leaderboard. All the models built by this Snap display in the order of ranking along with metrics indicating the performance of the model. | |
| Output2: Report | A document that contains an interactive report of up to top-10 models. |
The Twitter Sentiment Analysis Pipeline
This Pipeline takes the input sentence sent through the web UI and uses the model created by the Pipelines discussed above to predict the sentiment of the input sentence.
This Pipeline contains the following key Snaps:
| Snap Label | Snap Name | Description | |
|---|---|---|---|
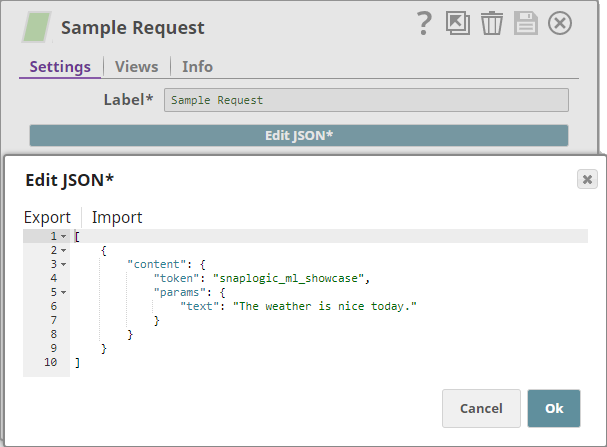
| 1 | Sample Request | JSON Formatter | Provides a sample request for the purpose of this use case. |
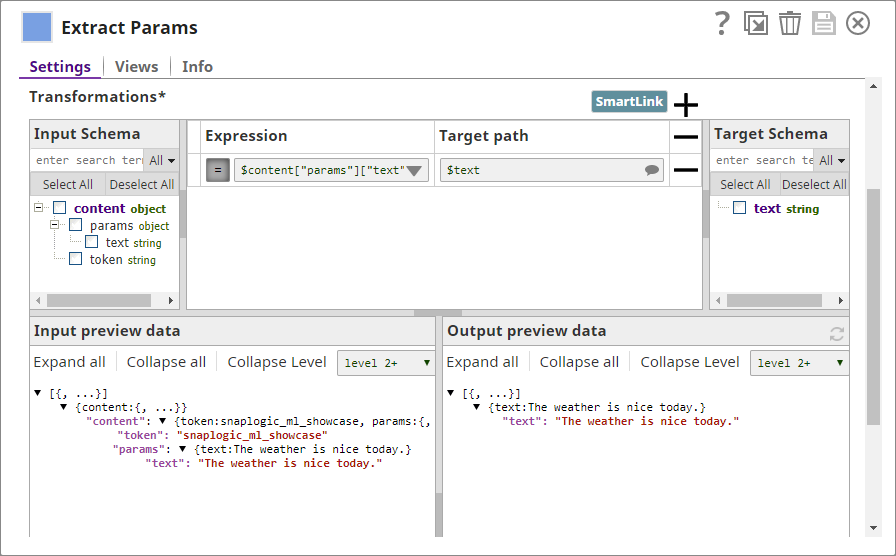
| 2 | Extract Params | Mapper | Isolates the input text from the rest of the properties associated with the input sentence. . |
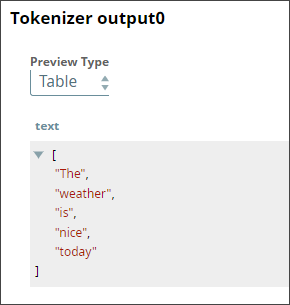
| 3 | Tokenizer | Tokenizer | Breaks the input text into a array of tokens. |
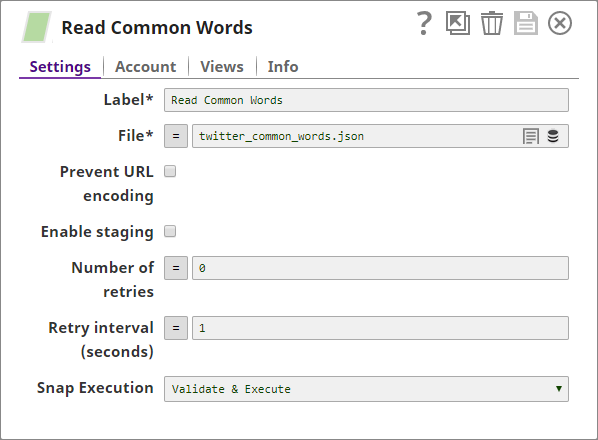
| 4 | Read Common Words | File Reader | Reads the array of common words that you had saved in the Data Preparation Pipeline. |
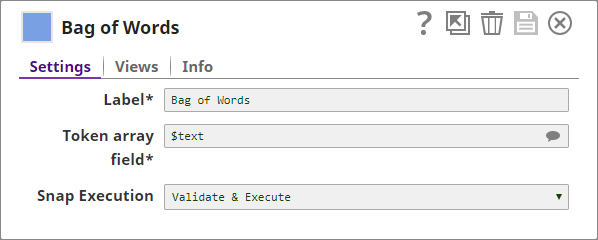
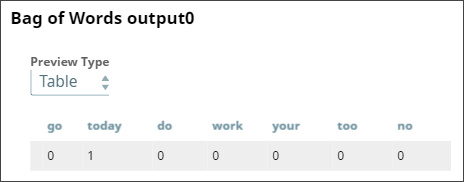
| 5 | Bag of Words | Bag of Words | Creates a vector made out of the words that are present in both the input sentence and the list of common words. |
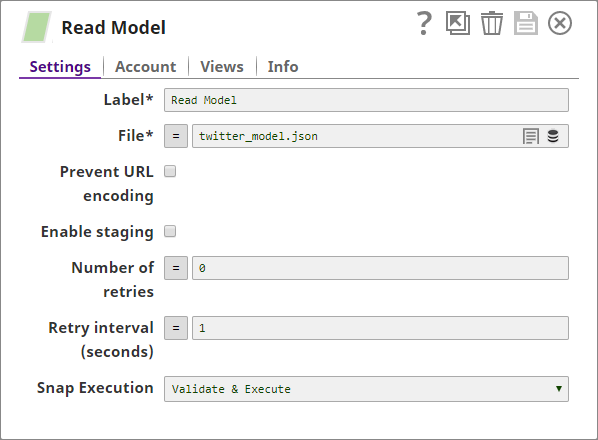
| 6 | Read Model | File Reader | Reads the model that you had saved from the Build Model Pipeline. |
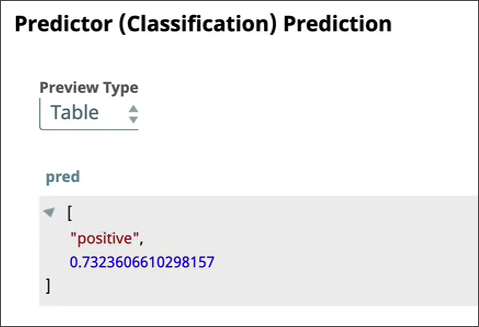
| 7 | Predictor | Predictor | Determines the polarity of the input sentence using the Bag of Words input vector and the model. It also outputs the confidence levels in its predictions. |
| 8 | Prepare Response | Mapper | Prepares a response that will be picked up by the Ultra Task and sent back to the web application UI. |
Key Sentiment Analysis Snaps
Sample Request
This example uses a JSON Generator Snap to provide a sample request; but when you create and run the web application, the Pipeline shall receive the input sentence through the open input view of the Filter Snap.
The $token property indicates that the data coming into the Pipeline is from the web application. That is why you have the Filter Snap, which checks for the string "snaplogic_ml_showcase" and filters all those inputs that do not contain this string.
Extract Params
This Snap isolates the input text from the rest of the properties associated with the input sentence.
Tokenizer
You now run the input text through a Tokenizer Snap, which breaks the input text into a array of tokens:
Read Common Words
You now read the array of common words that you had saved in the Data Preparation Pipeline:
Bag of Words
You parse the list of common words as a JSON file and pass the output into the Bag of Words Snap to create a vector made out of those words that are present in both the input sentence and the list of common words.
Read Model
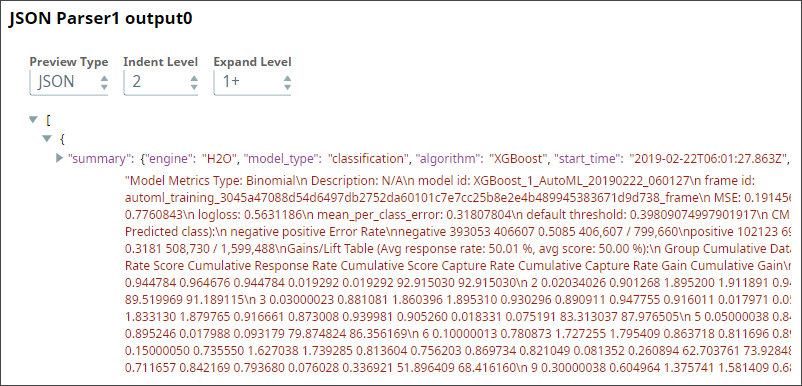
You now use a File Reader Snap to read the model that you had saved from the Build Model Pipeline. you then decompress it and pass it through a JSON Parser Snap to make it available as a JSON document:
Predictor
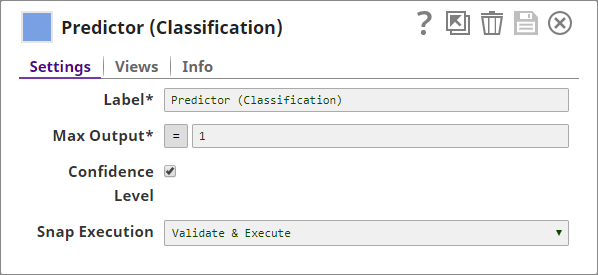
You use the Predictor Snap to determine the polarity of the sentence using the bag of words input vector and the model. You also configure the Snap to output the confidence levels in its predictions:
Prepare Response
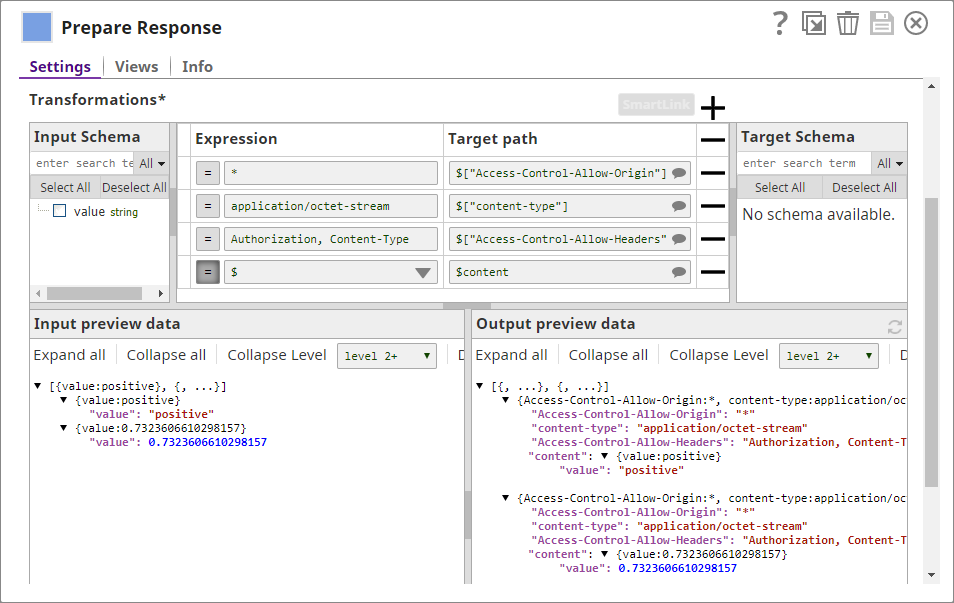
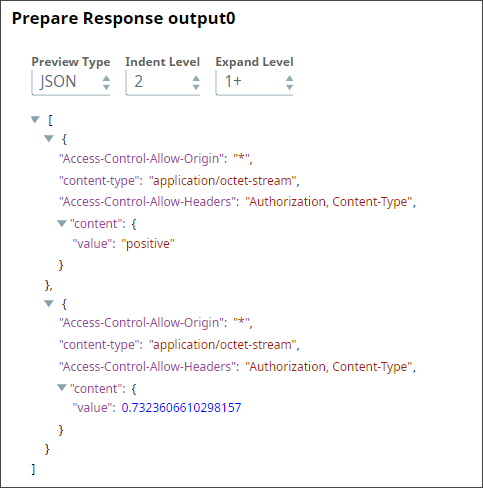
You use this Mapper Snap to prepare a response that will be picked up by the Ultra Task and sent back to the web application UI:
Downloads
Important steps to successfully reuse Pipelines
- Download and import the pipeline into the SnapLogic application.
- Configure Snap accounts as applicable.
- Provide pipeline parameters as applicable.
Have feedback? Email documentation@snaplogic.com | Ask a question in the SnapLogic Community
© 2017-2025 SnapLogic, Inc.

